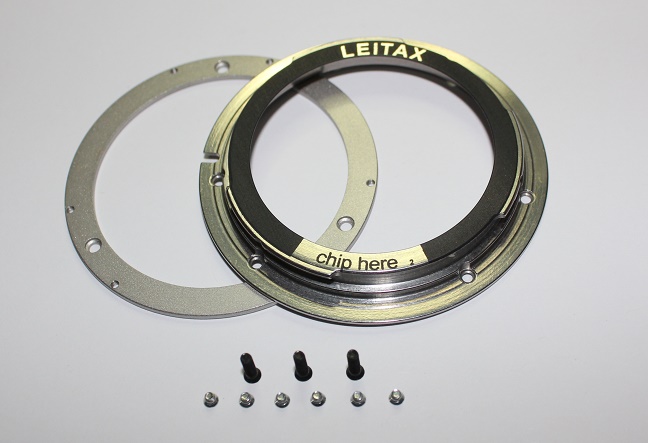
This is what you receive from Leitax, a precision machined ring and bayonet and the necessary screws.
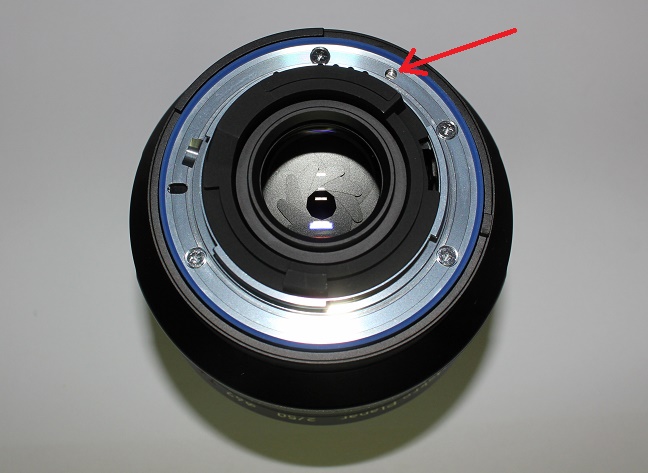
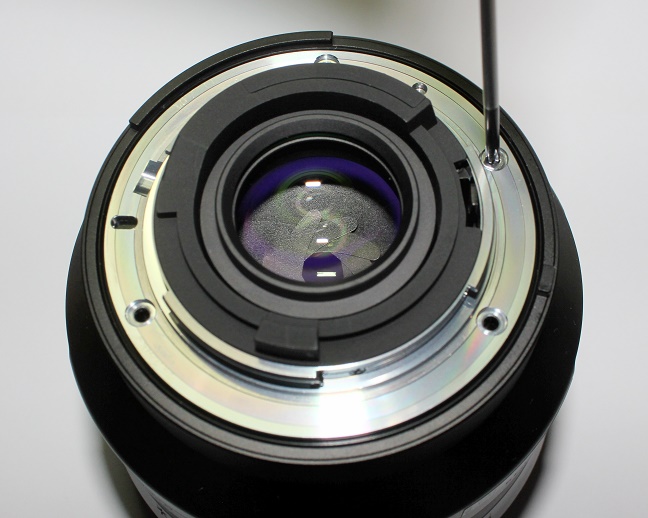
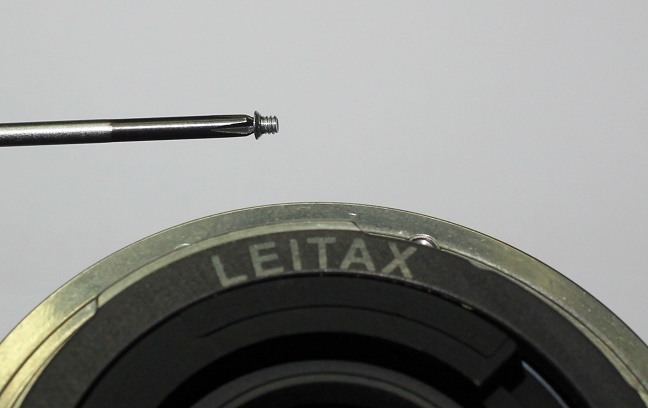
The Zeiss Milvus ZF lenses have a mechanism to declick the aperture ring, you can operate it with this screw .
Remove the screw on the top of the lens, where the indexes are.
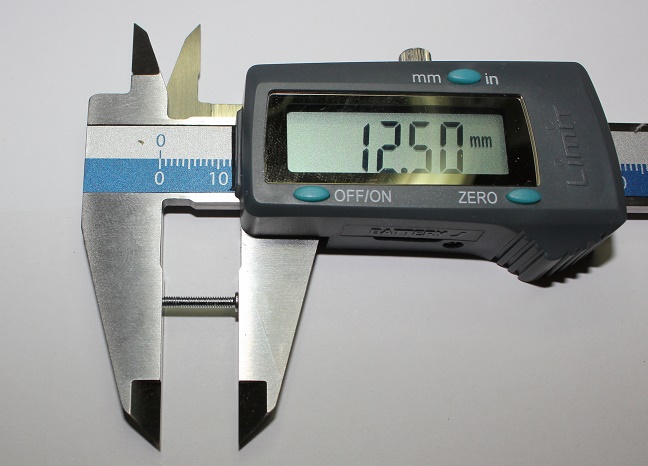
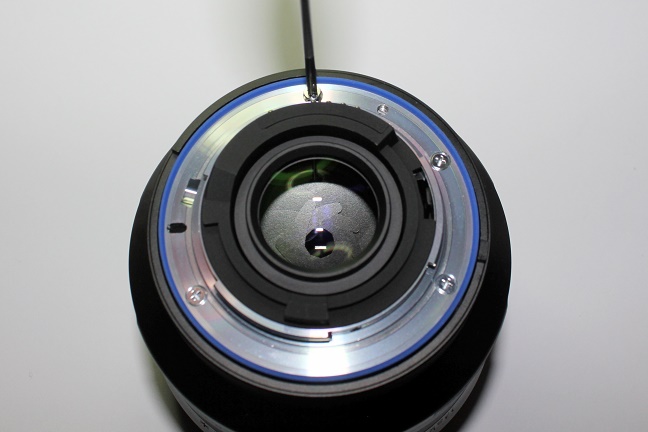
We have to know the length of the original screws to use the correct ones on the Leitax mount.
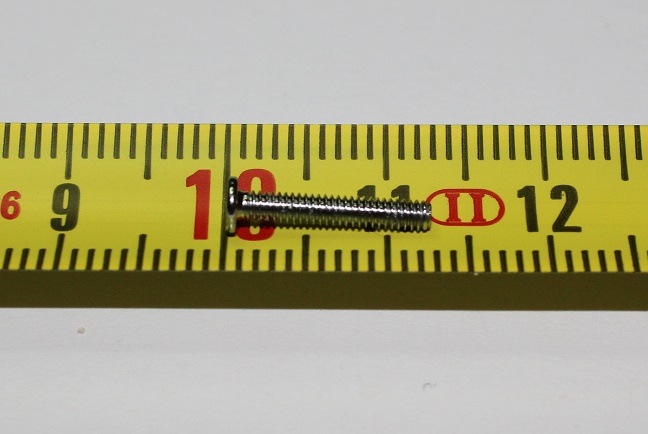
Also you can measure it with a ruler.
Just tell me the length of this top screw and I will provide the correct ones together with the Leitax mount.
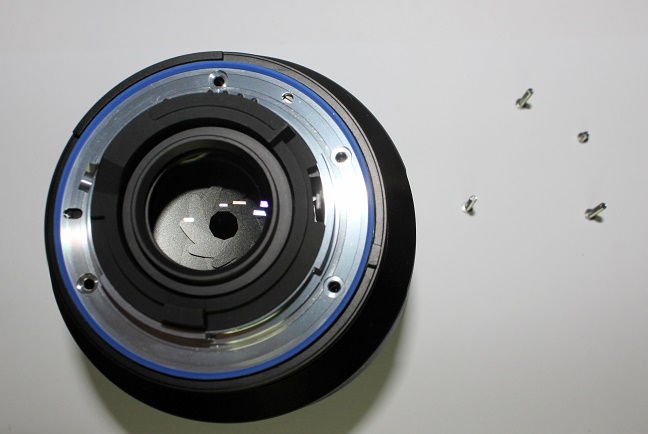
To start with the conversion we have to remove all four screws, you can see one is different.
And lift the original mount.
We have to remove the sealing rubber ring, not compatible with the Leitax mount. It would not work on a Canon camera anyway.
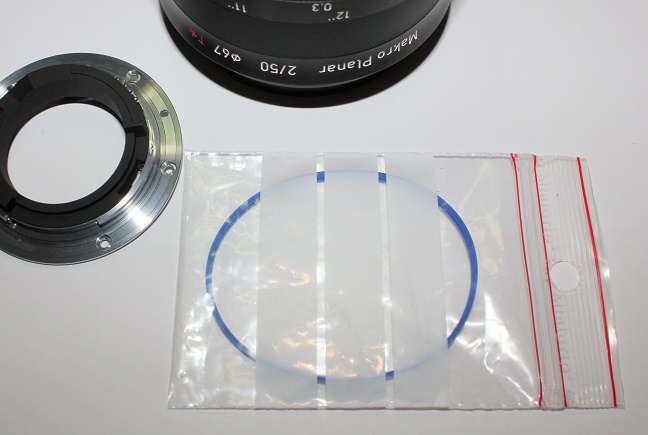
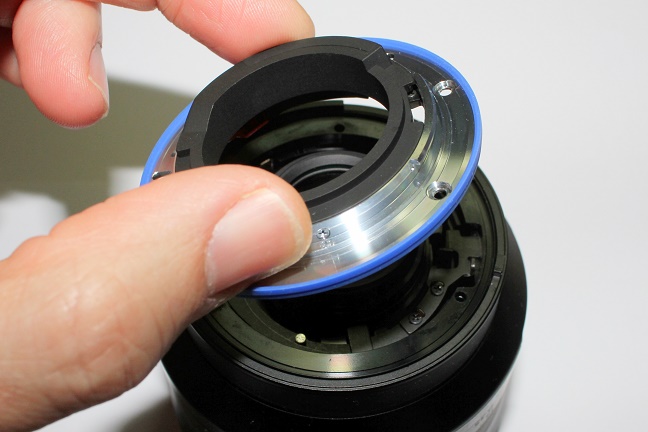
And save it in the lens box, to be able to rebuild the lens to its original condition at any time.
Don't tighten it too much, use only two fingers on the screwdriver.
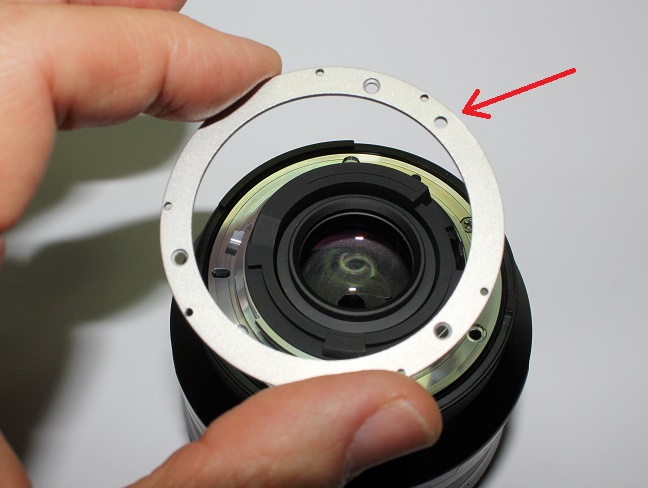
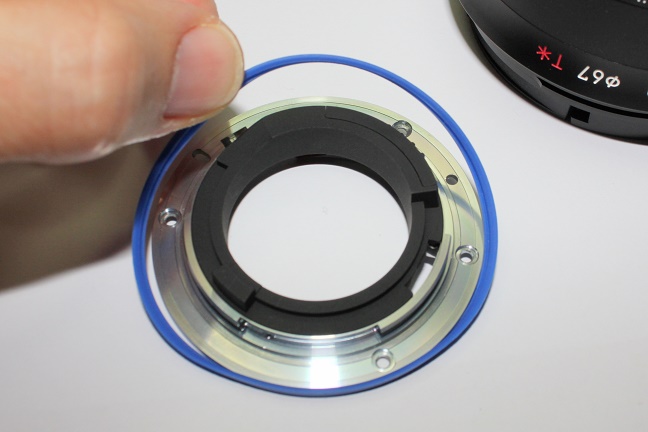
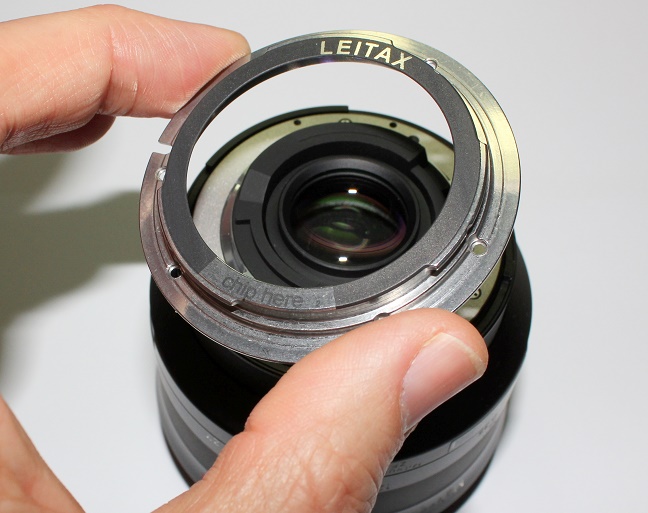
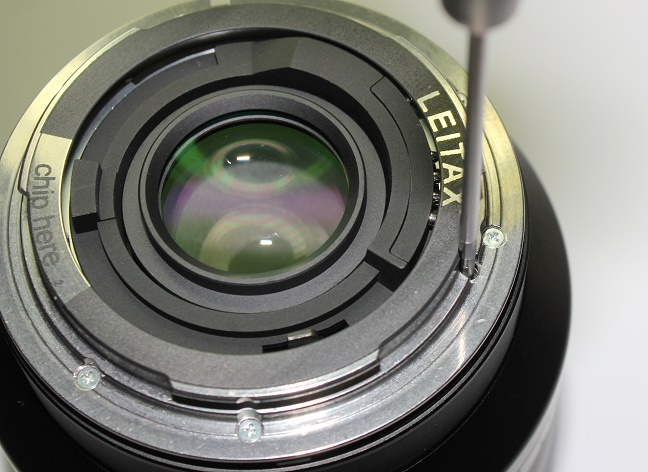
Now we are going to put the Leitax ring, note it has a hole that coincides witht the declicking screw.
Made it coincide with that screw and the rest of holes will coincide as well.

And we can secure the Leitax ring with the three provided screws.
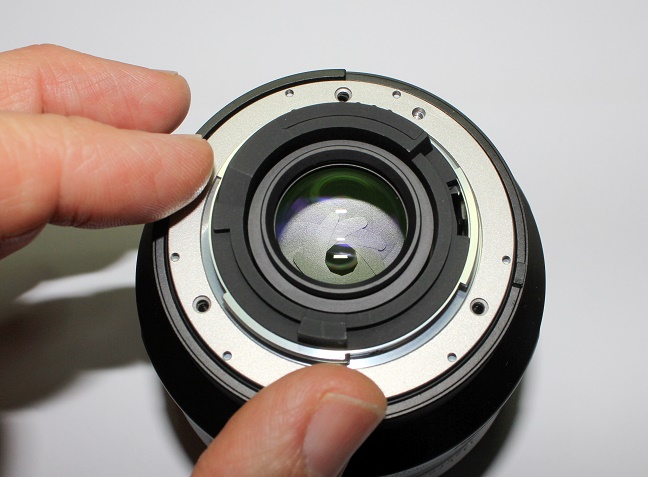
Now the Leitax mount,
also it has a new hole to have access to the decliking mechanism.
It is very useful to have the Phillips screwdriver magnetized with these small screws.
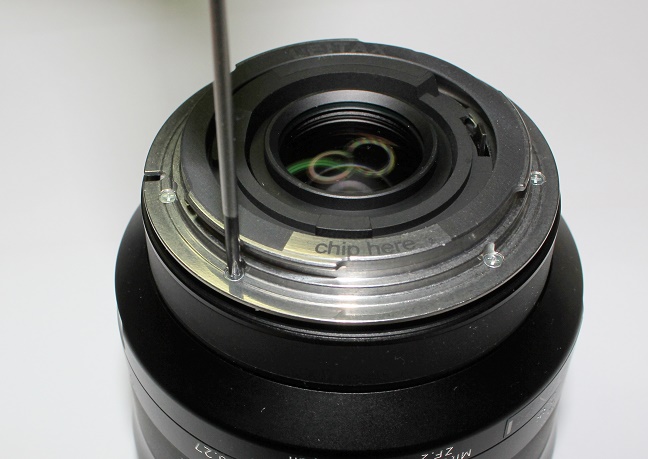
We secure the Leitax mount with six small screws.
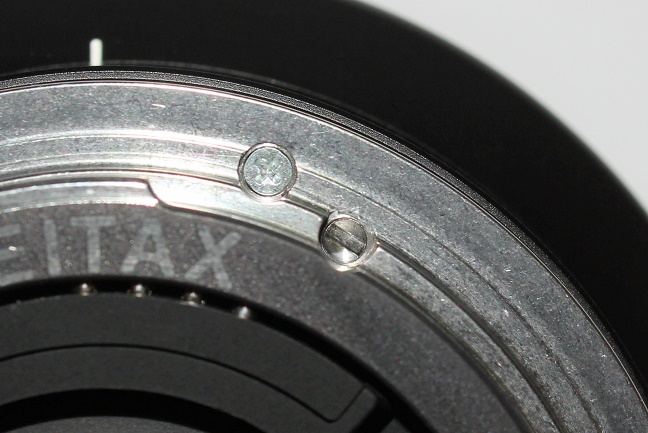
Ready, look at the still accesible declicking mechanism screw.
You can declick this lens using our flat screwdriver.
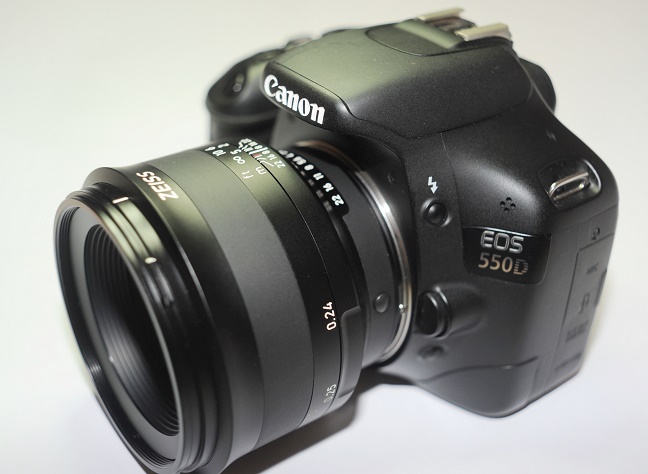
And the Zeiss Milvus lens for Nikon cameras is now working fine on a Canon camera.
Back to Nikon for Canon page
How to glue a chip on your mount.