|
Leitax
mount for Zeiss Milvus ZF.2 to Pentax-K mount instructions
Thanks a lot to my client and friend Dave for these excellent pictures and text.
|
 |
|
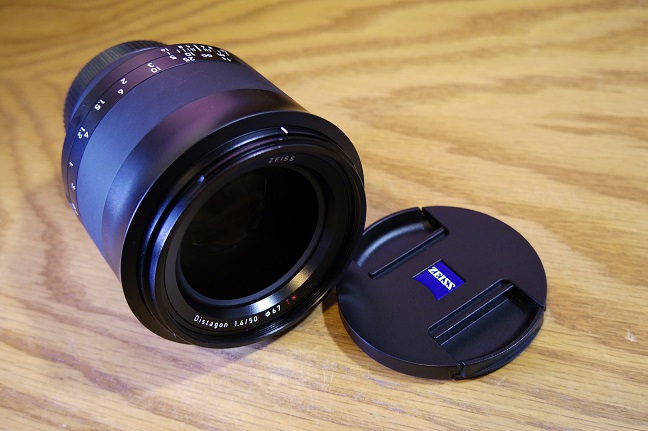
This
is the Zeiss Milvus ZF.2
Distagon 50/1.4
|
|
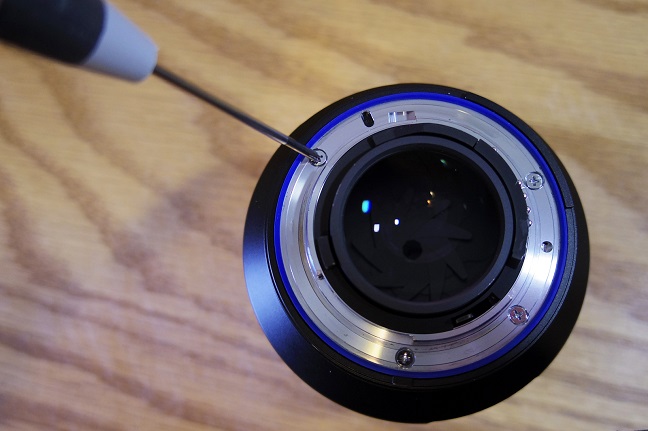
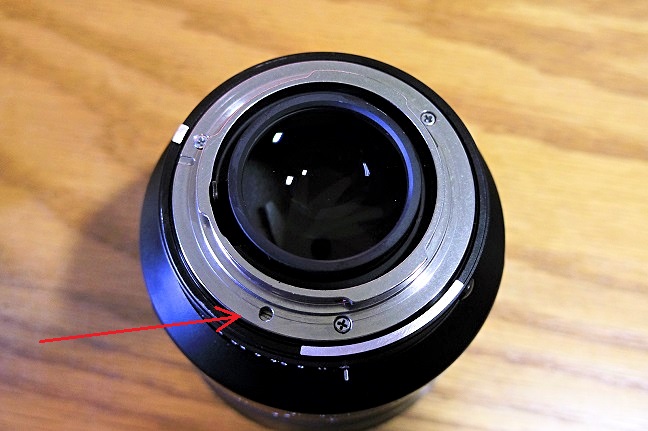
Remove 4 screws. |

|
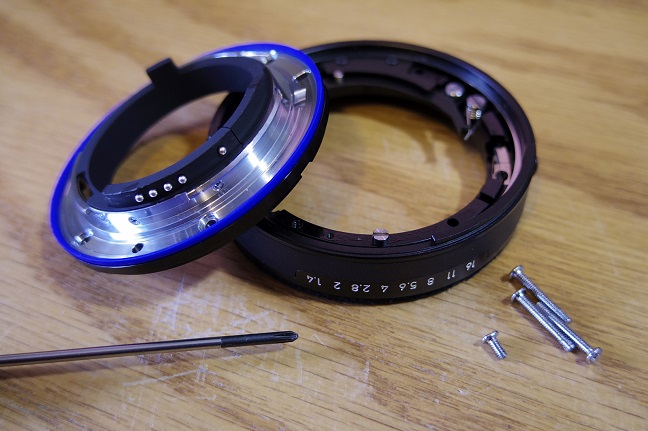
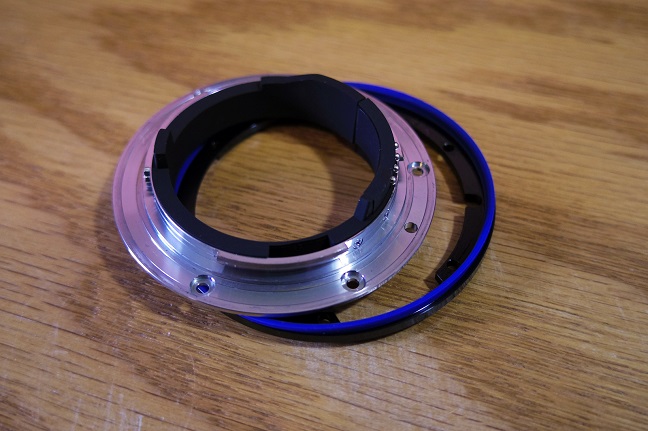
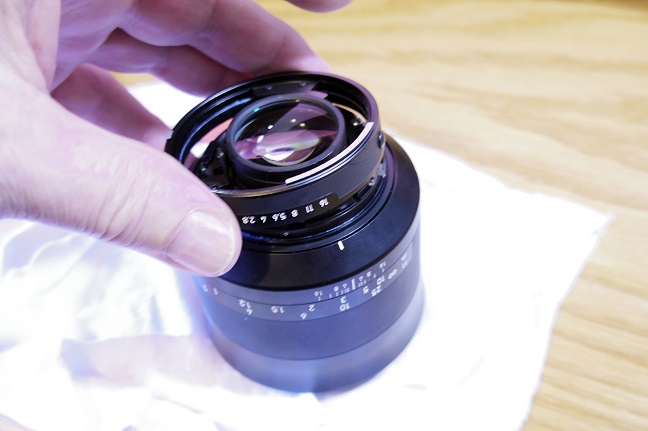
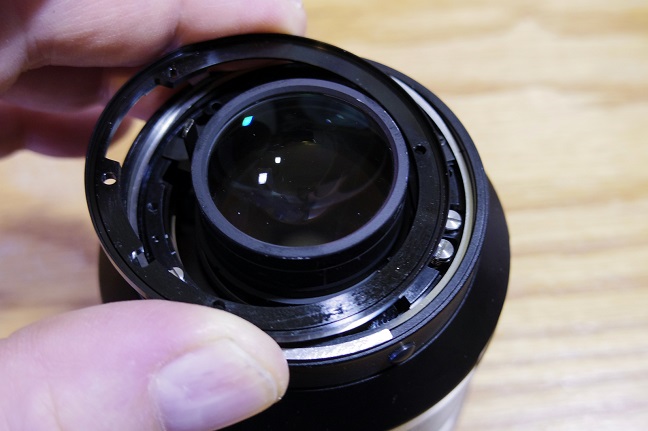
Remove mount and aperture ring together from the lens.
|
|
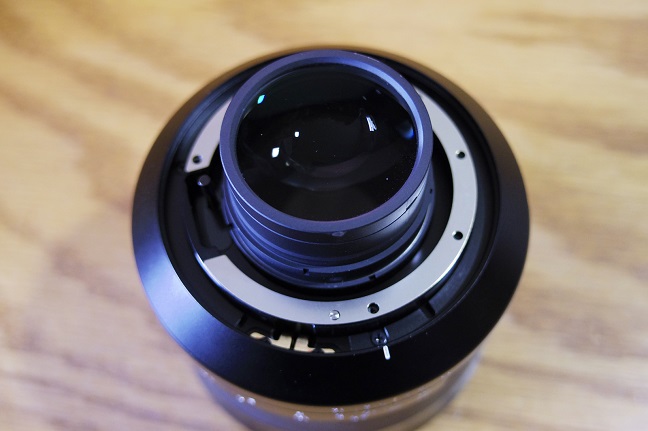
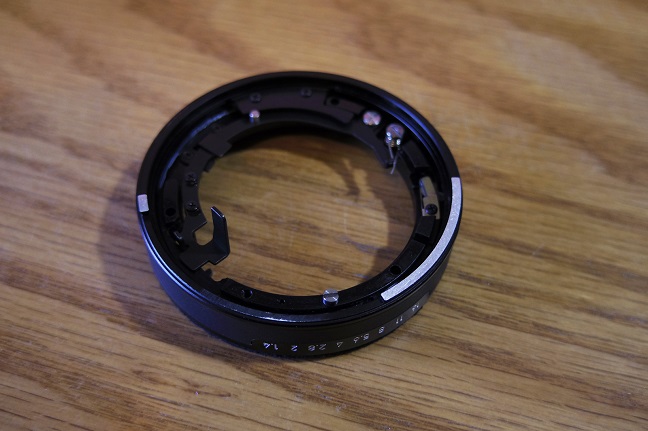
This is what lens looks like with the aperture ring and mount removed. |
|
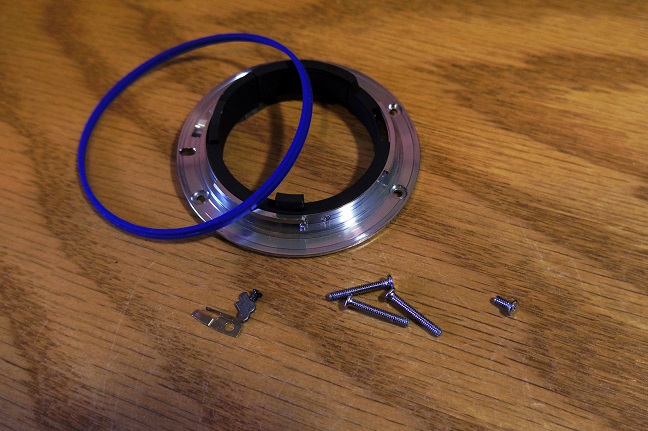
Remove mount from aperture ring. |
|
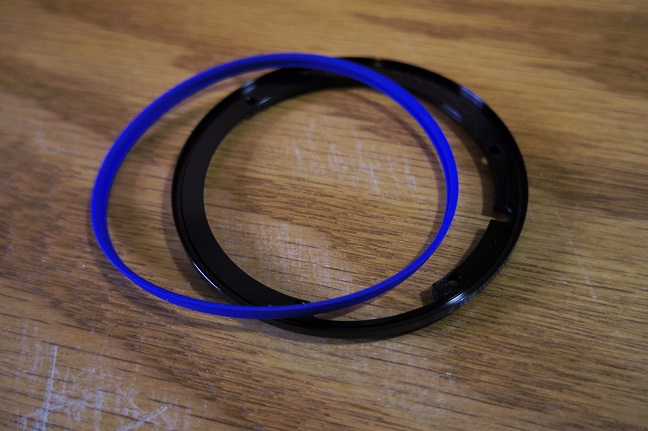
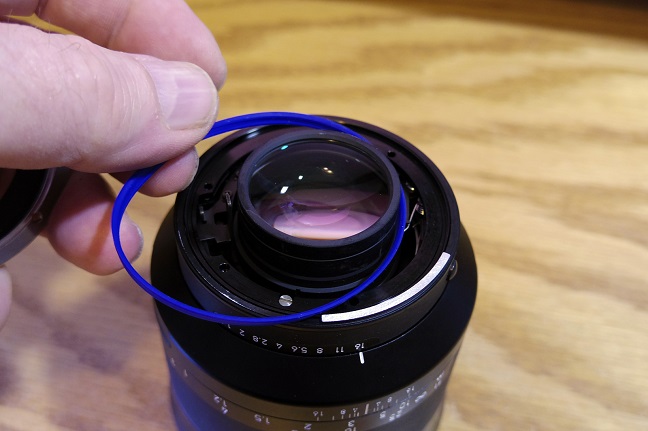
Take mount off of the blue gasket and the black gasket ring. |
|
Remove the blue gasket from the black gasket ring. |
|
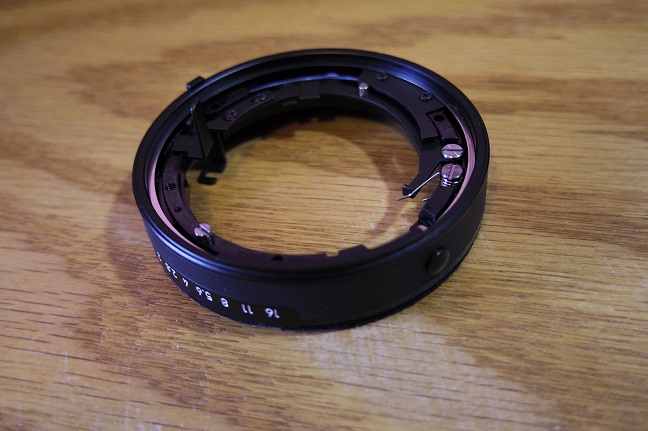
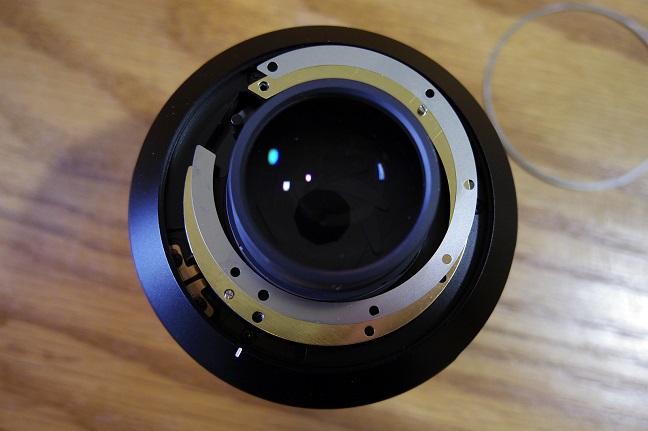
Remove the delicate thin gold ring from the aperture ring. |

|
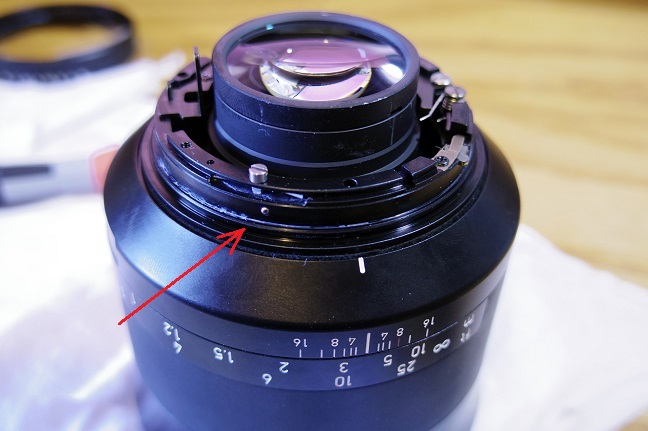
Notice the two aperture tabs that
will need to be sanded down, also notice the large metal tab sticking
up, when sanding the tabs down be careful to not bend the large tab
that's sticking up. |
|
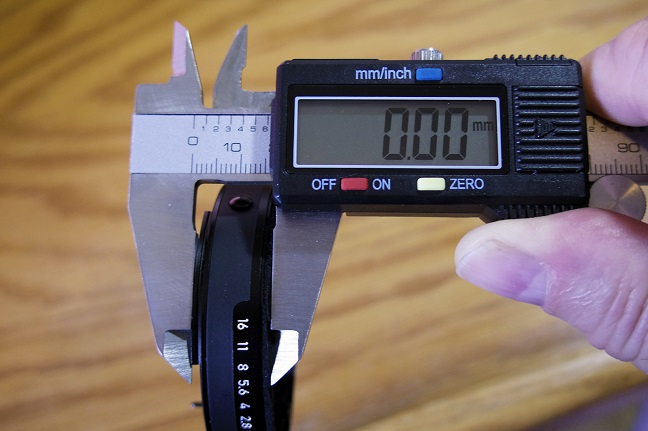
Press the Zero button of the calliper when measuring on the tabs and... |

| Sand
down the 2 aperture tabs .2mm being carefull not to bend or sand on the
long protruding tab that is shown sticking out the bottom of this photo.
During
the work, you have to check frequently the thickness in the both sides
and the center of the lever, and compensate if there are differences.
We want to work the more evenly possible.
Be carefull with the smaller tab, it is ready before you expect. |
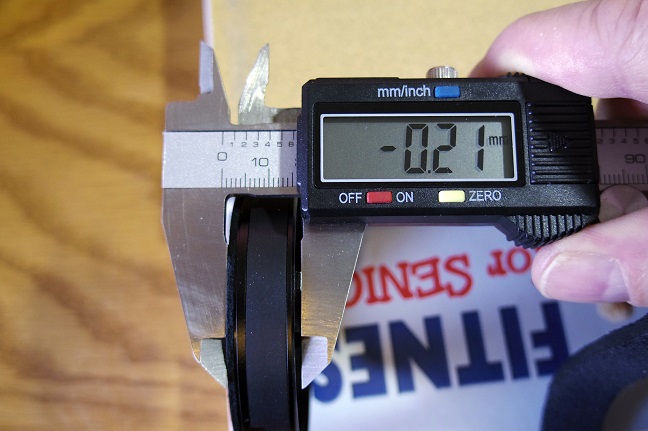
| Remove .20mm from each of the two aperture tabs. |
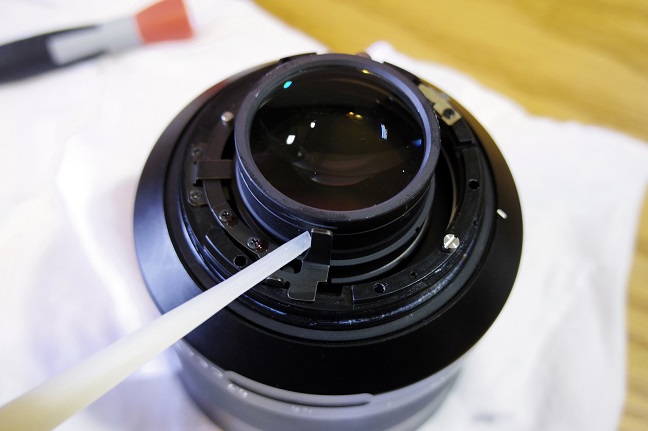
| Photo of two aperture tabs sanded down, note that the long skinny tab is not bent or scratched.
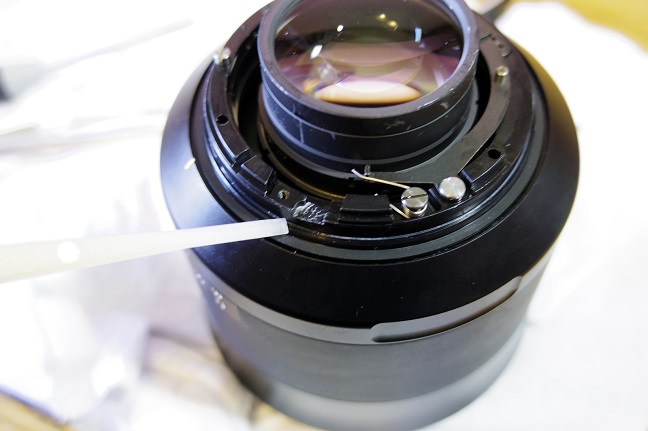
We have to remove all the metal particles.
I use a stiff brush and a blower. |
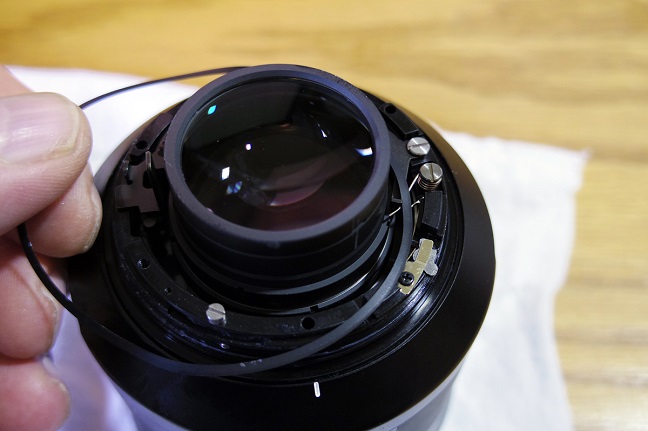
| Before putting the aperture ring back on to the lens, make sure that this thin steel gasket is in place on your lens. |

| When
puting the lower part of the aperture ring onto the lens, make sure
that the little hook on the underside of the ring goes around the
little post that sticks out from the lens. |
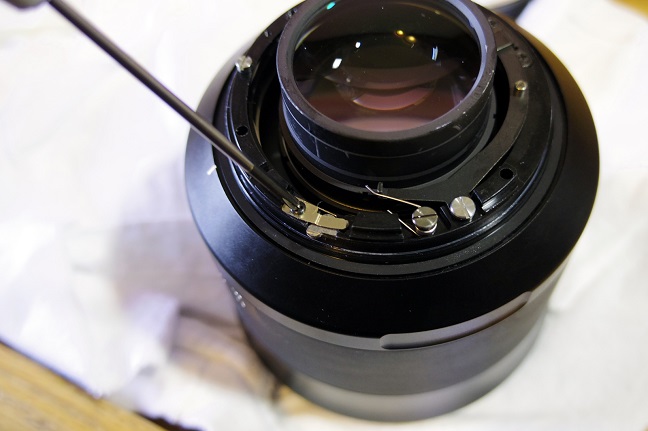
| Now,
test to make sure that the aperture is fully working, move this black
metal post back and forth, doing so should fully open and close the
aperture, if the aperture lever is working properly then go on to the
next step. |
| Make sure the little steel ball is in place.
The Leitax kit includes a spare steel ball just in case. |
| Put this thin black washer around the lens. |
| Remove the aperture locking mechanism from the lens.
This is optional, it is annoing to have the aperture ring blocked every time we reach minimun aperture. |
| This is what it looks like with the aperture locking mechanism removed. |
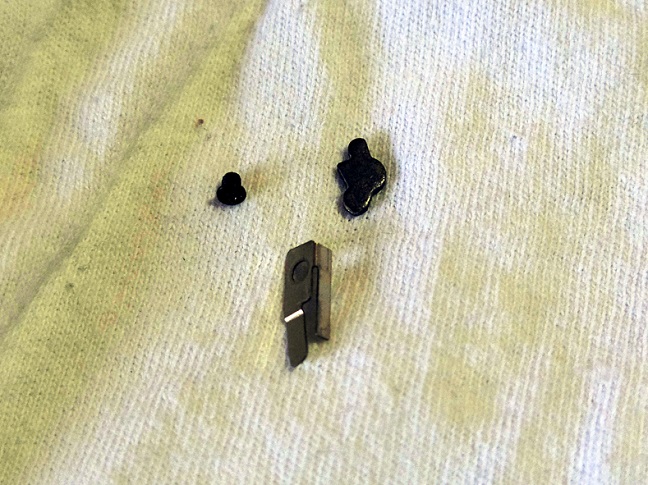
| These are the 3 pieces you just removed that lock the aperture ring.
You can store them in the small plastic ziplock that comes with the Leitax kit. |
| Re-install the top half of the aperture ring. |
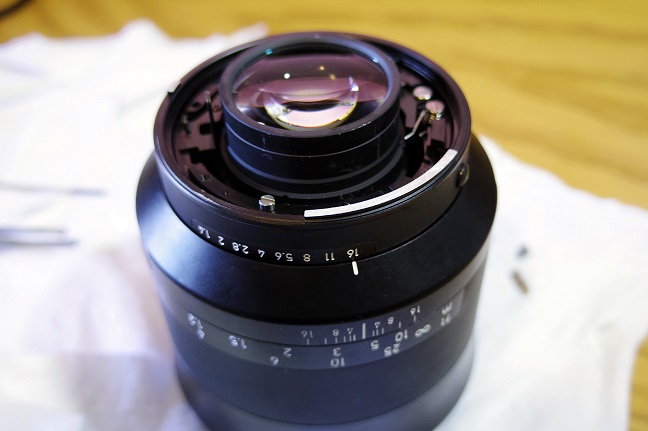
| Here is what the lens looks like with the aperture back in place. |
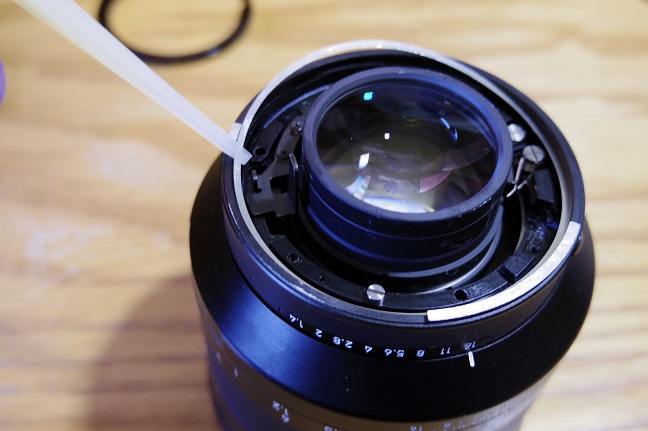
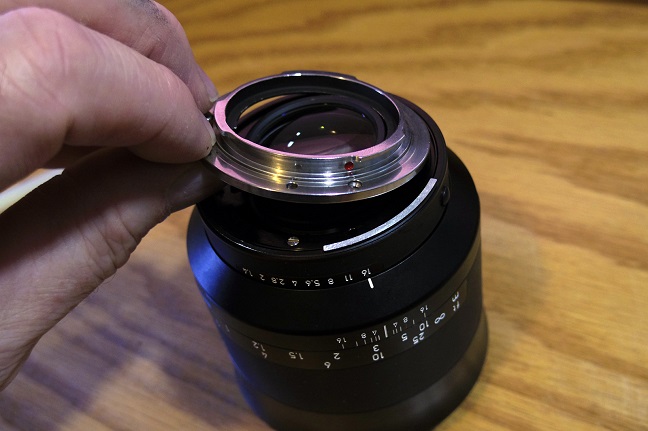
| Re-installing the thin gold ring. |
| Replace
the black ring that held the blue rubber washer, make sure that the
holes in this ring line up with the holes in the lens. |
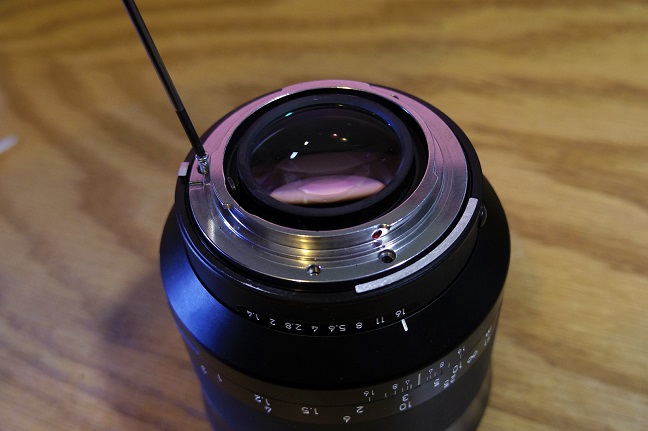
| Do not replace the blue rubber ring, the Leitax adapter will not fit if you re-install this rubber ring.
|
| Now install the Leitax adapter, make sure that the red dot on the adapter is directly over the #16. |
| Now attach the Leitax adapter with the 3 long Leitax screws.
Please let me know the Milvus model that you have when ordering. I will send the correct length screws. |
|
The finished adapted lens ready to be attached to your Pentax Digital camera.
Notice that the declick mechanism of this lens can still be used on a Pentax camera.
|
| These
are the original parts that you removed from the Milvus lens that you
will not be using, keep them in case some day you decide to convert
your lens back to its' original Nikon F mount. |
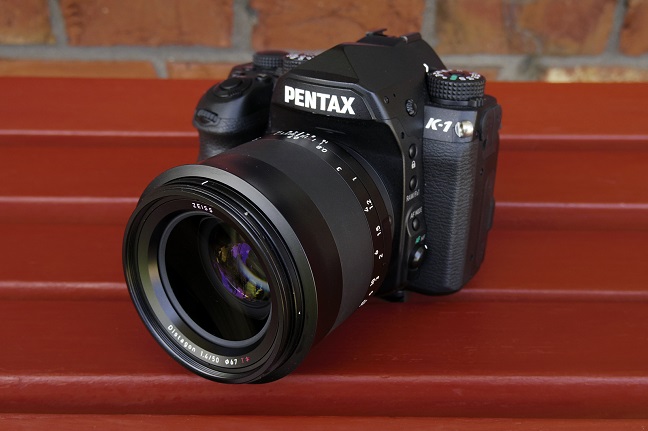
| The lens is ready to show how good is the Pentax K1. |
 | But, what if we want to use this modified lens later on a Nikon camera ?
Here a Zeiss ZF.2 lens with its original Nikon mount again. |
 | No problem, the levers have still plenty of thickness to couple with a Nikon camera. |
Back to Zeiss ZF2 to Pentax
cameras page
|
|