|
Leitax
Zeiss ZF / ZF.2 to Pentax-K mount instructions
|
 |
|
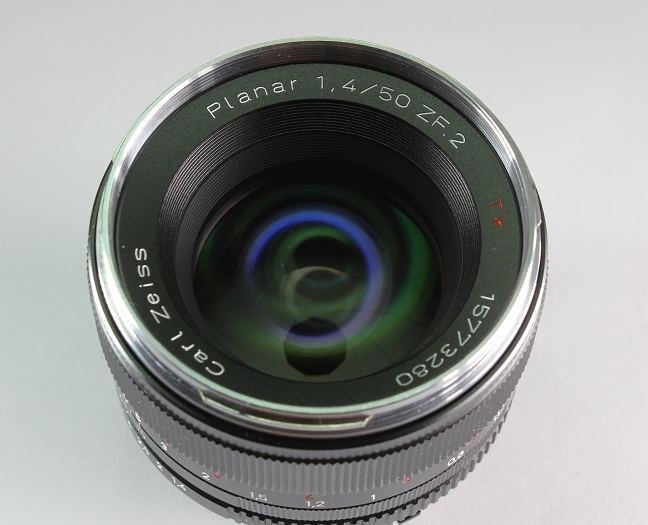
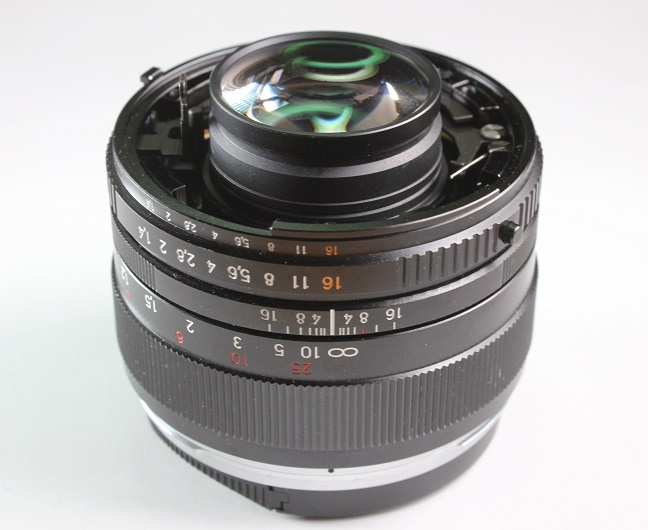
This
is my Zeiss ZF.2
Planar 50/1.4
|
|
It has a mount for Nikon-F cameras. |
|
First,
let's remove the original mount screws.
|
|
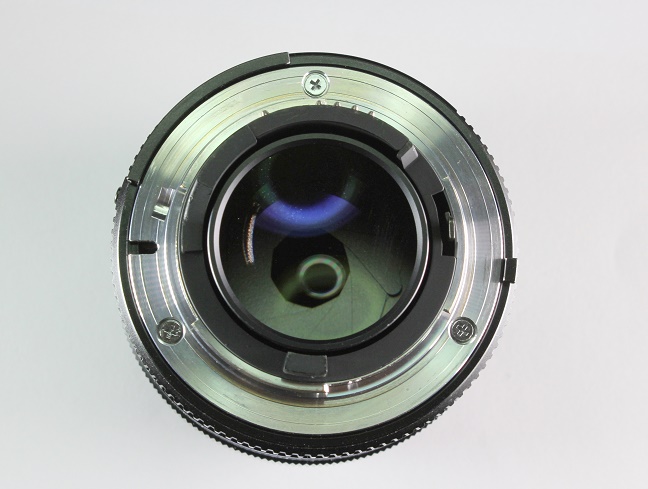
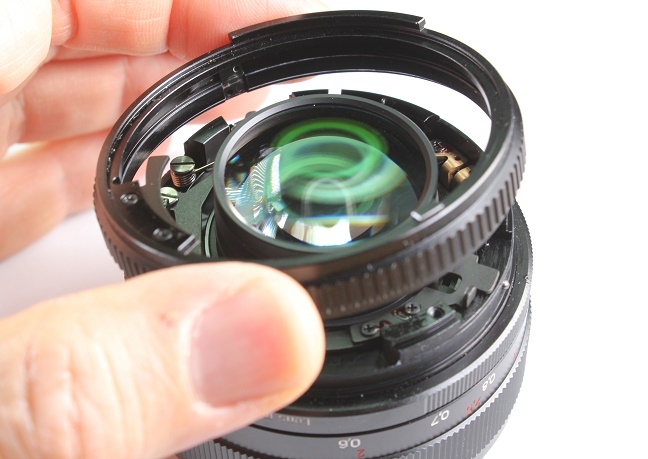
We can lift this mount. |
|
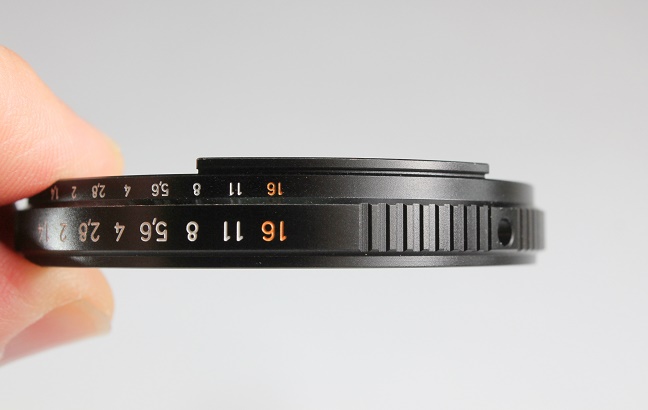
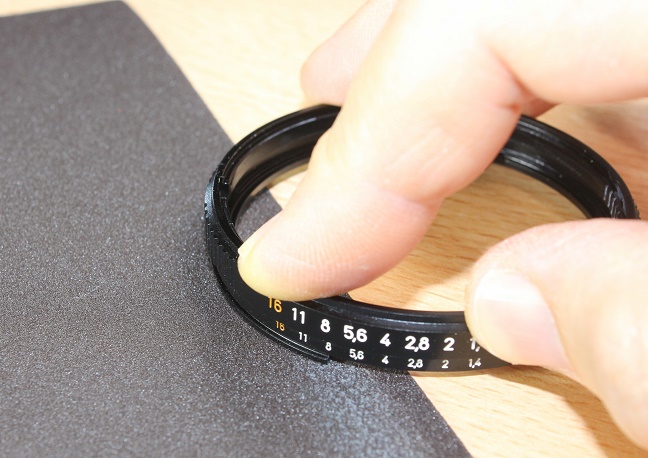
Now, rotate the aperture ring to the closest aperture, in this case F16. |
|
And lift the aperture ring. |
|
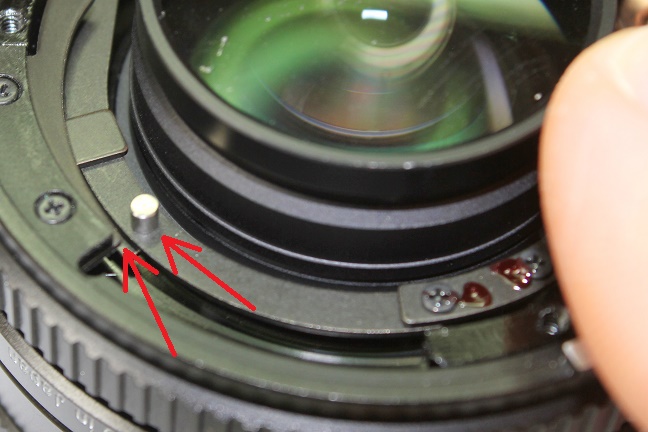
Pay attention to the small ball bearing in this side, it is kept there by the grease, so don't disturb it. |
|
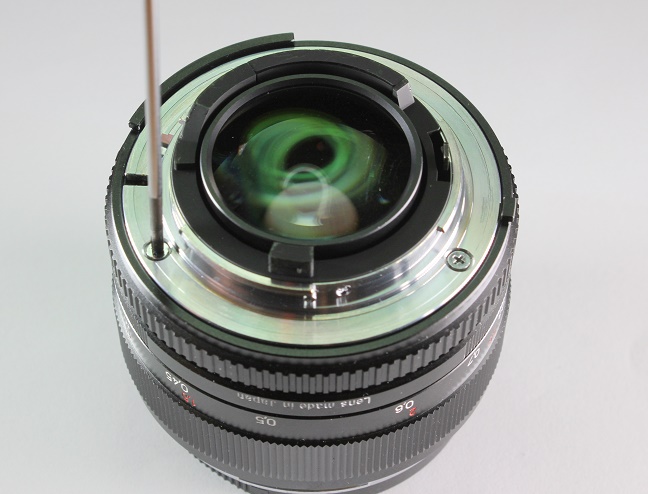
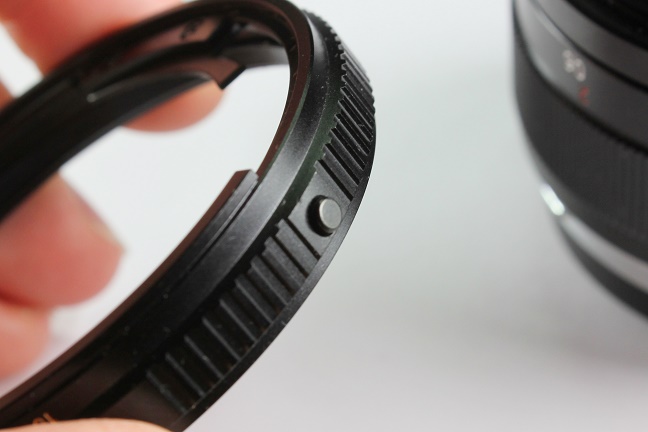
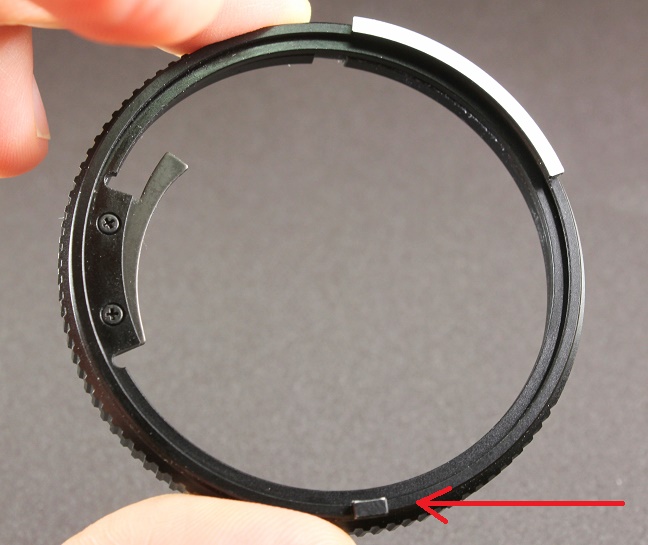
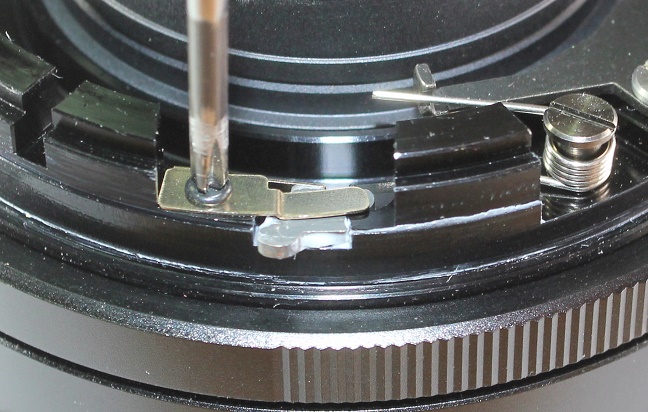
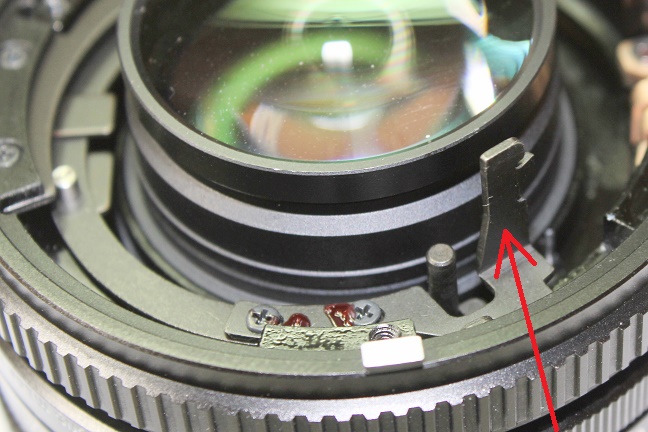
Here you
can see the locking aperture ring button that we have to remove. |
|
But first, take a picture of its back side , these marks will help to put it in place again exactly as it was. |
|
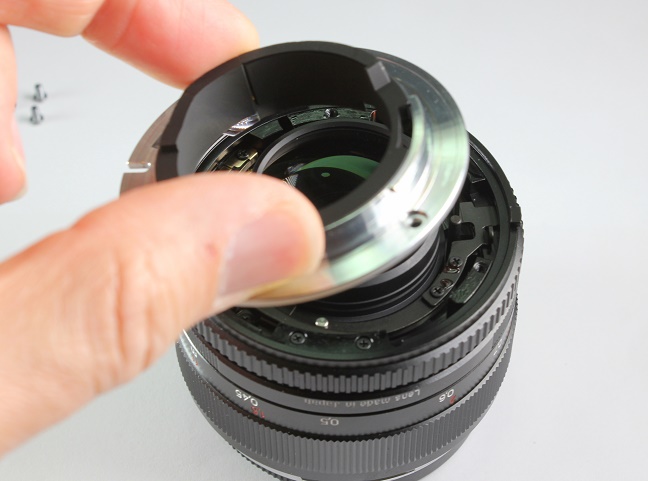
Here is what we have removed from the lens. |
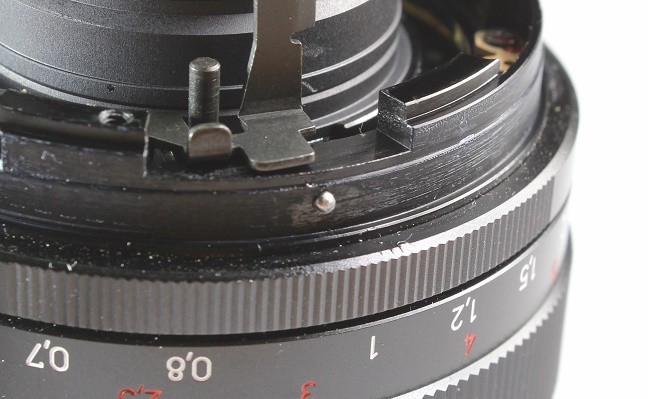
 | Now lock at this big coupling lever that all the lenses for Nikon-F camera have. |
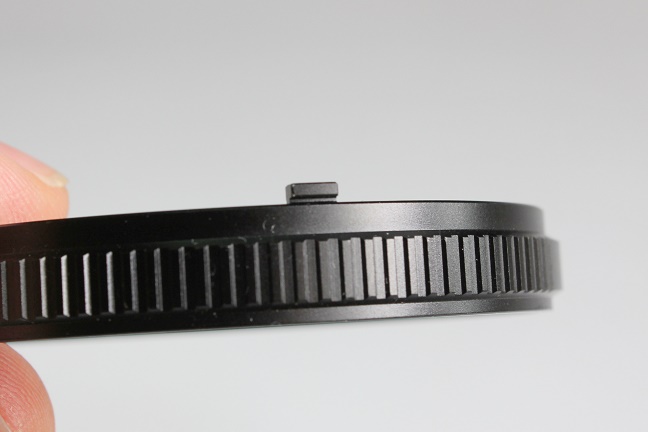 | And also this small one.
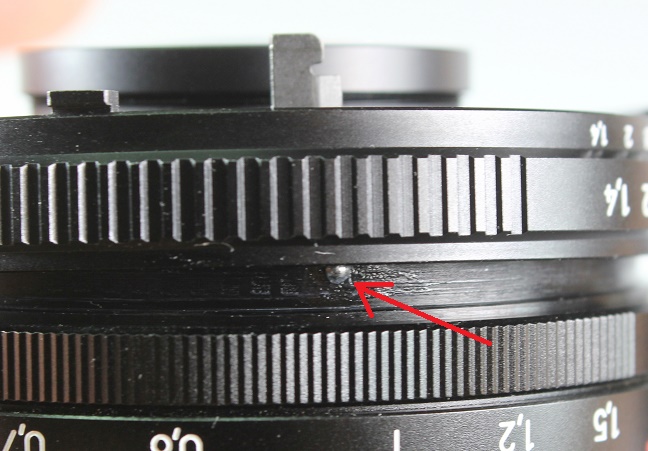
Unfortunately, these two levers are going to collide with the Pentax camera mount. So we have to file them slightly. |
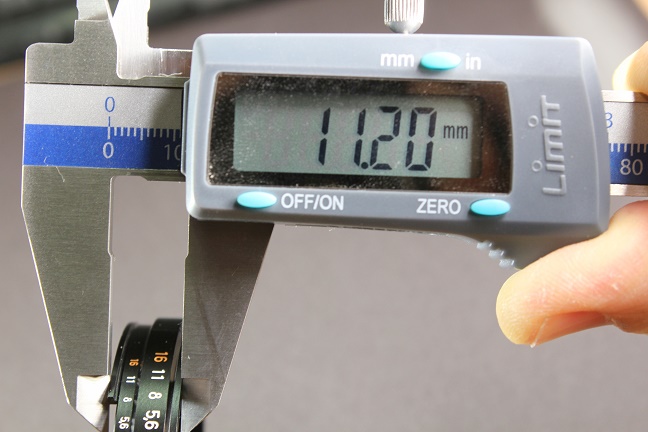
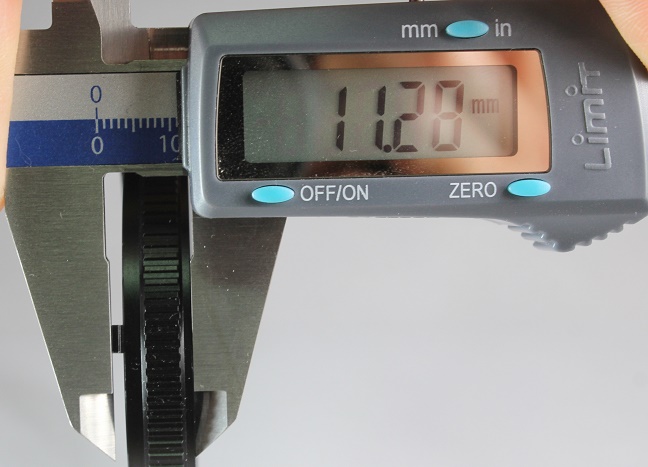 | You have to get a caliper to measure the thickness of your Zeiss aperture ring at the levers position. |
 | In our case, the two levers positions are
11.28 mm thick.
To avoid the collision with the Pentax camera, we'd have to shave
0.2 mm from them. |
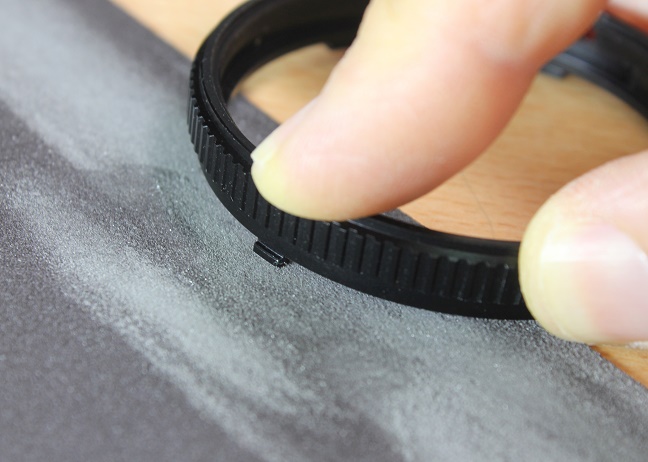
 | We need a sheet of fine sand paper for metal.
This is delicate work, don't be in hurry.
Depending where you press with the finger on top of the ring, you can control the point where there is more abrasion. |
 | As you can see in the pictures, I make one lever after another, not together, this way, I have control over the work. |
 | During
the work, you have to check frequently the thickness in the both sides
and the center of the lever, and compensate if there are differences.
We want to work the more evenly possible. |
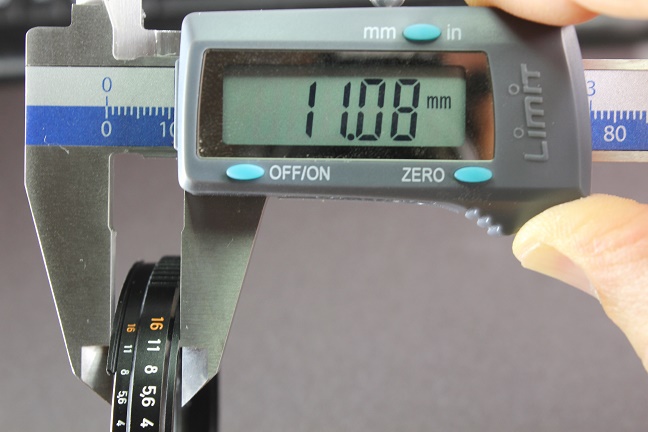 | Until we reach the desired thickness:
0.2 mm less than the original. |
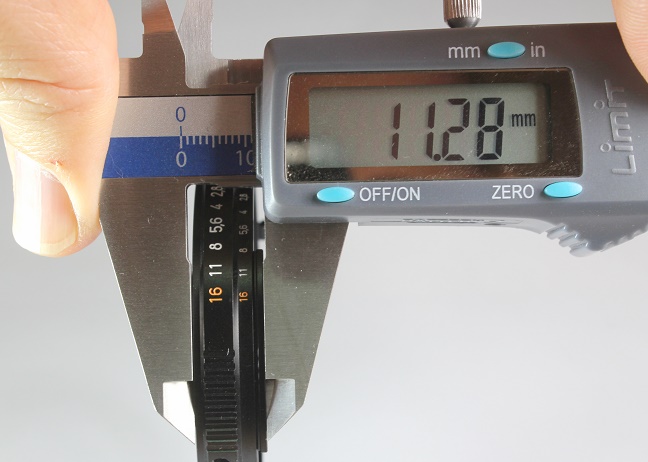
 | Now the other lever.
Caution! it is very small and it will be ready faster than you expect. |
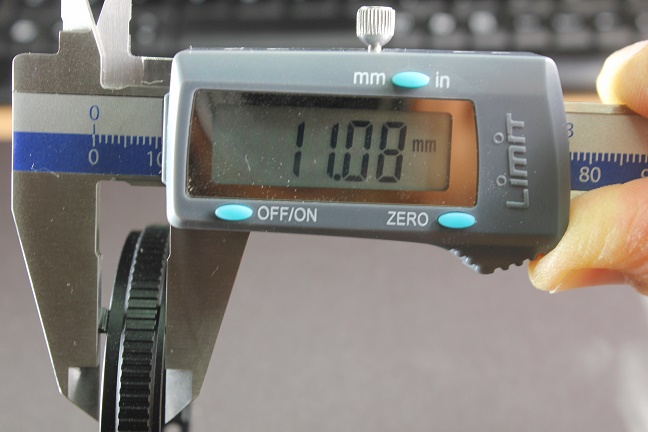 | Exactly at 11.08mm in no time. |
 | The aperture ring is now ready to work on a Pentax camera. |
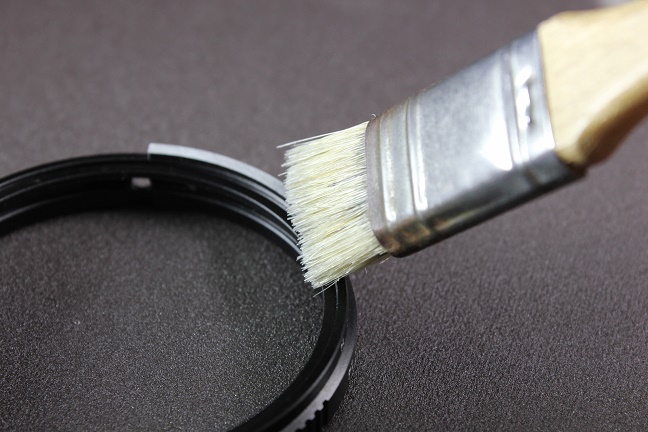 | We have to remove all the metal particles.
I use a stiff brush and a blower. |
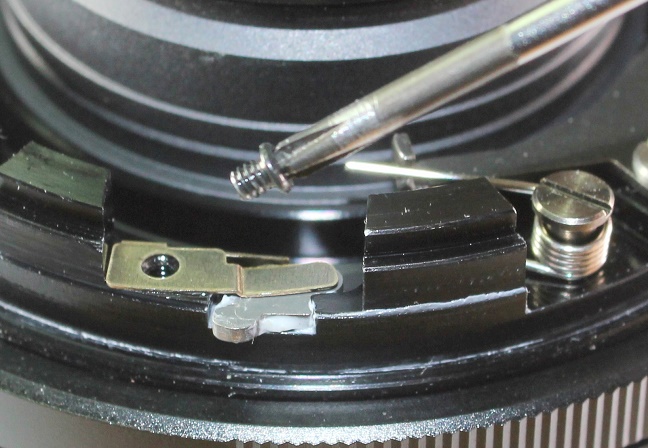
 | Now put the button again. |
 | As you see, at the same orientation, perhaps it is not important, but let's work accurately. |
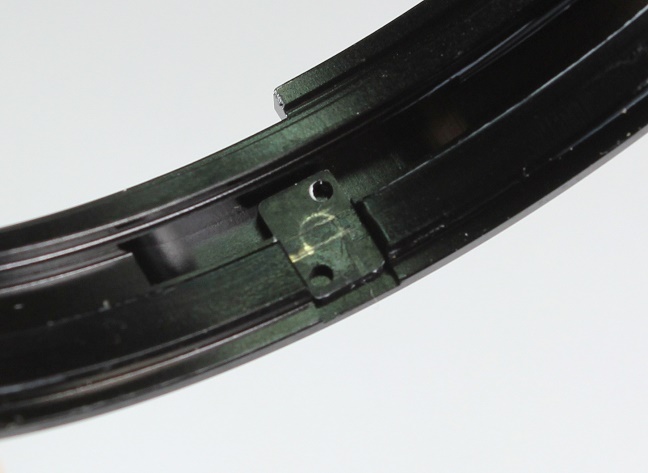
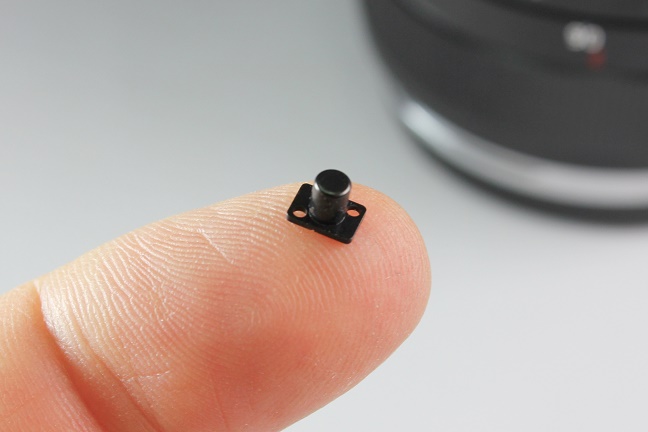
 | This is the locking mechanism that the button releases. |
 | This mechanism in the ZF2 lenses will block the aperture ring every time it reaches the closest F-value, normally F-16 or F-22.
This can be annoying when you are using a Pentax camera where it has no utility at all.
So you may decide to remove it.
|
 | It is useful to have the screwdriver tip magnetized. |
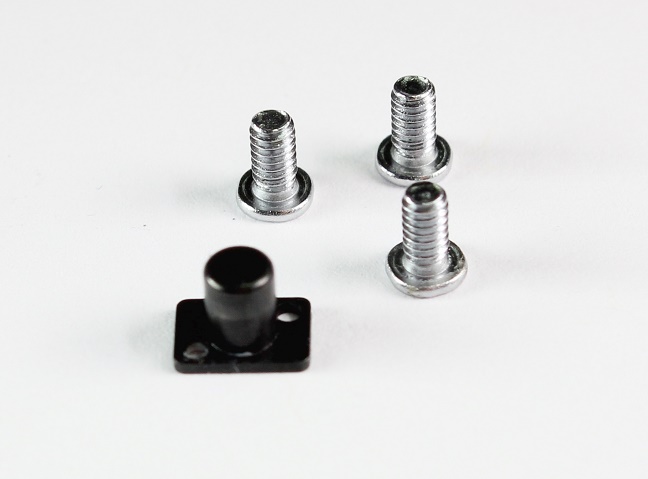
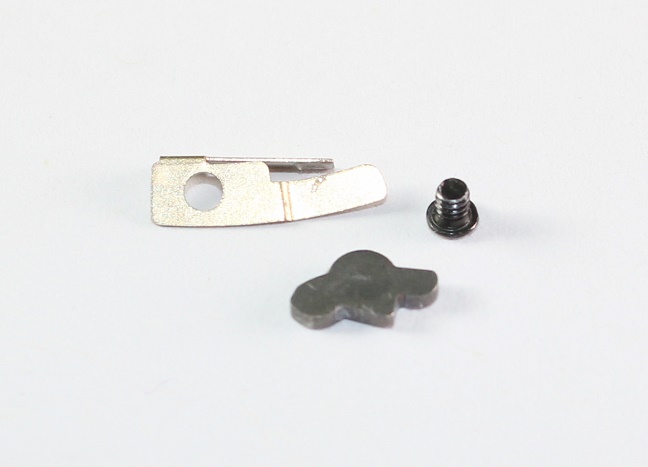 | Here the three pieces that you have to keep together with the original mount screws.
I advise you to use the provided small bag and keep it inside your lens box. |
 |
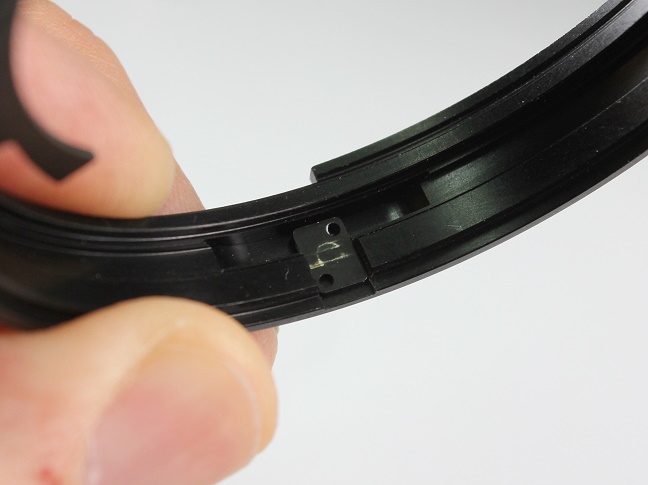
Ok, back to the instructions, here you can see that, in the picture, the lens has the locking mechanism again.
It is up to you to keep it there or not.
So we have to put the rear of the button against this locking mechanism.
|
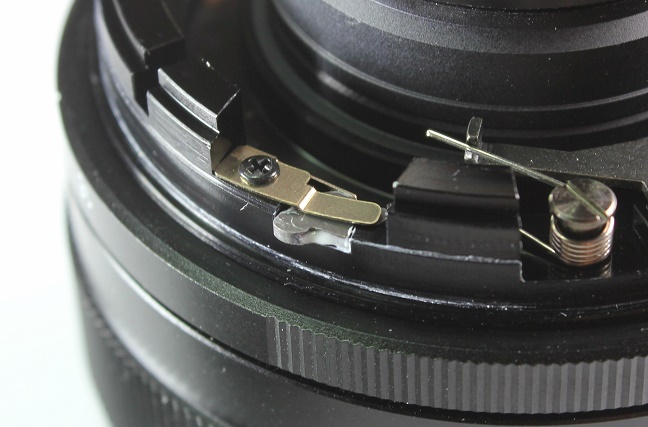
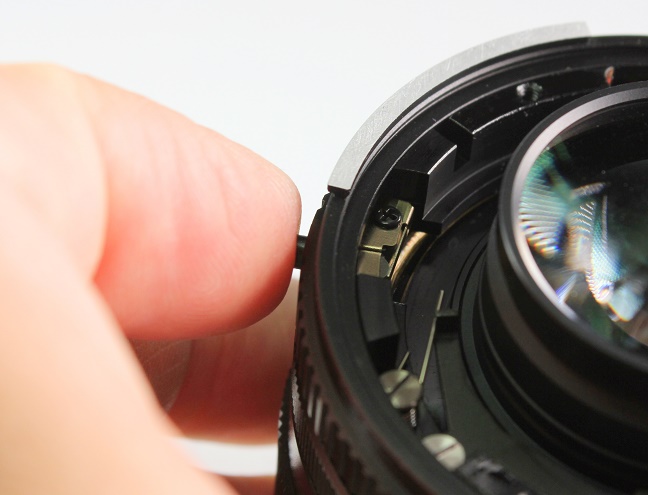
 | As we are trying to put the ring in place, the aperture cam of the ring will collide with this shaft. |
 | To move that shaft out of the way, we can simply push this lever. |
 | Now the shaft it's out of the way and we can finally push the aperture ring down to its place. |
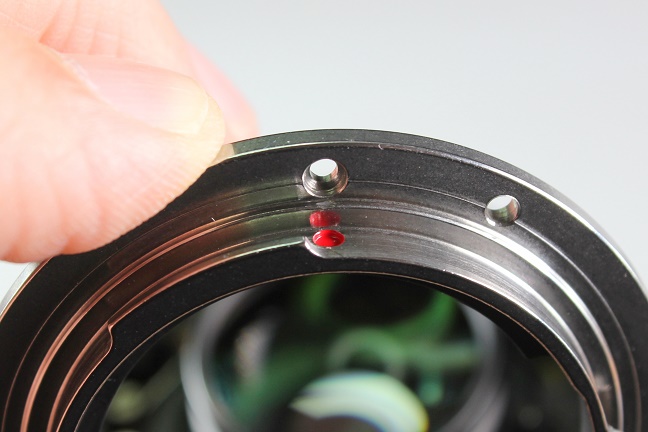
 | Before that, check that the small ball bearing is there.
Now I'm including a spare ball bearing , just in case this one gets lost. |
 | Since we are at F16. We have to press the button to rotate the ring and check that all is working fine.
If we did remove the locking mechanism, that button will no make any effect but also will be not disturbing us there.
|
 | Now, take the Leitax mount and put the red dot at the top position of the lens. |
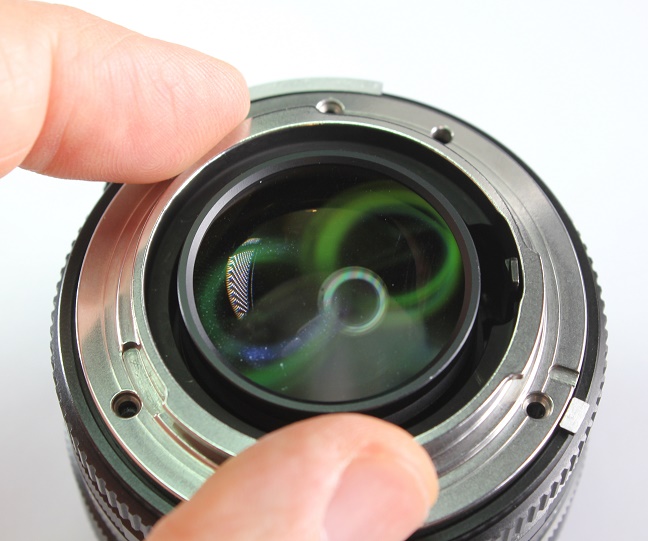 | Like this. |
 | We are going to use the provided screws.
Please tell me your lens model when ordering a Leitax mount, so I will include the correct length ones. |
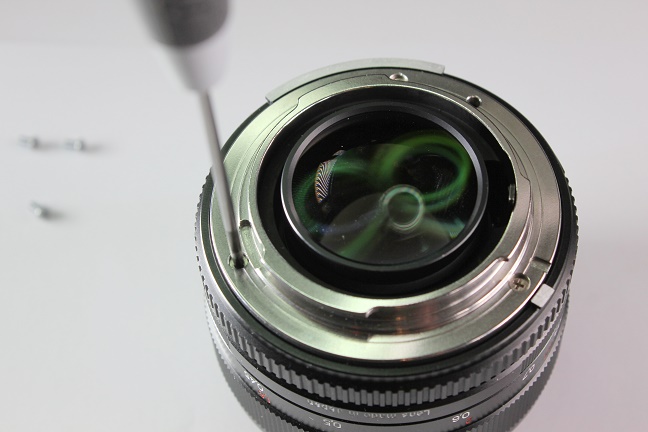 | Screw first all three softly and then tighten them. |
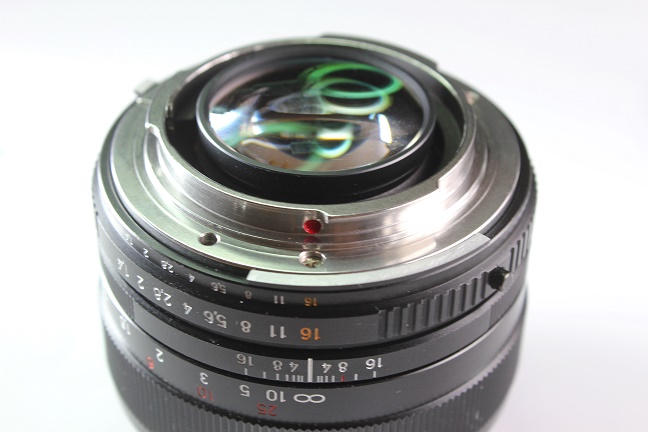 | Ready |
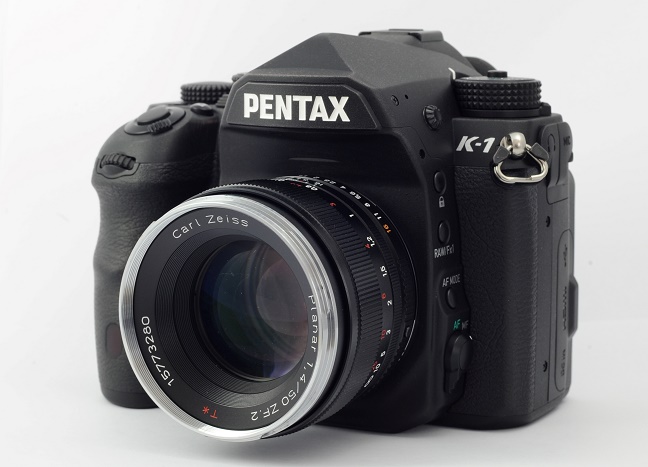 | Now we can use the Zeiss ZF and ZF.2 lenses on our Pentax camera. |
 | But, what if we want to use this modified lens later on a Nikon camera ?
Here the same lens with its original Nikon mount again. |
 | No problem, the levers have still plenty of thickness to couple with a Nikon camera. |
Back to Zeiss ZF2 to Pentax
cameras page
|
|