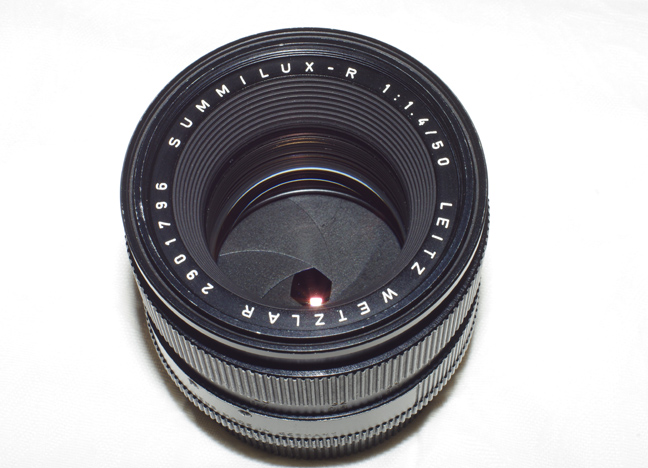
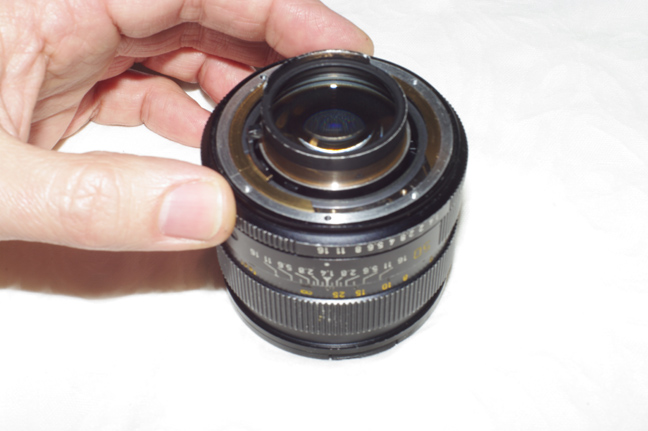
This is the Leitz Summilux 50/1.4 second version.
It is a 3 cam lens.
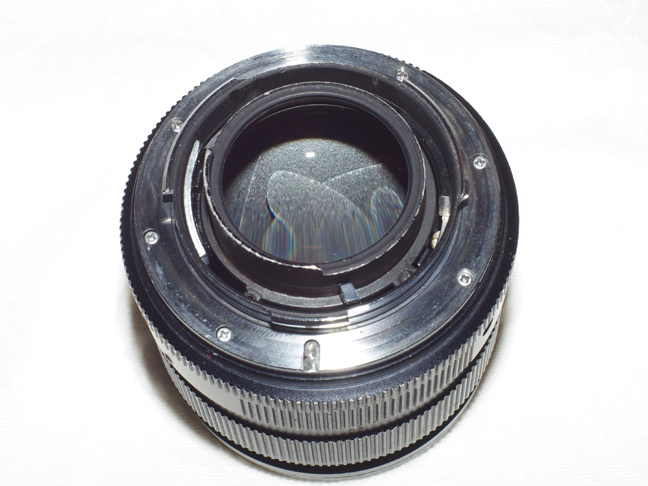
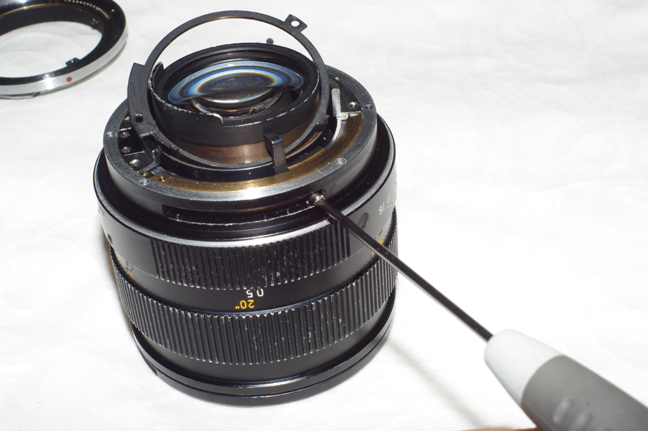
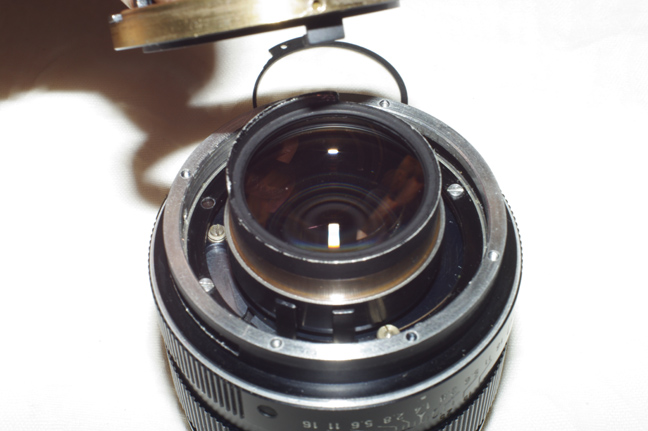
First, unscrew the shroud black screws.
Now lift the shroud.
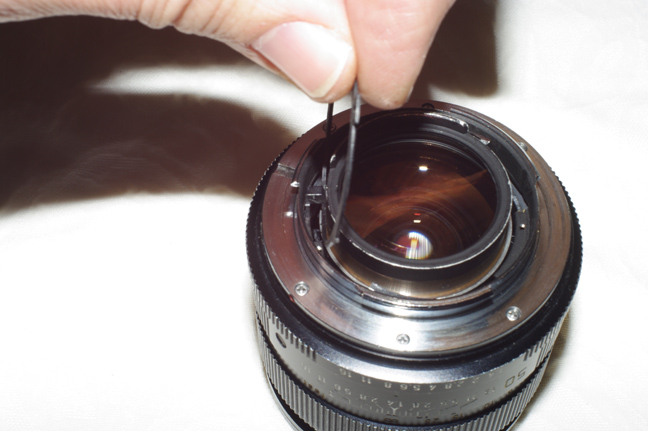
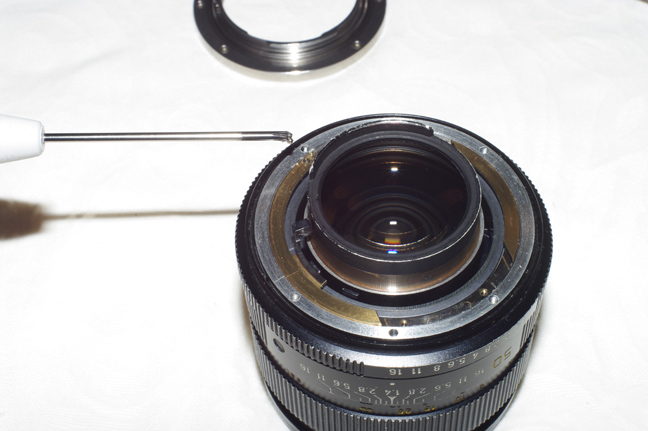
Ooops, this aperture lever nose is bigger than usual, and we cannot remove the shroud.
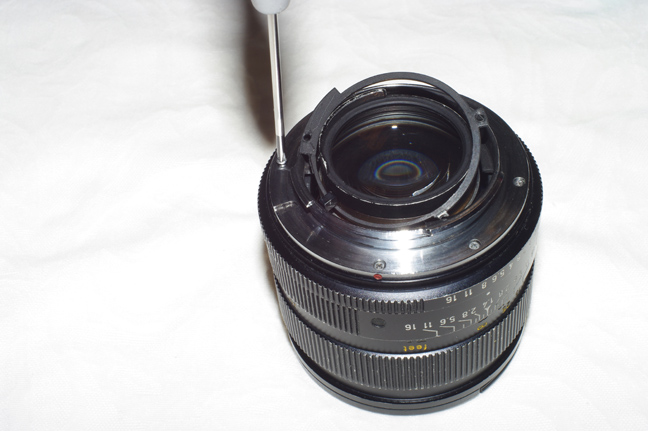
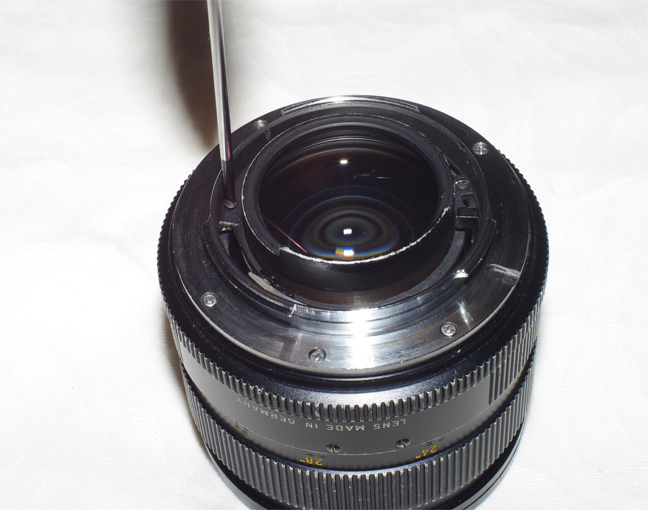
Ok, let's unscrew the bayonet then.
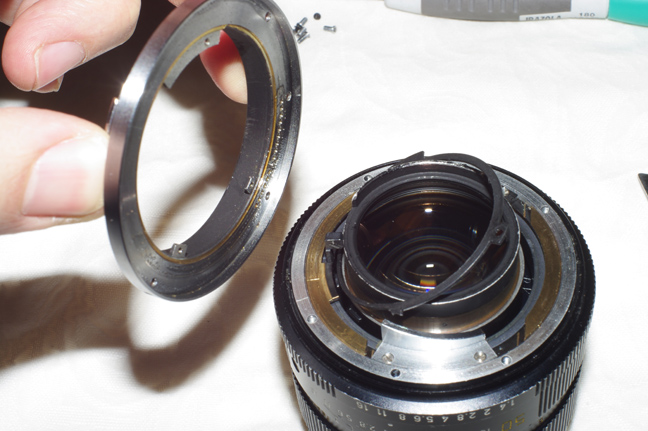
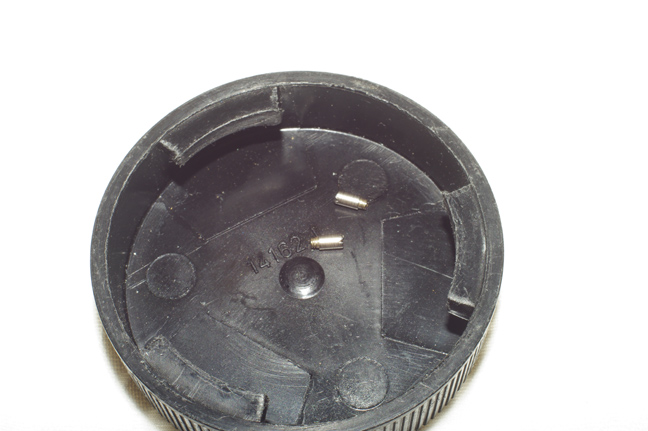
Remove the bayonet and look for the small bearing ball, sometimes is still glued to the bayonet.
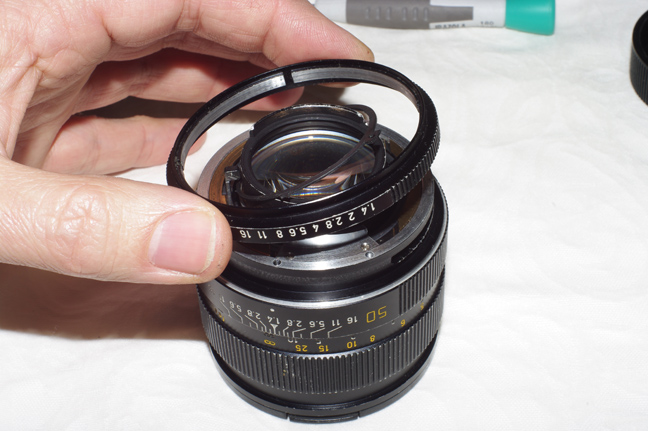
And remove the aperture ring too.
Now unscrew this two ones .
These are the screws.
Now lift and remove the bronze ring, so we can liberate the black shroud.
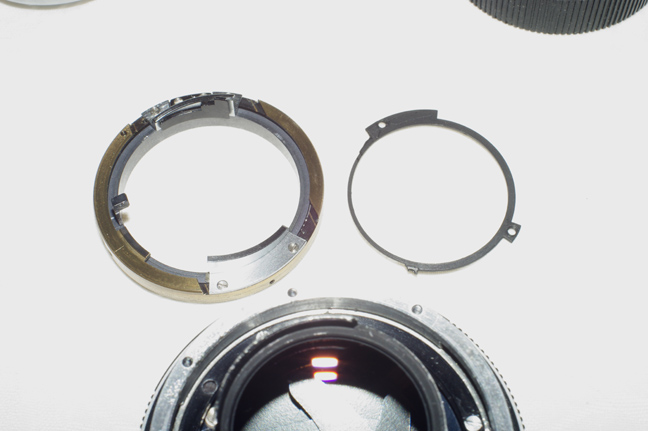
Finally is free.
Now put the bronze ring in its place again, this black lever goes inside the U shaped piece.
Make sure the screw holes appear in the long window.
This way is easy to put the screw in place.
Of course, if your lens has no problem in removing the black shroud, there is no need to disassemble the lens' bronze ring.
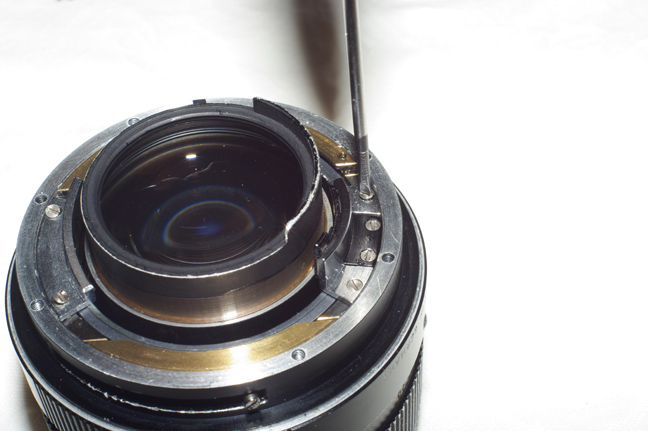
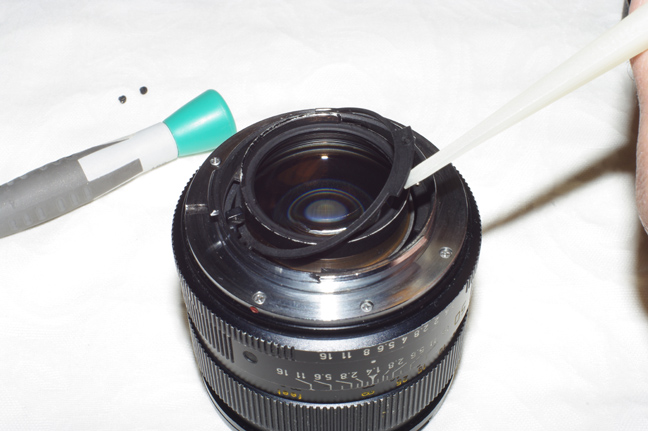
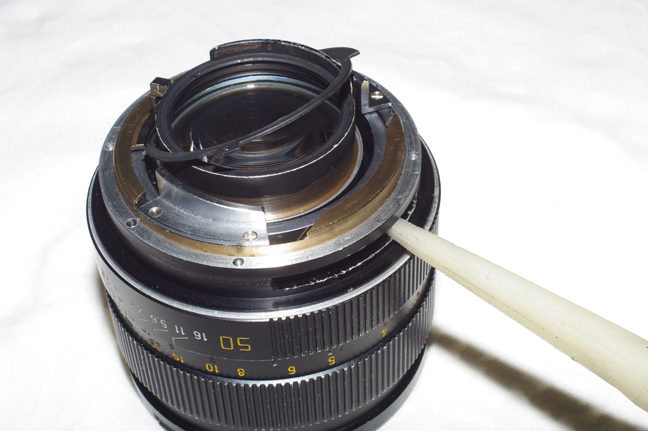
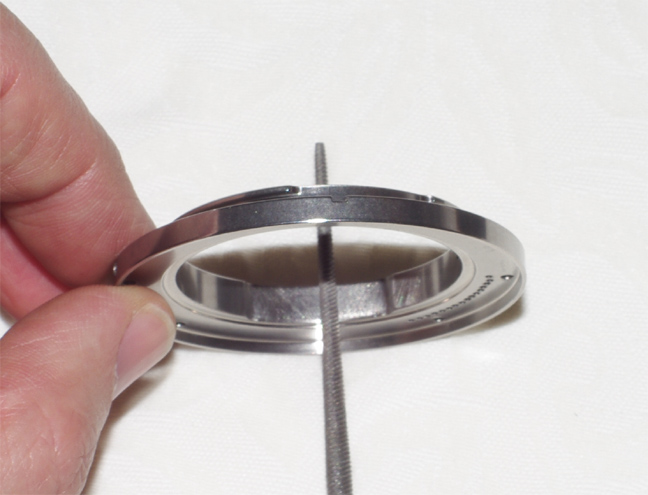
Now we have to remove the two clear metal cams.
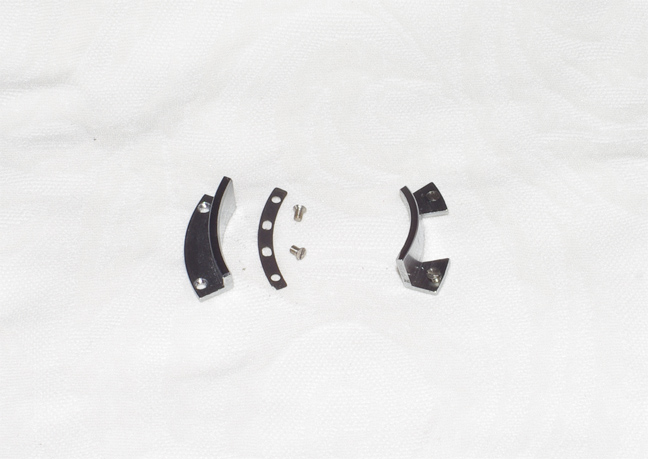
These are the removed cams.
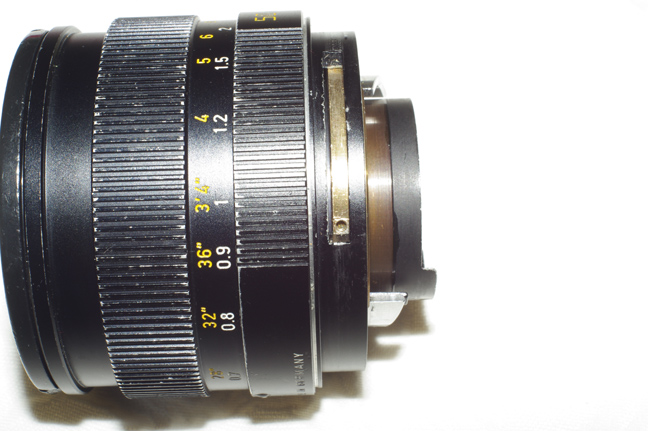
We can install the aperture ring again, pay attention to the numbers position.
Now bring the small bearing ball to its place, and leave some grease on it.
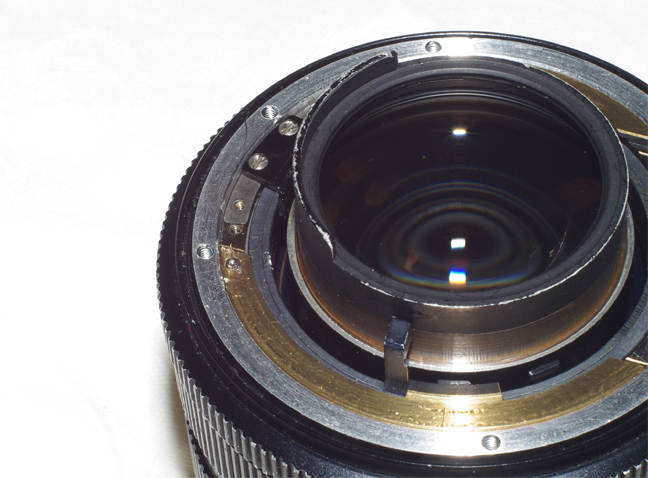
The ball goes here.
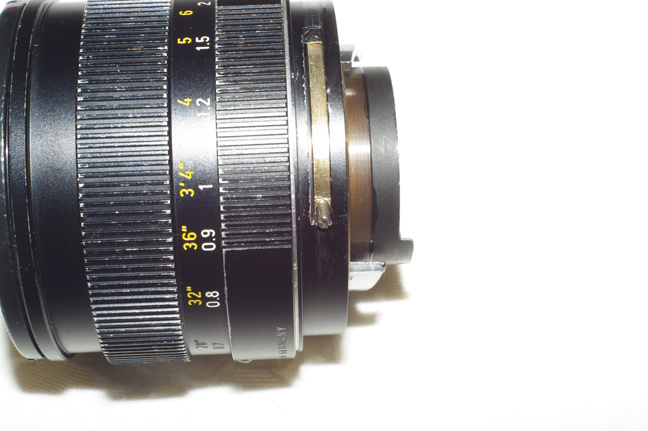
One of our customers already reported this, and we had the same problem with our unit.
The solution is to shave a little bit the bayonet part that touches the aperture lever with a small and round file.
The two units had also some holes in different position, so I could use only five bayonet screws.
About the extra shaving with the Summiluxes, I had feedback from a
customer that found his one working perfectly and all the holes in the right position, so it is not a general problem.
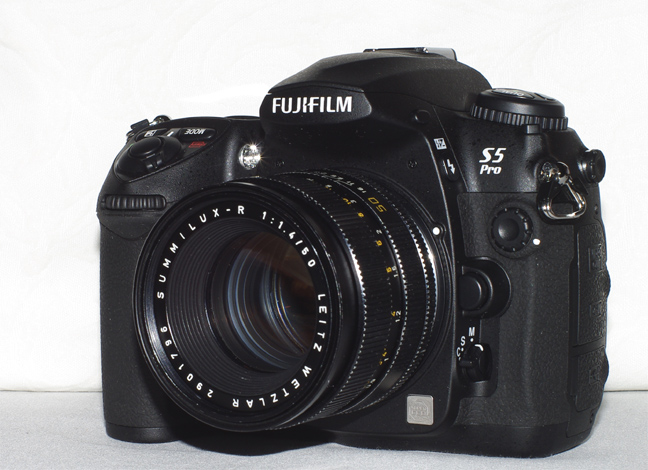
Install the Leica-Pentax or the Leica-Nikon bayonet, the red dot in front the scale center for Pentax, and slightly to the right for Nikon.
Five screws are more than enough to keep the lens solid on Pentax, Fuji and Nikon cameras with the Leitax bayonet.
Back to the Nikon page
Back to the Sigma page
Back to the Sony page