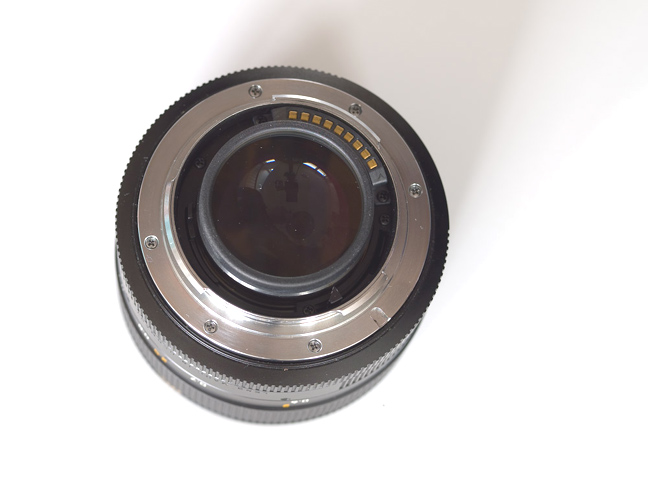
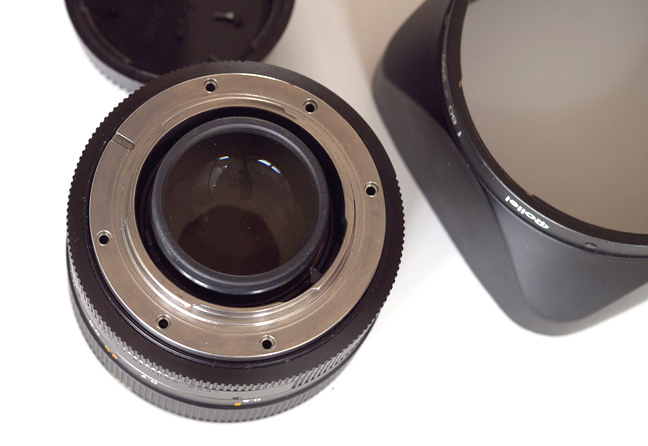
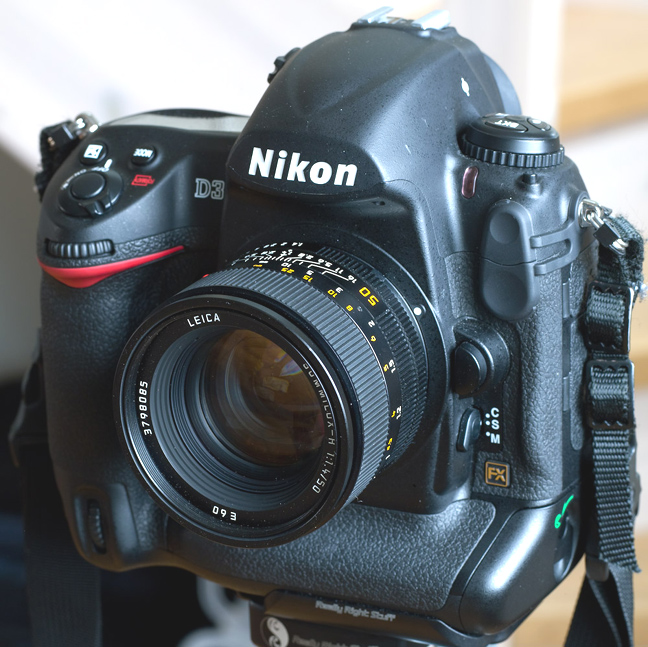
This is the current Summilux 50/1.4 ROM version, with E60 filter size.
These pictures were taken by our customer and friend Stuart.
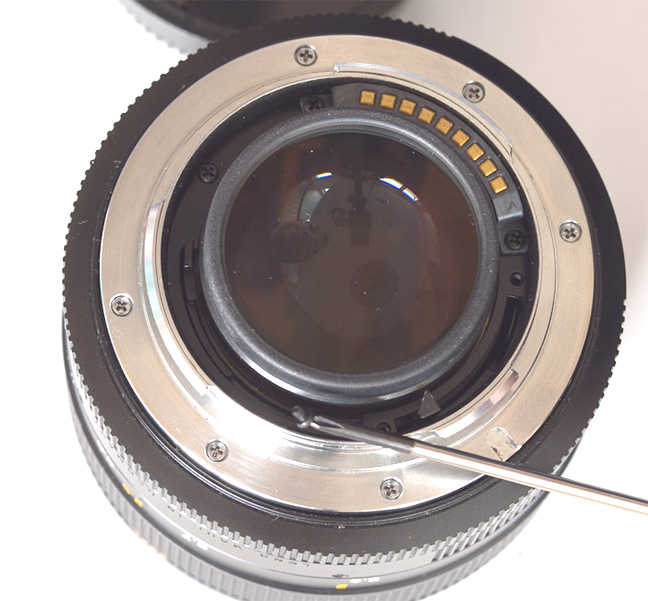
First, we have to remove the three small black screws that secure the black shroud.
Please pay attention not to touch the two ones that attach the ROM contacts.
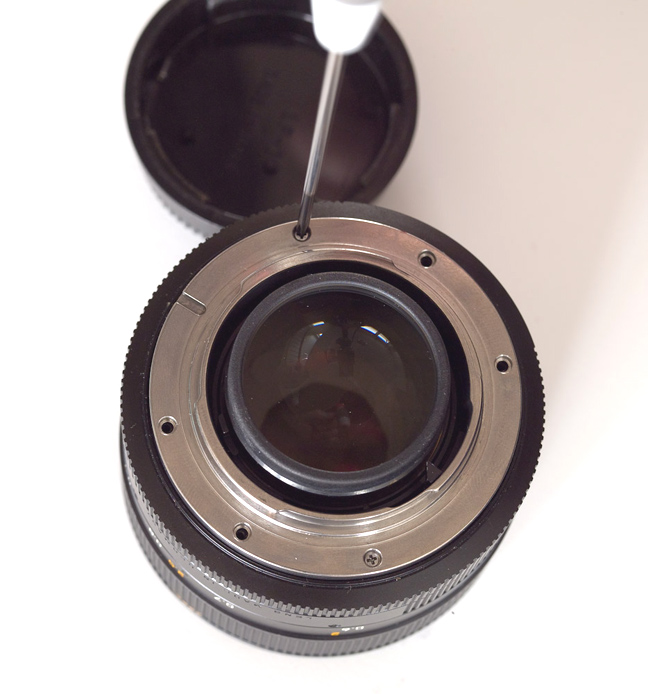
Look at the screwdriver point, Stuart used a magnet to avoid losing the screws inside the lens, I use to turn the lens upside down at the moment of removing them.
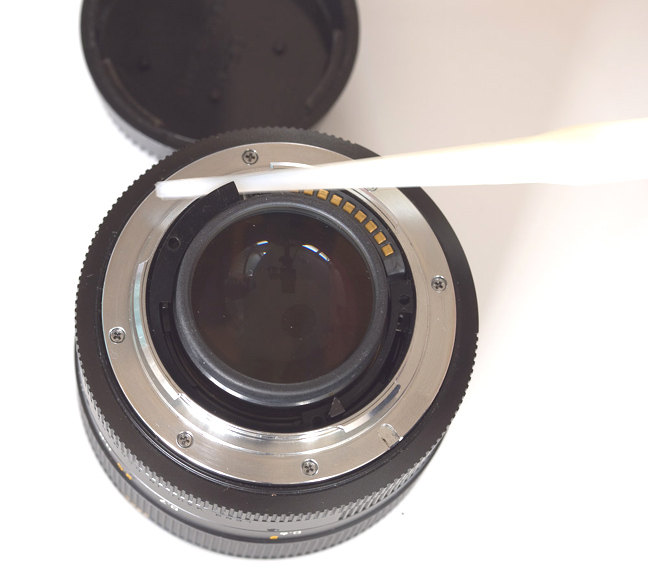
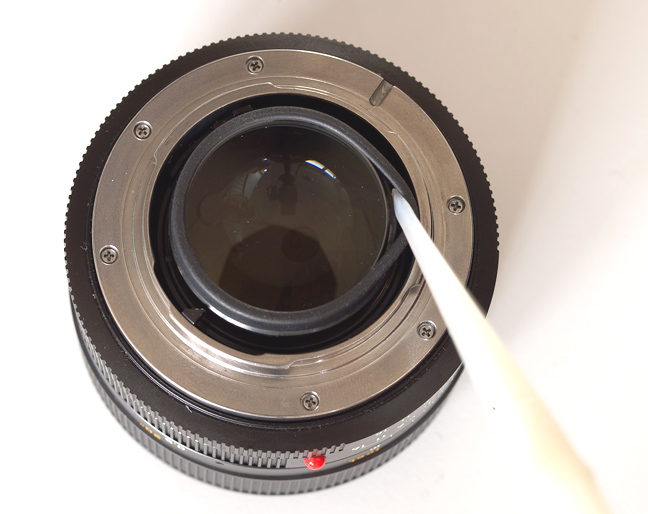
Now we can remove the black shroud with our plastic tool, this is the best to avoid scratches and fingerprints in the rear lens.
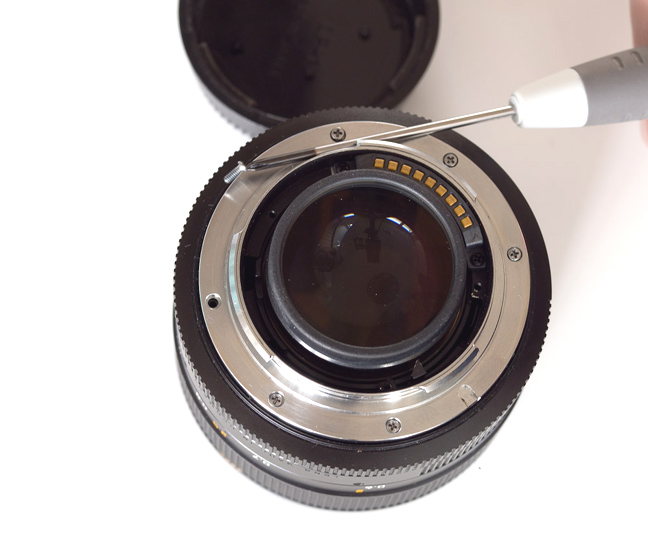
Next we can unscrew the bayonet, the magnetic screwdriver is showing how useful it is.
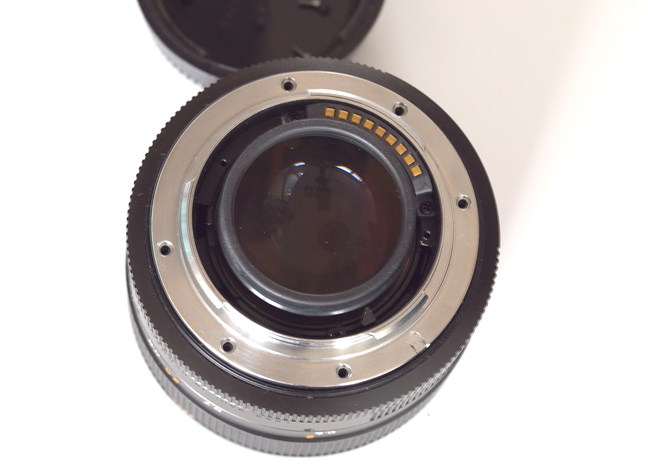
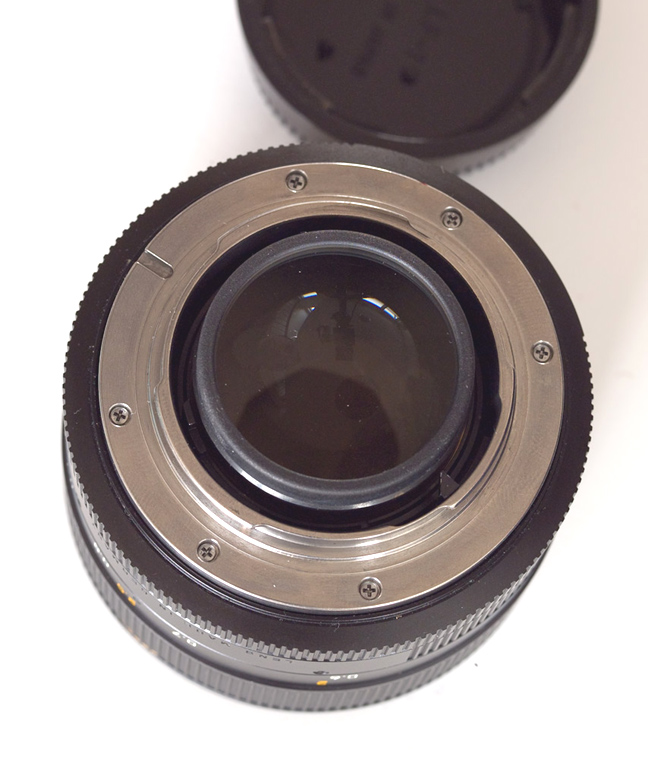
All screws removed.
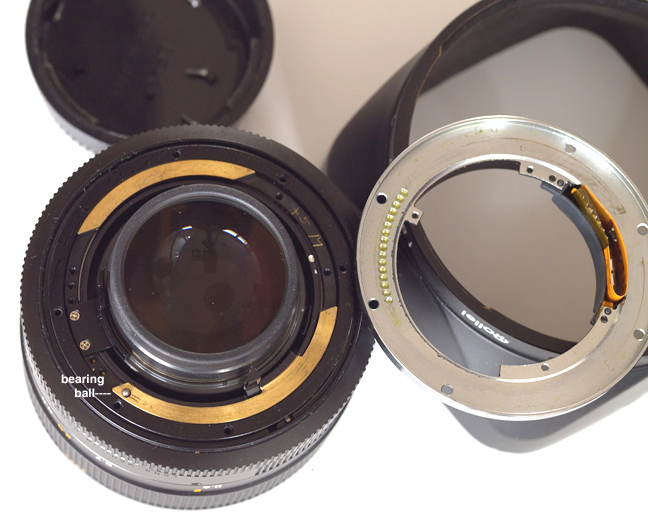
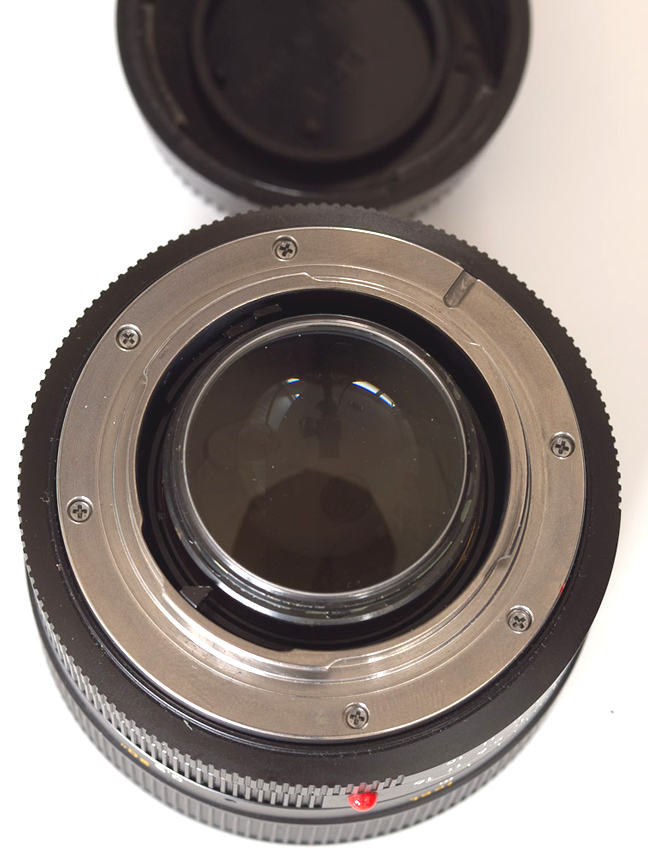
Just lift the Leica bayonet, and check if the small ball bearing is at its place like in the picture.
Now it is important to remove a moment the bearing ball, you can safely use the point of a screwdriver with some grease to catch it.
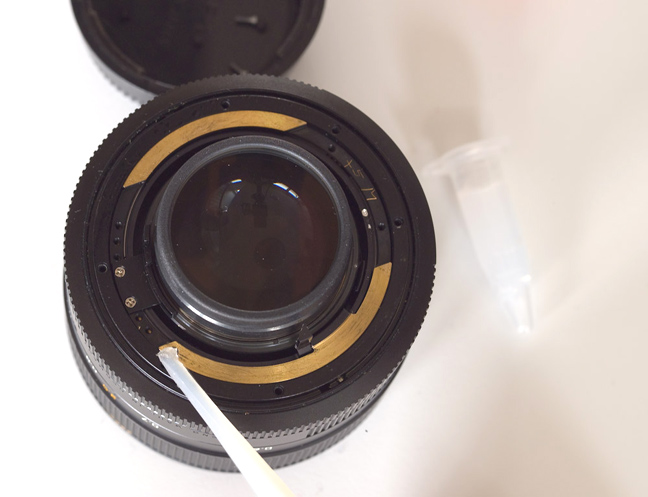
So we can put a bit of grease in its hole where there is a small spring, so the spring will be secured inside.
Now put again the ball in its place with some more grease on it.
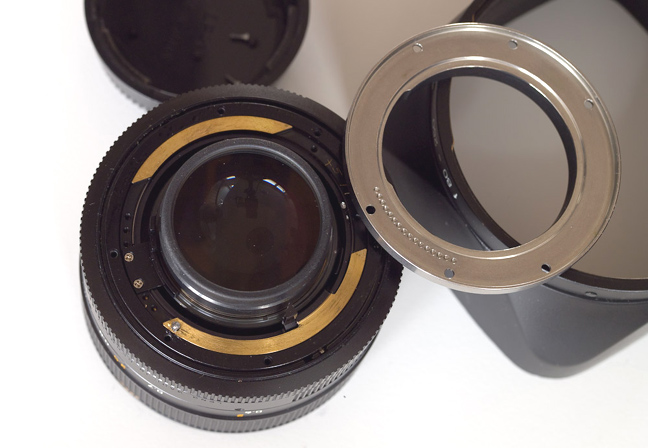
And install the Leitax bayonet, the red dot goes near the lens scale center.
Now we can screw the bayonet, please turn a bit each screw after another in a cross pattern.
The Leica-Nikon bayonet is ready .
For Nikon Full Frame cameras, it is necessary to remove this rubber ring that will hit the mirror.
The Summilux without the rubber ring.
Ready, we can use this great lens on Pentax and Nikon cameras now.
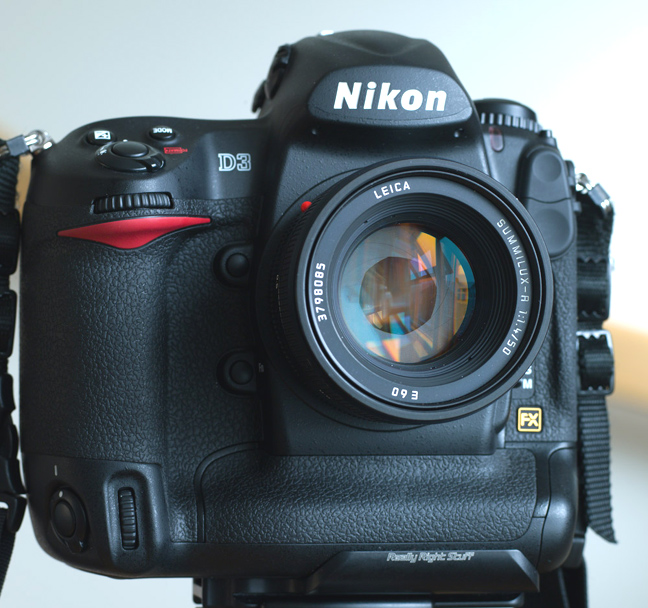
Another picture of Stuart's camera.
I would like to thank him again for this great picture series.
Back to the Nikon page
Back to the Sigma page
Back to the Sony page