This
is how we will preserve the tube shroud on a Leitax mount. These
instructions complete the ones we have for the Leica-R lenses with a
tube-like shroud
Instructions valid for the Leica-Nikon new mounts from January 23th, 2012
Also valid for Leica-Pentax new mounts from October 1rst, 2012
Please don't hesitate to ask any question to
info@leitax.com
Instructions valid for the Leica-Nikon new mounts from January 23th, 2012
Also valid for Leica-Pentax new mounts from October 1rst, 2012
Please don't hesitate to ask any question to
info@leitax.com
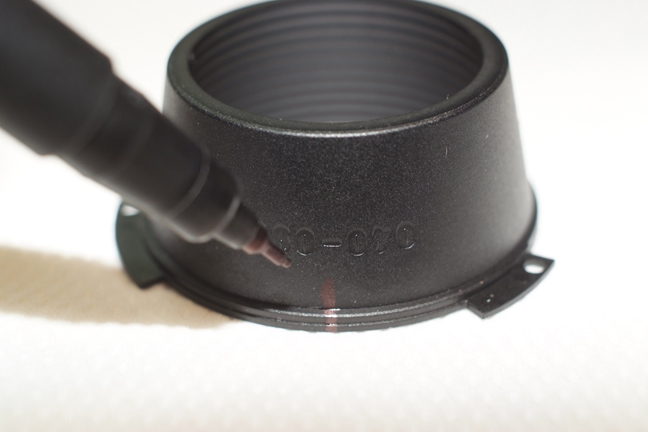
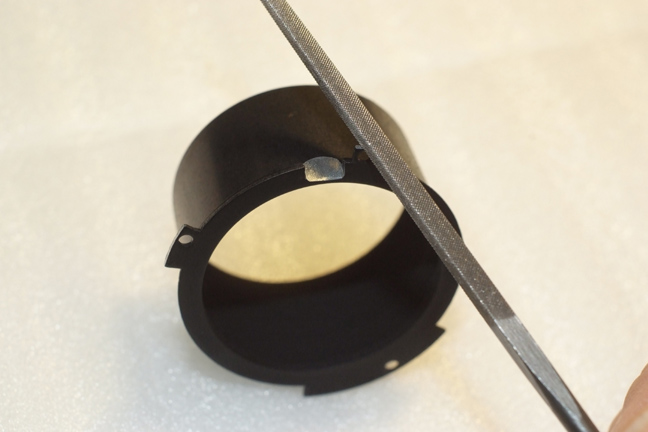
The marker is from micro-tools shop.
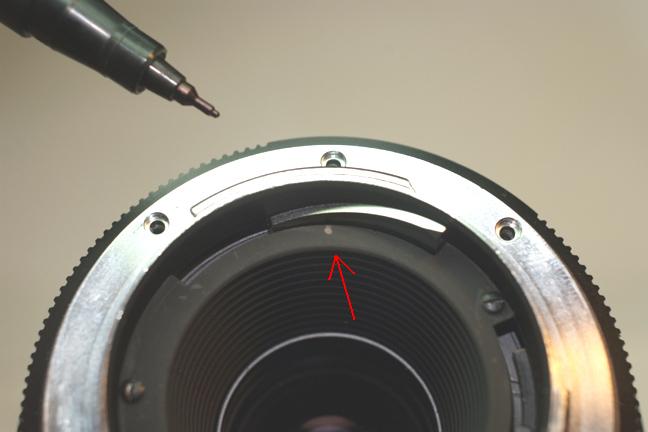
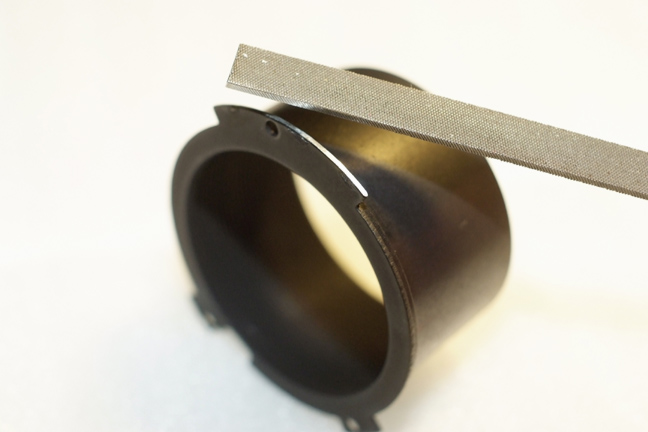
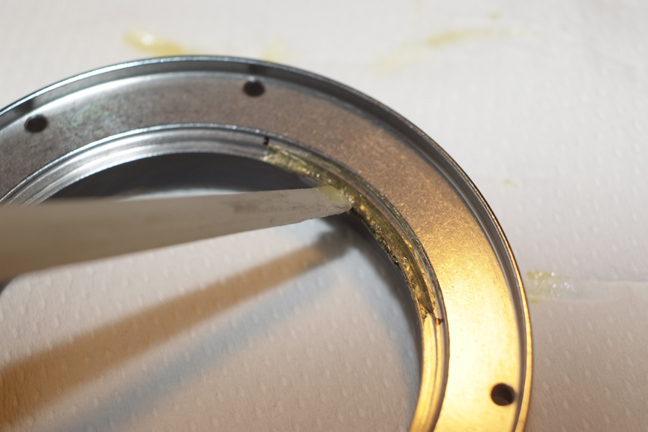
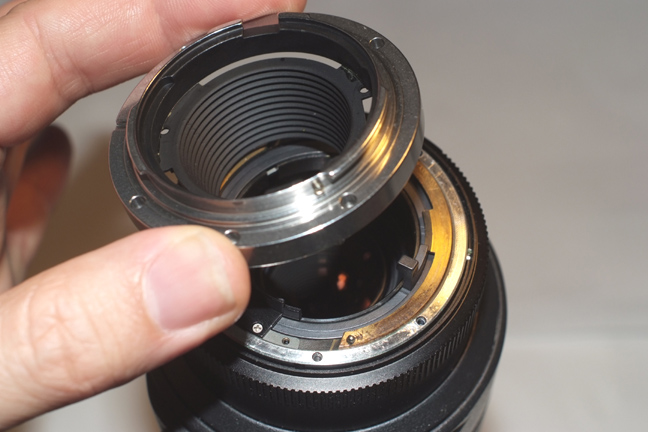
Now let's put the tube on the special groove that the new design of the Leitax mounts have.
As you can see, the mark we did goes on top of the mount, that is the hole in the middle of the three upper ones.

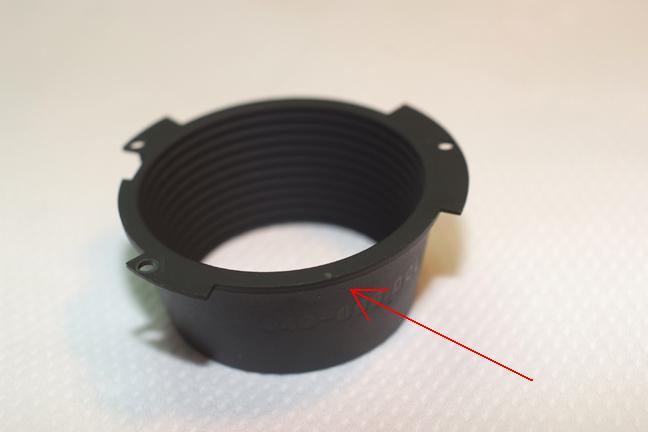
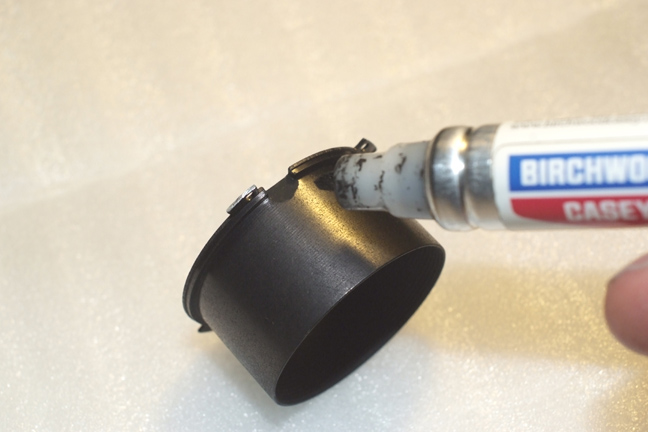
To make this work reversible, better use a not too strong glue.
With plastic tubes I recommend contact cement glue. With metal tubes I'd use my NEXUS glue (it is a sort of superglue but slower).
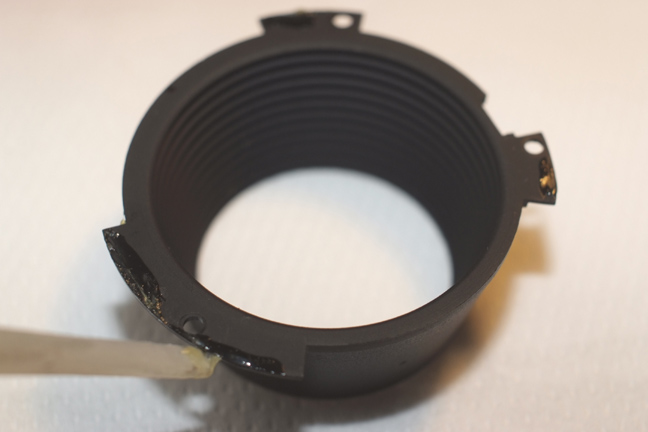
Of course, the NEXUS glue works differently.
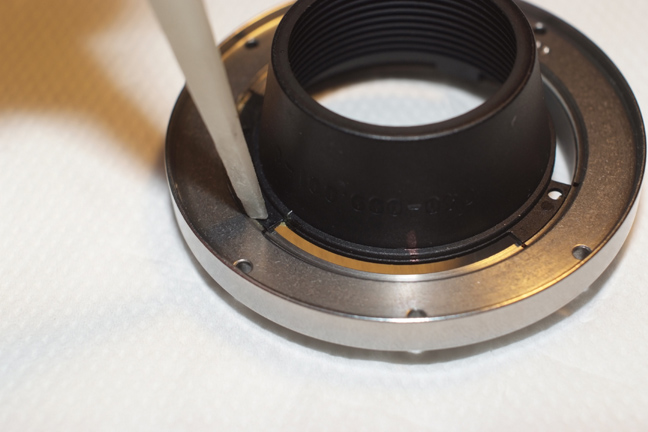
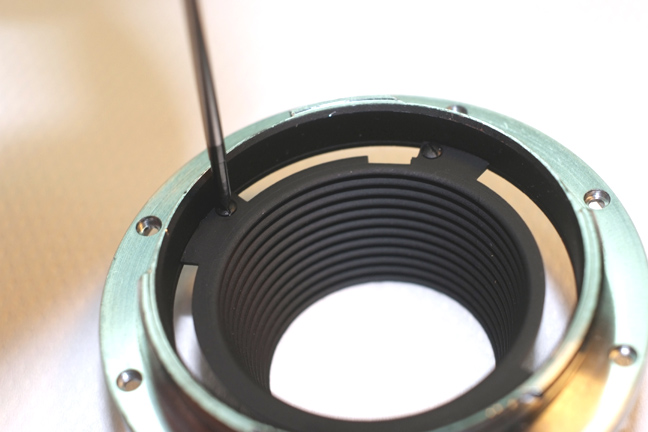
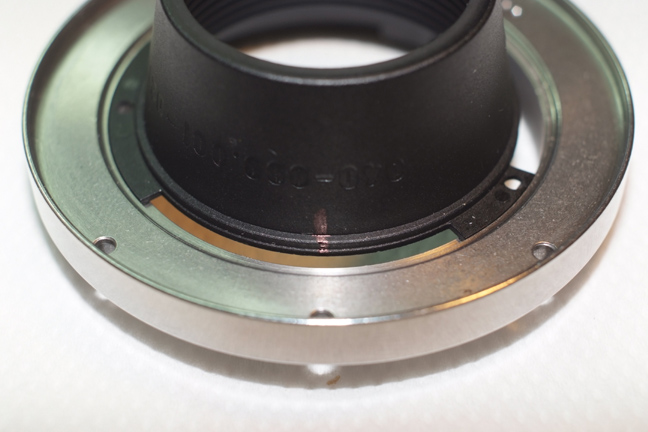
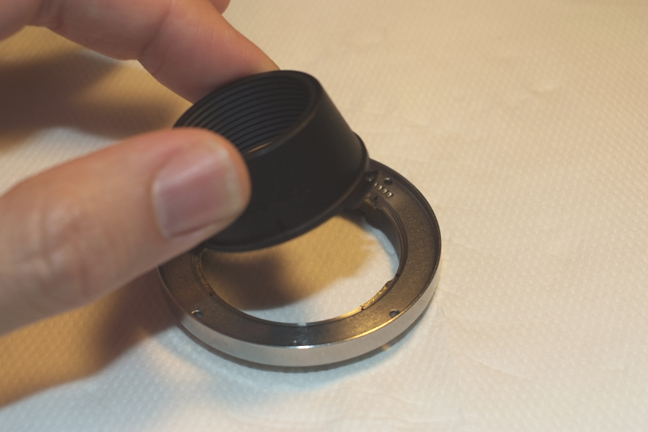
This is important, never push the tube to help the glue work. You can break the "wings"
Much better to push directly on the "wings" with a plastic tool against the mount.
CAUTION!!
The shroud can become disattached if the cam or lever of the lens hit on it.
To protect the shroud against these hits, I'd recommend to install the hard stops for the aperture ring too.

Back to the Nikon page
Back to the Sigma page
Back to the Sony page