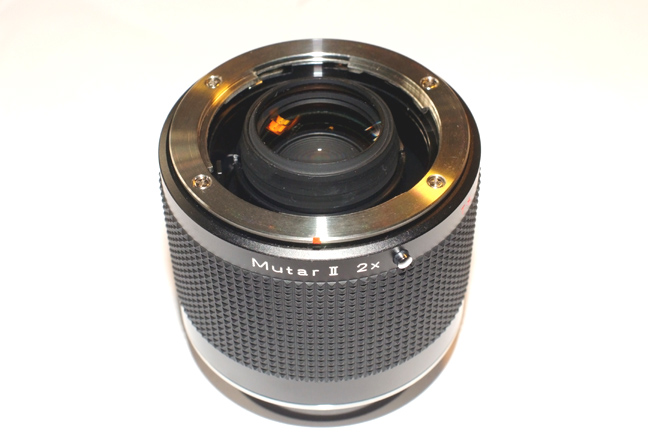
This is the Carl Zeiss Mutar II 2x teleconverter.
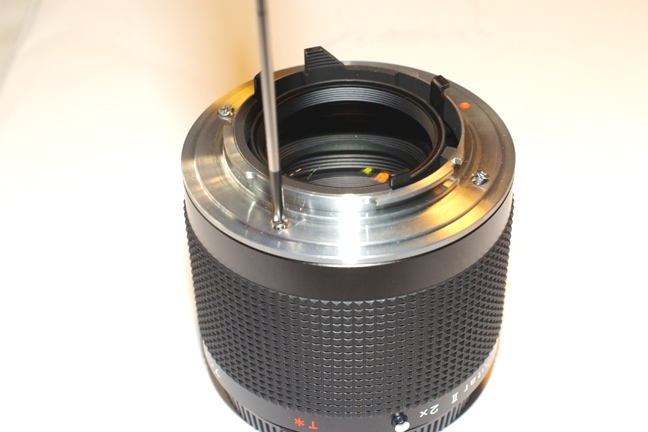
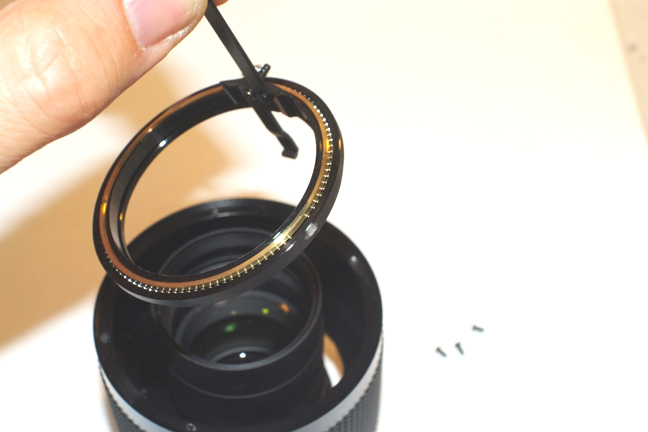
First, unscrew the rear mount.

And remove it.
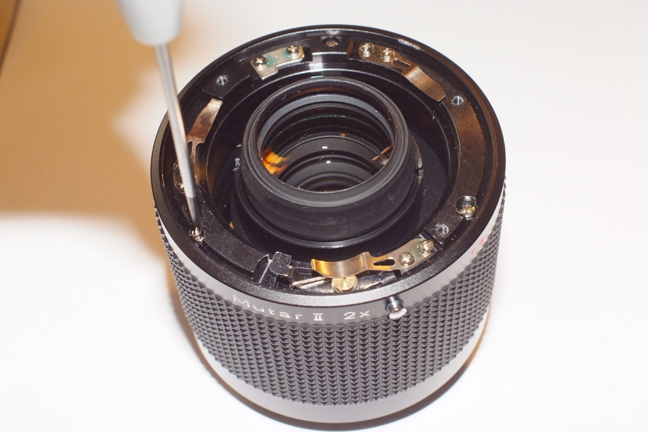
Now remove these four screws.
So you can lift the entire levers group.
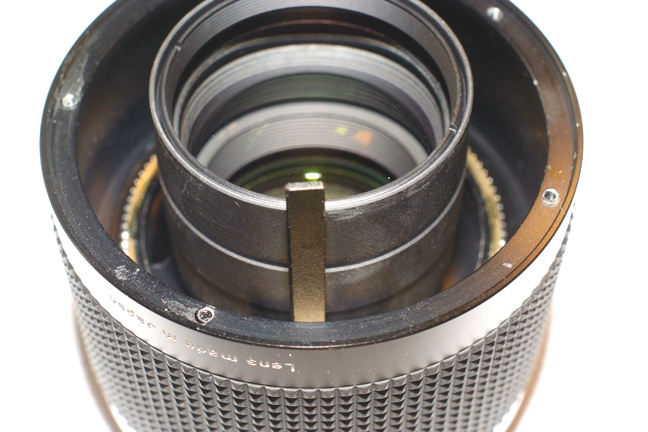
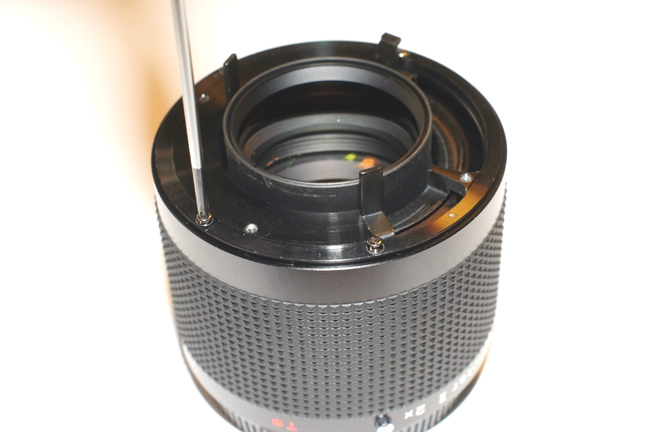
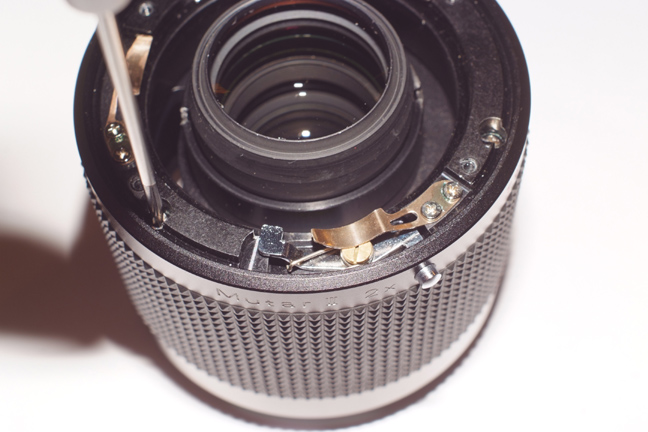
But there is one lever remaining that would interfere with our new mount..
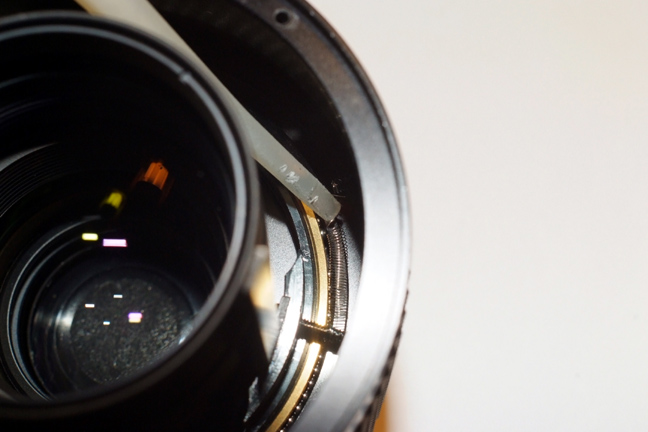
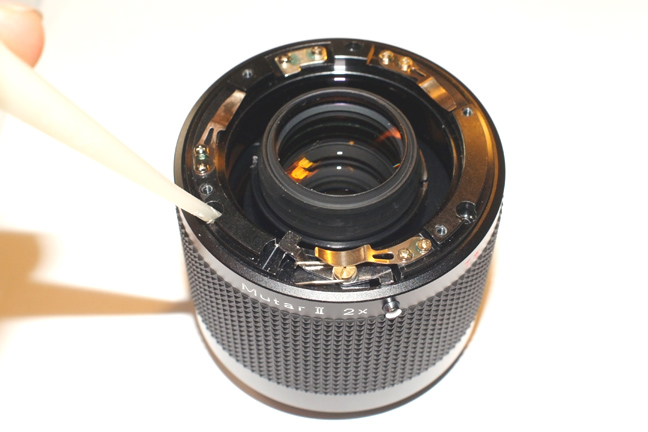
We cannot unscrew it inside the lens, to remove the lever's ring, first we have to dis attach this spring side from a screw located at the lens barrel.
Later you can rebuild the lens just inserting the last round of the spring on this screw and leaving a drop of glue there.
Now the spring is free, but this lever's ring is screwed to the lens body from behind.
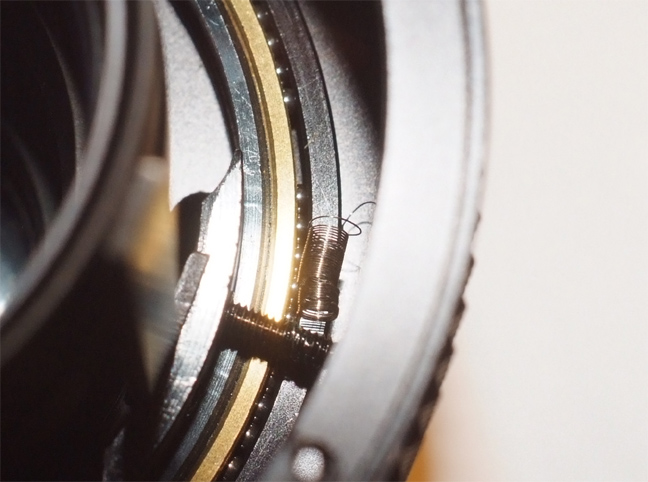
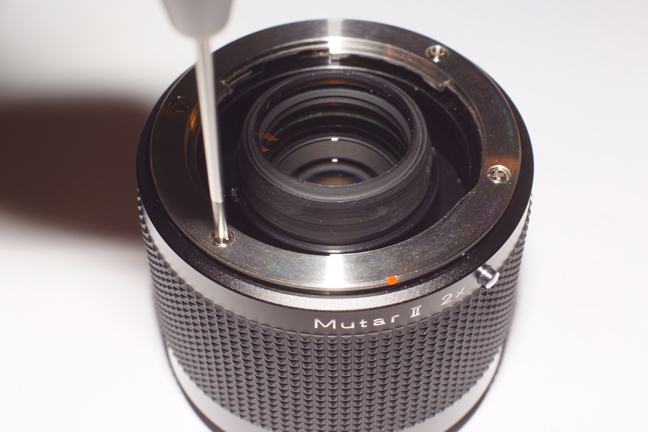
So we have to go to the front side and remove the other mount.

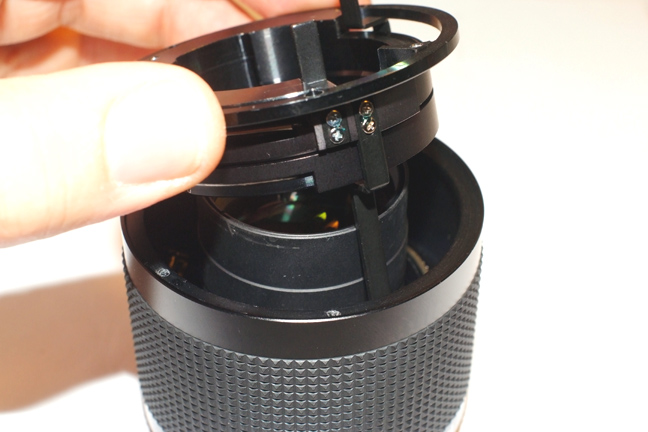
Done.
And now remove the ring that has the mount springs on it.
There are three screws here.
Help yourself with the plastic tool, pulling at the screws holes.
Finally is out.
Here we have the three screws that we were looking for.
Now we can easily lift this ring,
I didn't disassemble it, as it is not needed now, I will save it together with the other discarded parts.
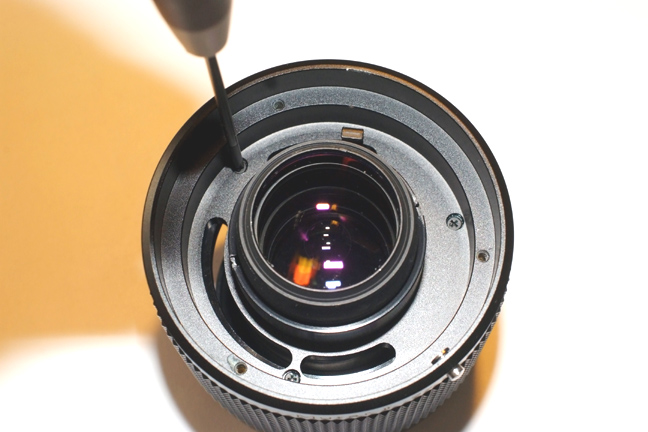
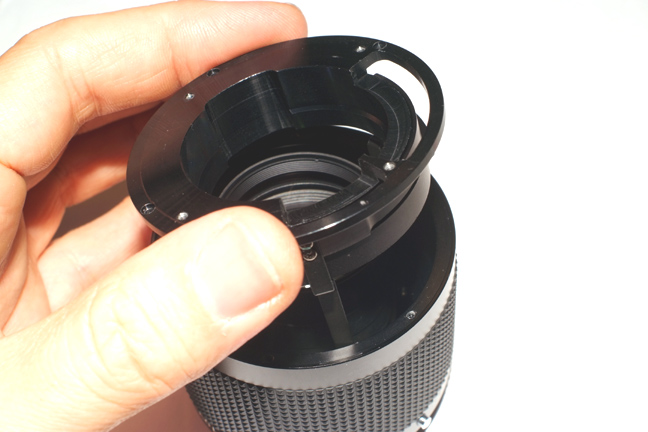
Now we have to rebuild this front side, first the springs ring.
And now the front mount.
Looking at this picture you will see the correct position.
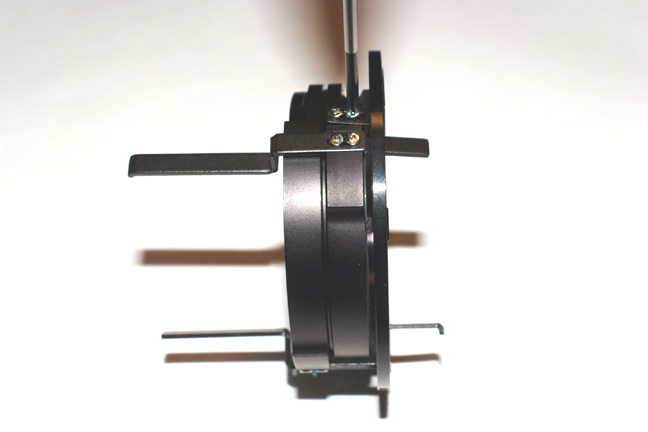
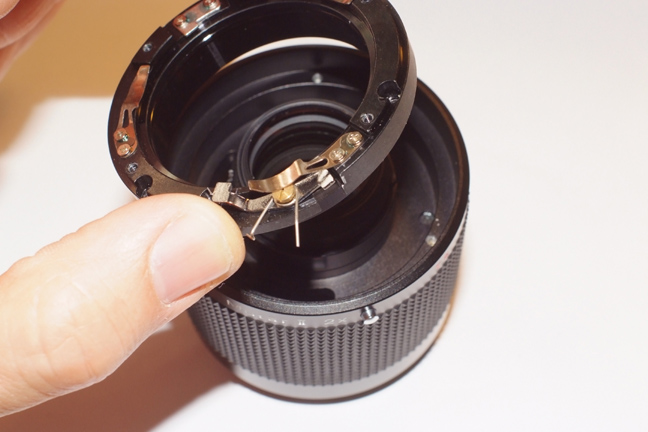
Ok, now we have to remove the rest of the rear side levers.
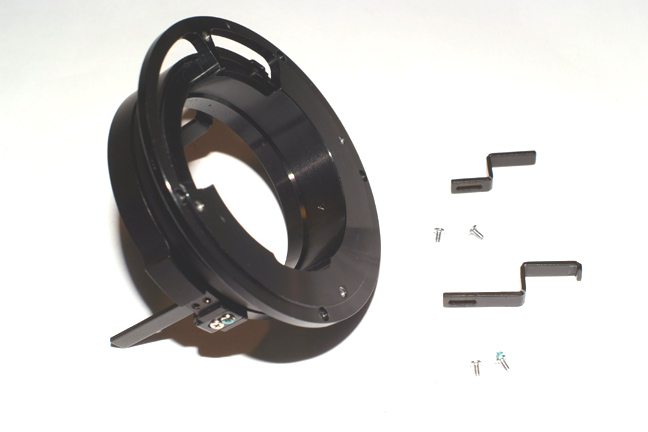
They are different, so we cannot rebuild it wrongly.
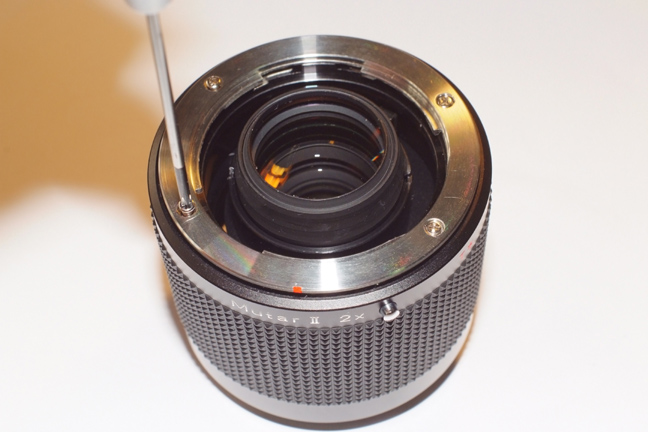
Now we can replace this group on the lens.
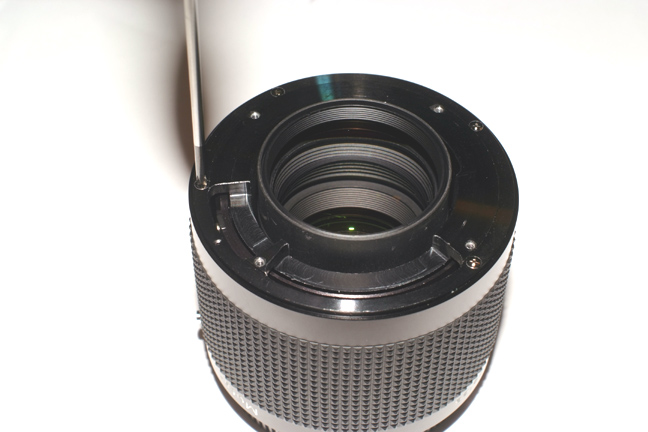
And screw it carefully, one screw a bit after another.
Please follow a cross pattern , one side and then the opposite.

And, finally, we can screw the new Leitax M42 mount.
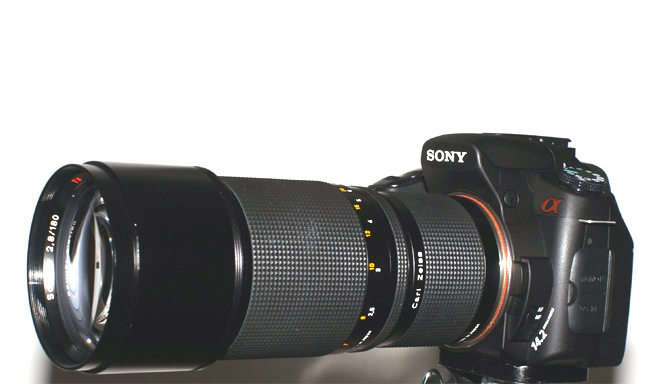
And our Mutar II is ready to work between our camera and a selection of Contax lenses.