|
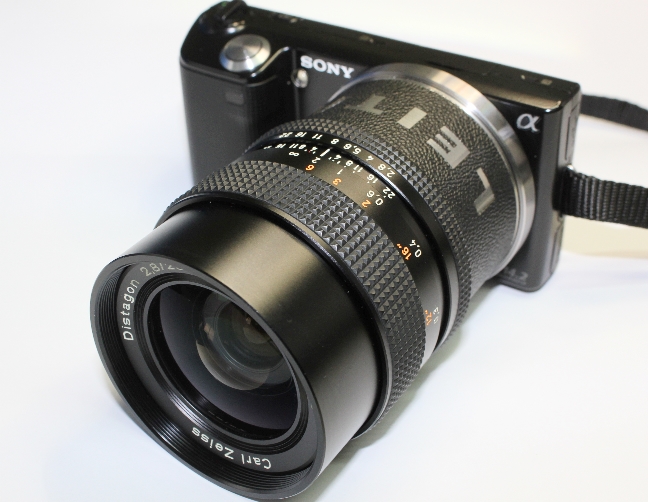
Leitax Contax to Sony E mount instructions
|
 |
|
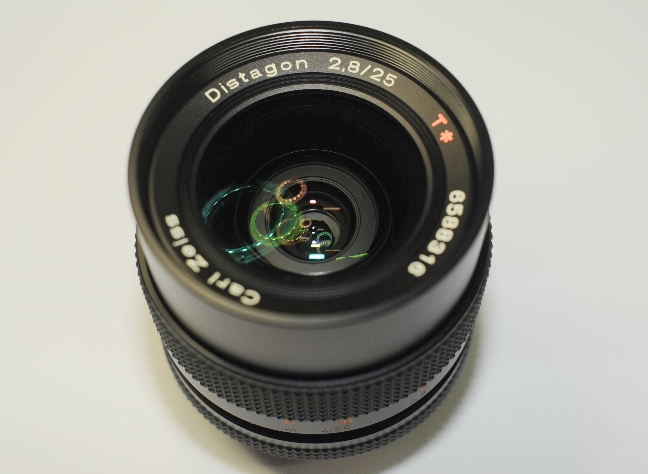
The Leitax mount will work on all Contax lenses made by Zeiss, and possibly on other lenses with the C/Y mount.
|

|
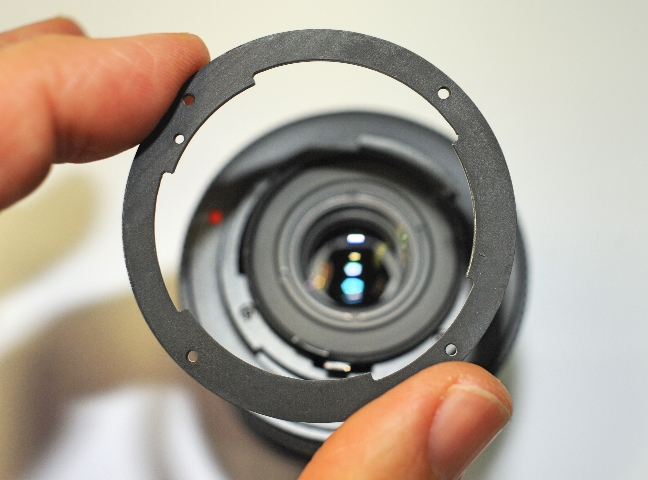
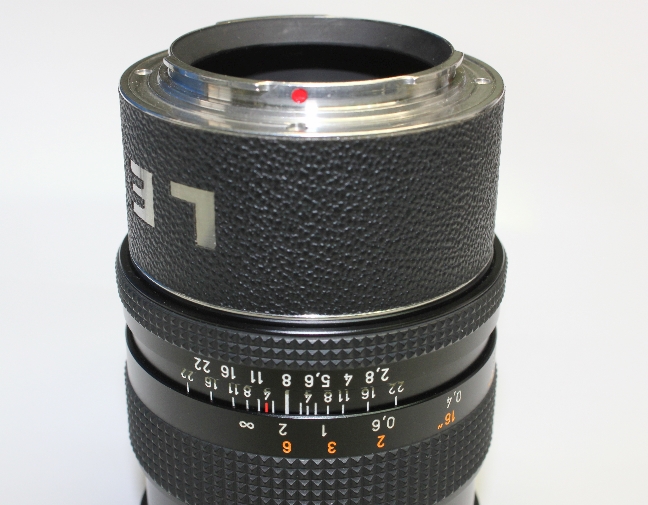
First, I put the lens on the table, note the red dot position. |
|
Now let's install the locking ring. |
|
The couple of holes of this ring go where the red dot is. In this position you can put the locking ring under the lens one. |
|
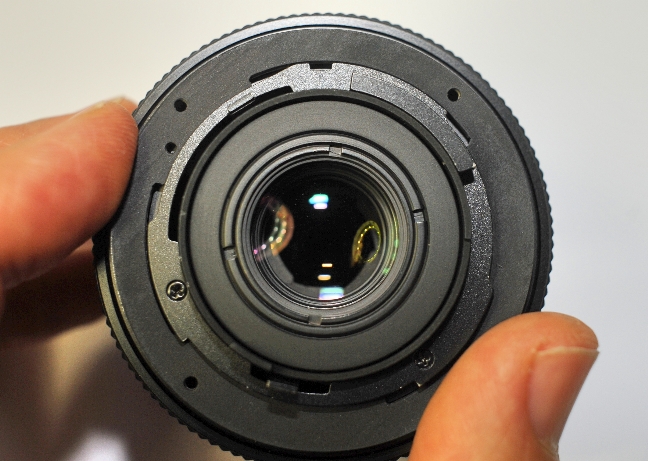
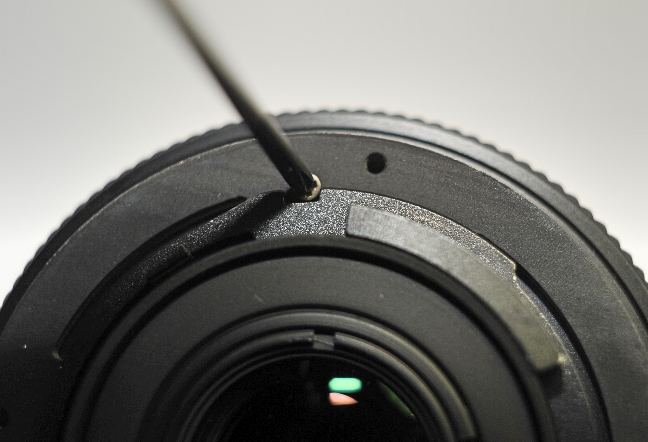
Now rotate the ring until the small hole coincides with the slot of the original mount. |
|
And install there the small screw provided.
Now the locking ring cannot rotate any more. |
|
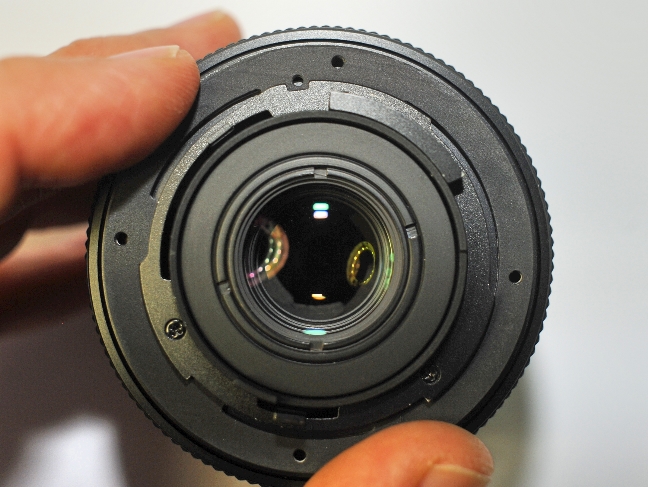
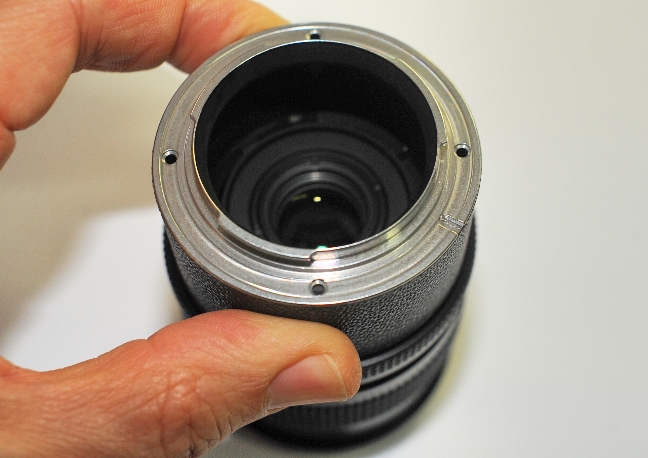
Time to install the Leitax mount on top of the original Contax mount.
The locking ring will fit inside the Leitax mount. |
|
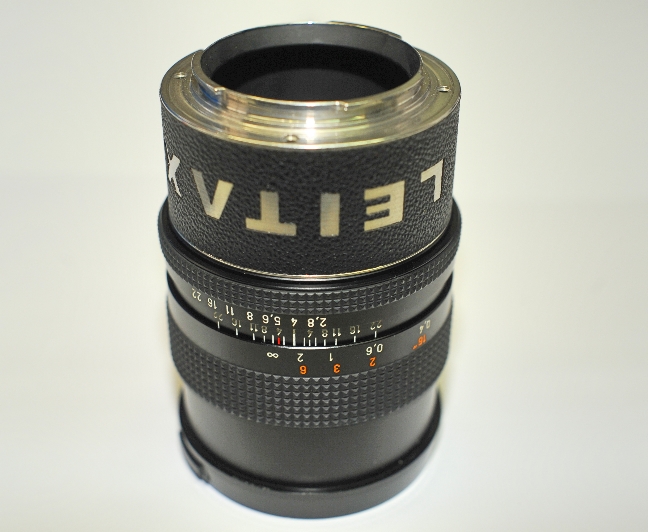
To have the Contax lens straight on the Sony camera, put the Leitax word at the side of the lens index.. |
|
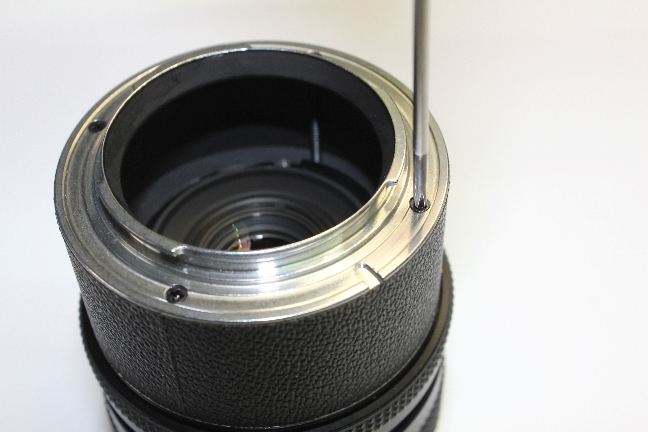
The long screws will coincide with the four threaded holes of the locking ring.
Make
all four screws pull the locking ring up , first a bit every one and
then tighten them not too much, I use only two fingers on the
screwdriver to avoid too much force that could deform the original
mount, the Leitax mount will be rock-solid already. |
|
Ready to
take pictures with the Contax lens solidly attached to the camera. |
 | If
you prefer to have the lens rotated 90 degrees on the camera for cinema
use, just install the Leitax mount like on the picture. with its red
dot at the sic of the lens index. |
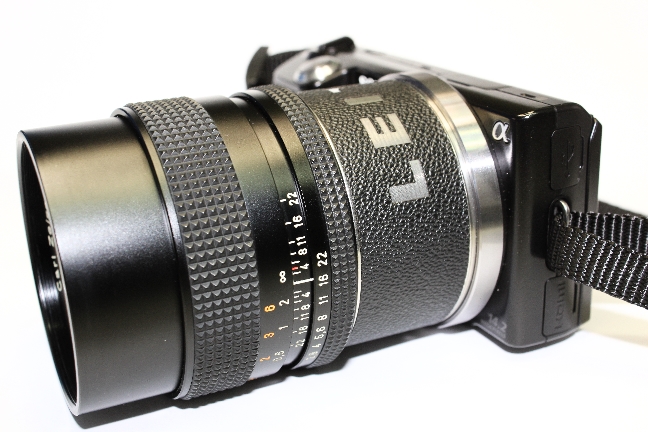 | And here you can see the lens rotated 90 degrees on the camera. |
Back to Contax lenses for Sony E cameras page
|
|