
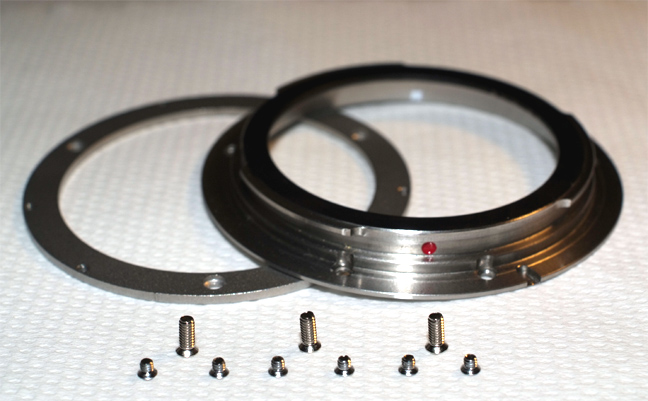
This is what you receive from Leitax, a precision machined ring and bayonet and the necessary screws.
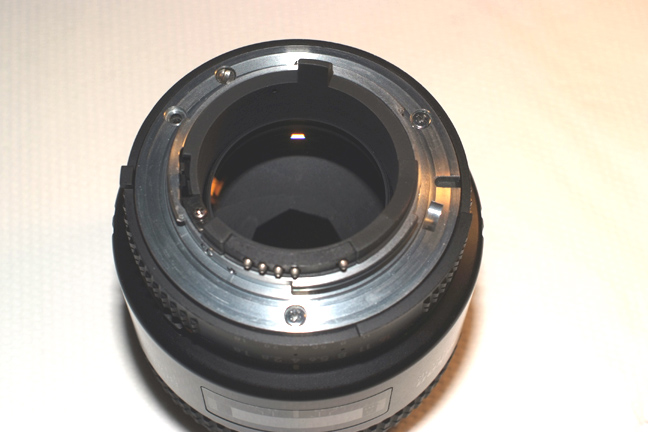
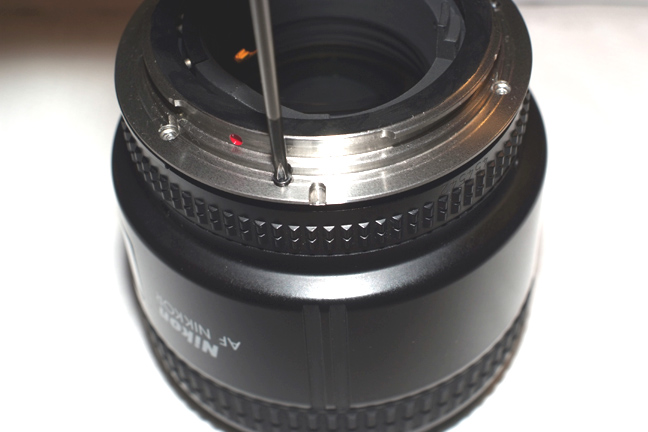
The Nikon lenses have at least three equidistant screws, those are the ones we are going to use.
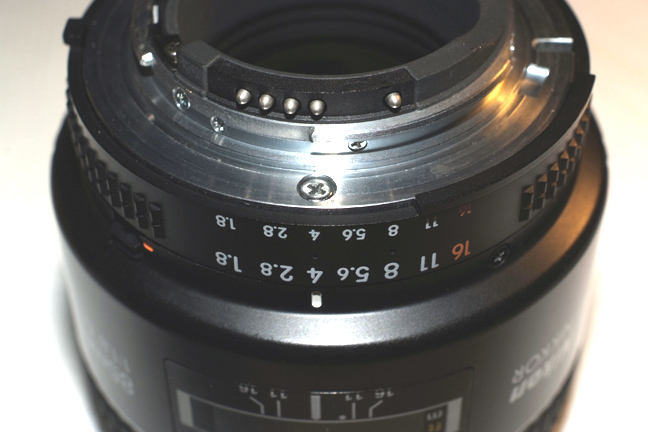
Take the one in front the lens scale center as a reference, the other two form a equilateral triangle with it.
We have to remove those three screws from the Nikon lens.
Just remove the three screws and leave the Nikon mount on.
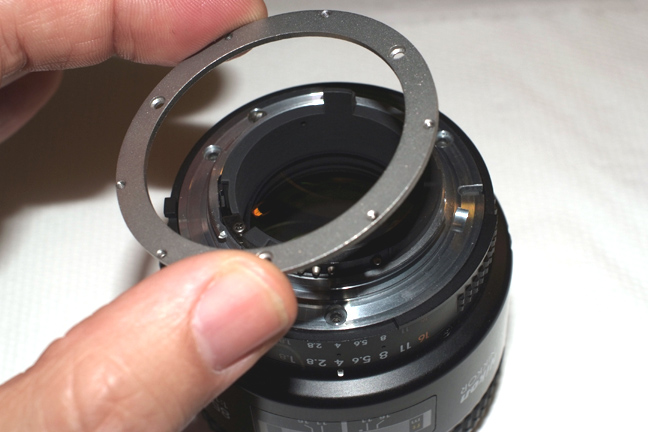
Now place the ring on top of the Nikon mount....
...and screw it using the three longer provided screws.
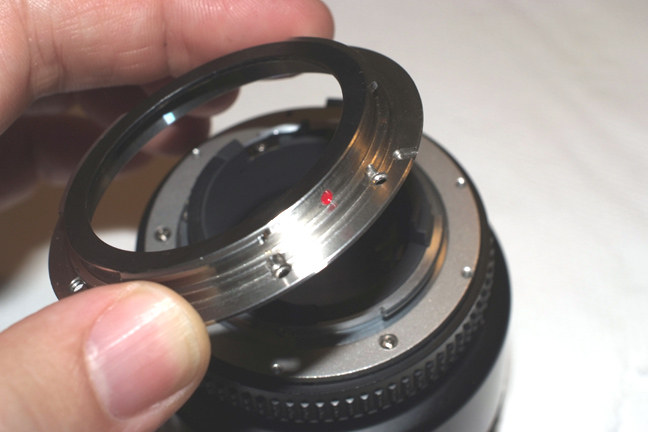
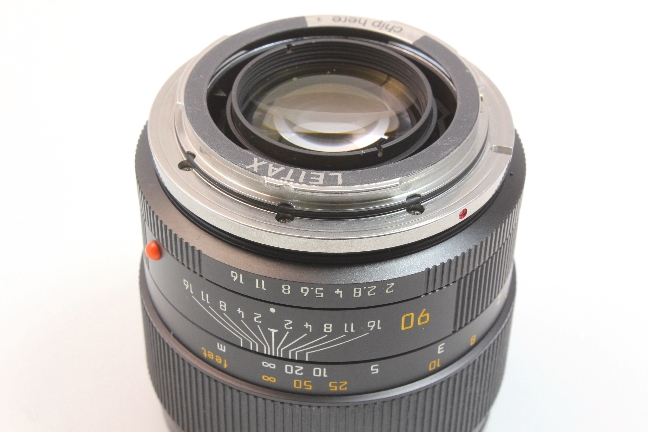
Now place the Leitax bayonet on top of the ring.
The position is easily determined for the bayonet slot, it has to be at the same place as the one in the original Nikon bayonet.
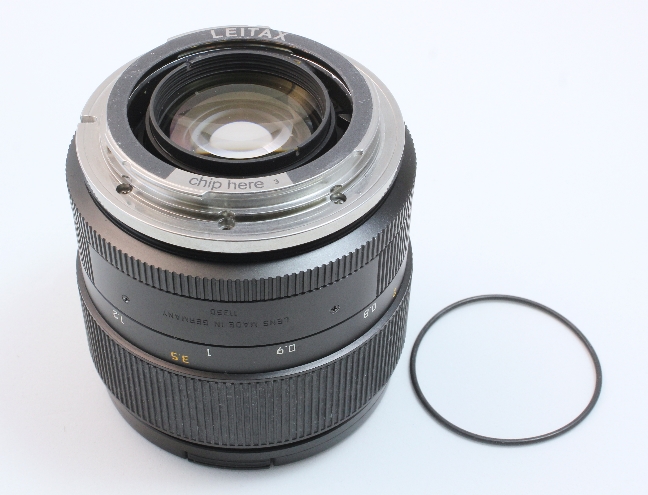

Back to Nikon for Canon page
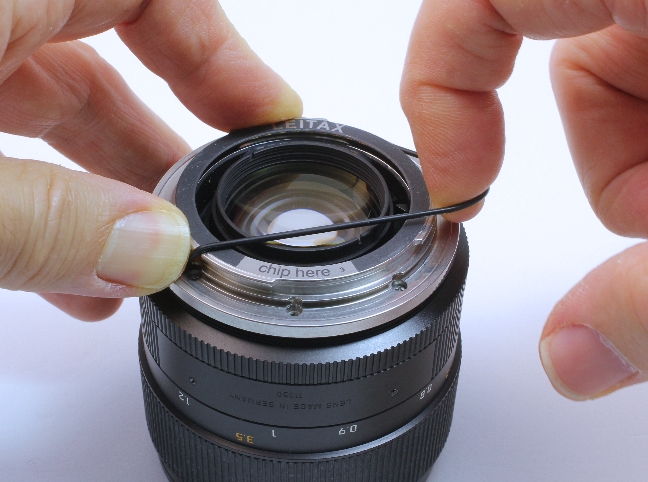
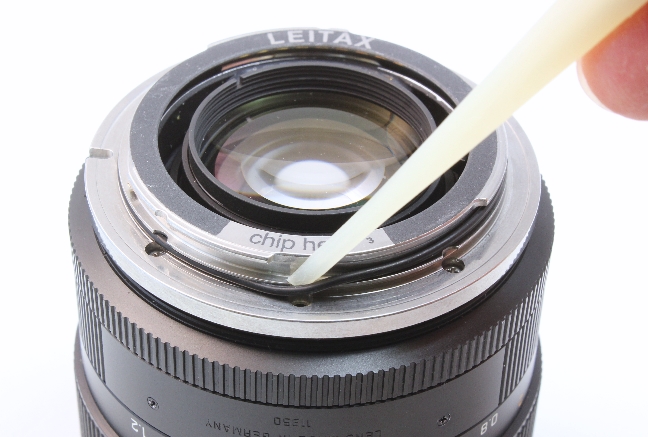
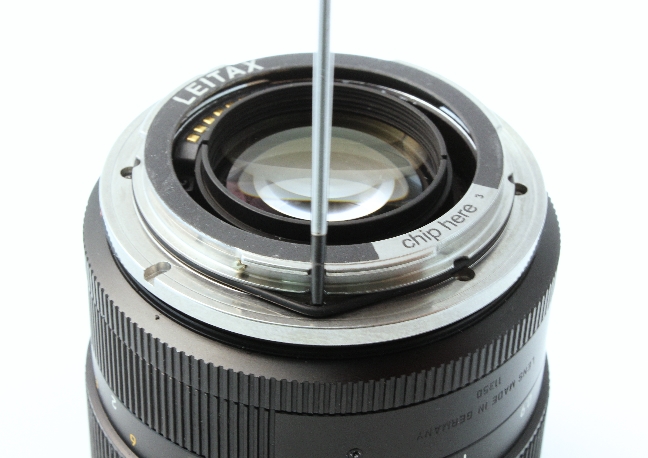
How to glue a chip on your mount.