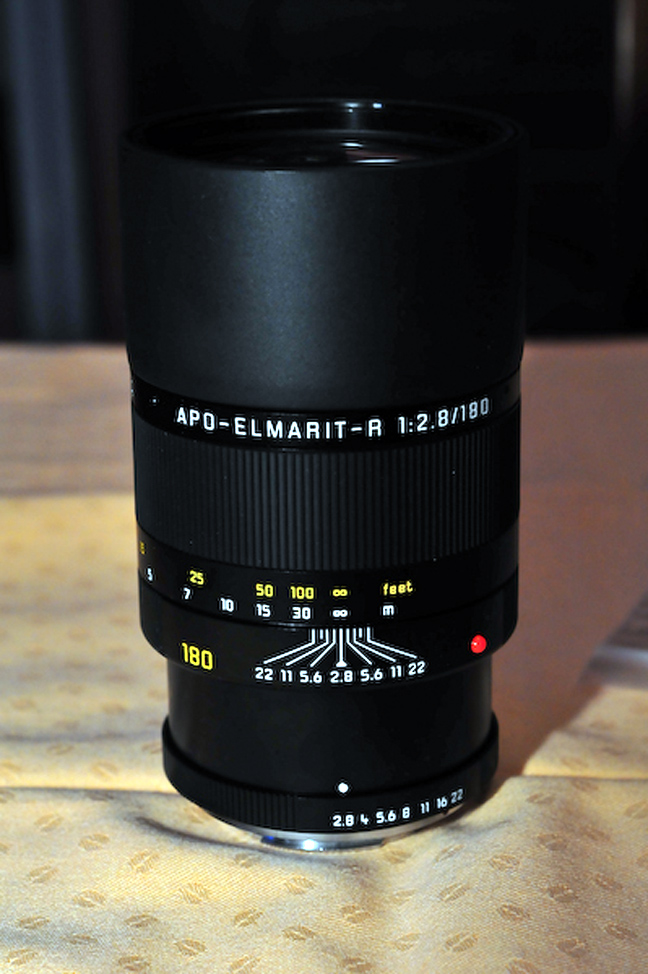
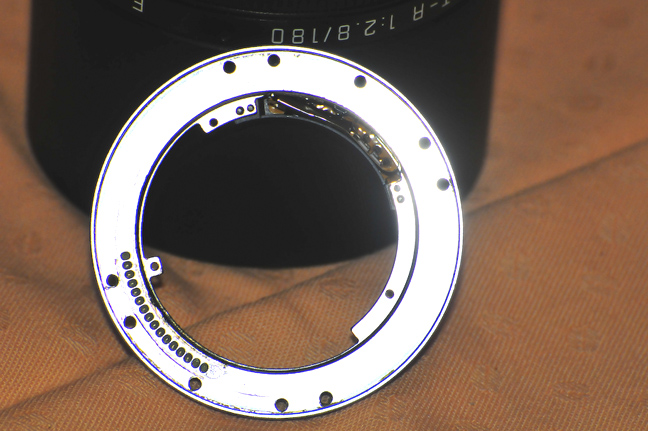
This is the Leica APO-Elmarit 180/2.8 , one of the best lenses ever made.
We have the opportunity to share these instructions thanks to our customer and friend Eric.
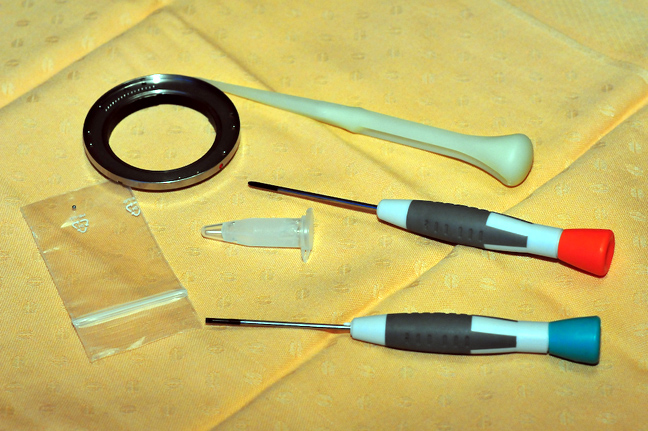
He received the Leitax bayonet and the necessary tools.
It is a ten holes bayonet, ROM model.
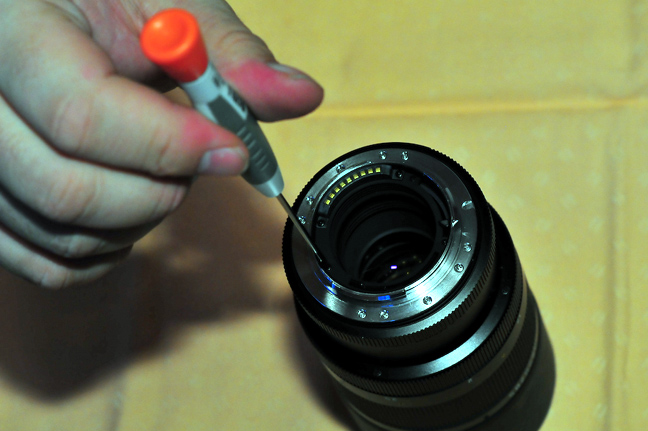
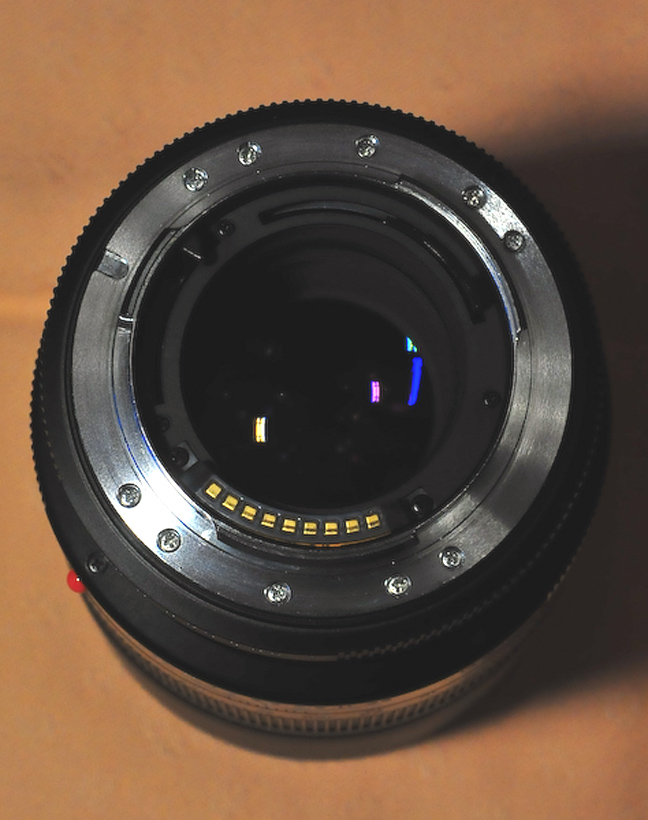
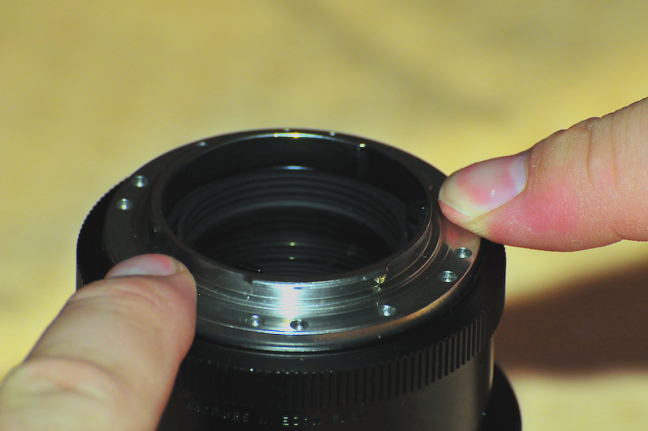
First, we have to unscrew the black shroud, but not the contact strip.
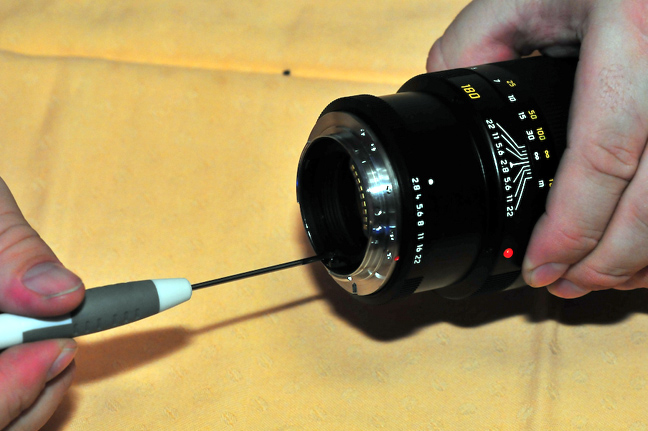
With the lens on its side, the small black screws will not fall inside the lens.
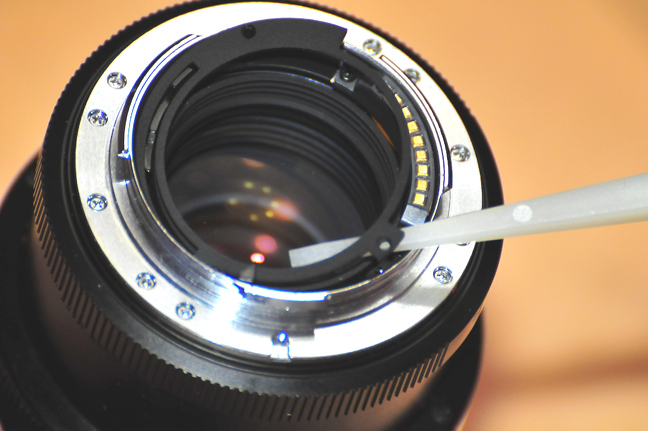
After removing the screws, we can lift the shroud with the plastic tool.
And remove it.
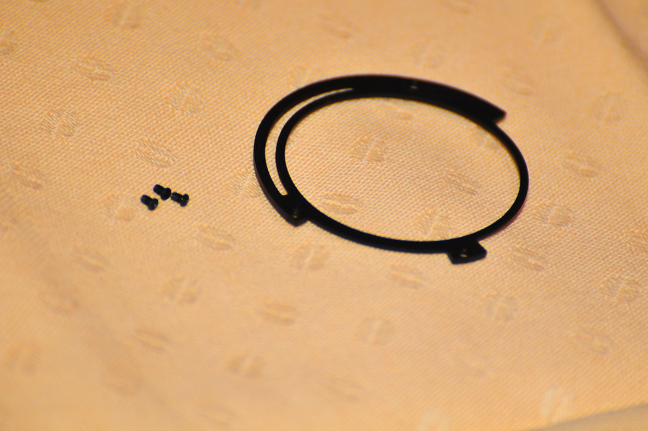
We have to save them.

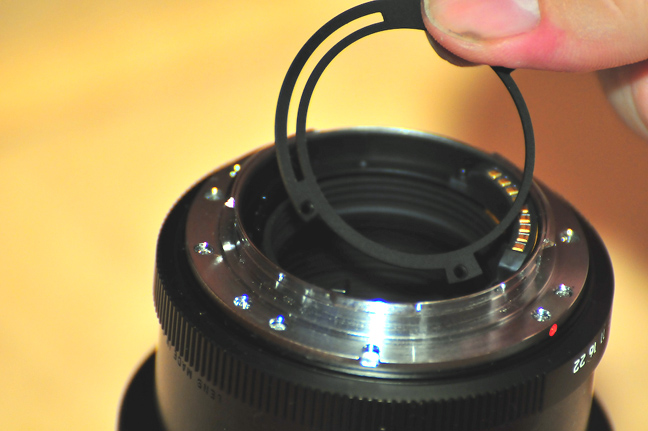
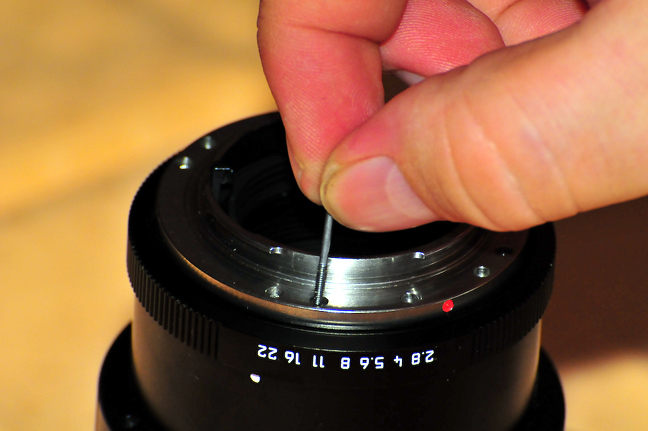
Now remove the bayonet screws.
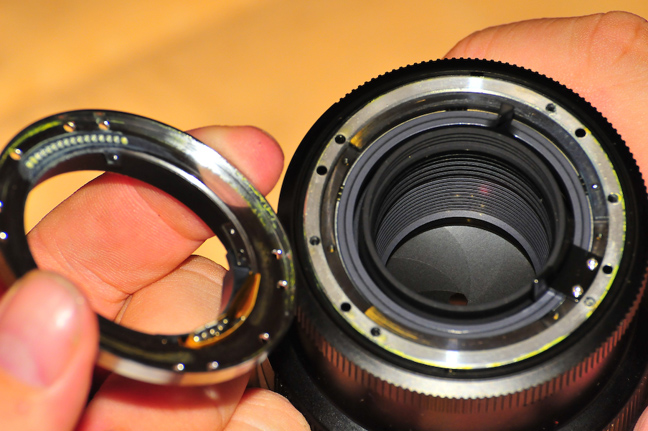
And just lift it.
The small bearing ball is in its place.
The electronic chip must remain attached to the original bayonet.

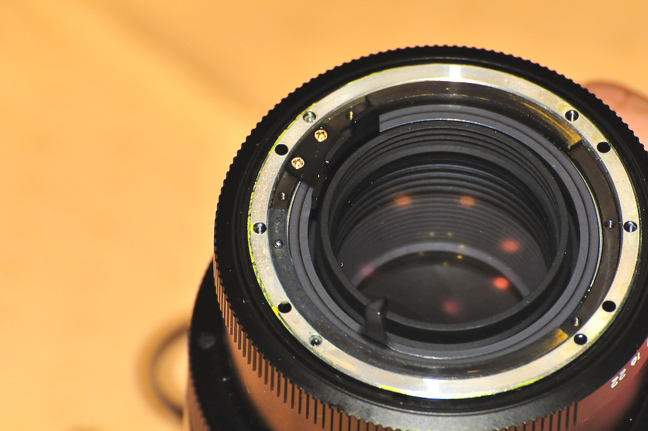
Put a bit of special grease on the bearing ball.
And we can install the Leitax bayonet.
Put the longer screws first, if you can not reach the threads, it means that a copper ring under the aperture ring sub-assembly has rotated a bit, you have to remove that sub-assembly to align the copper ring holes to the lens barrel holes.
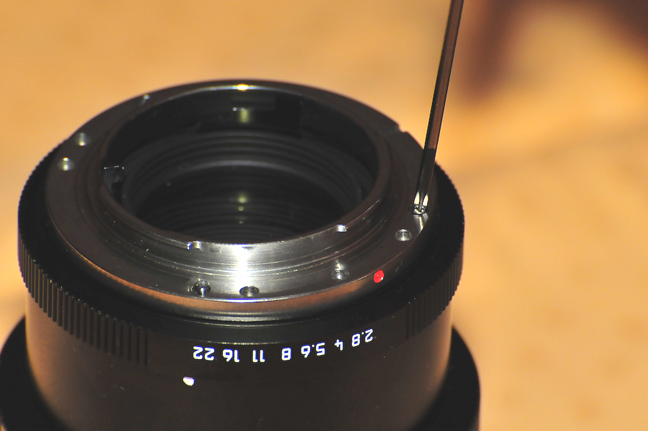
Now we can screw the new bayonet.
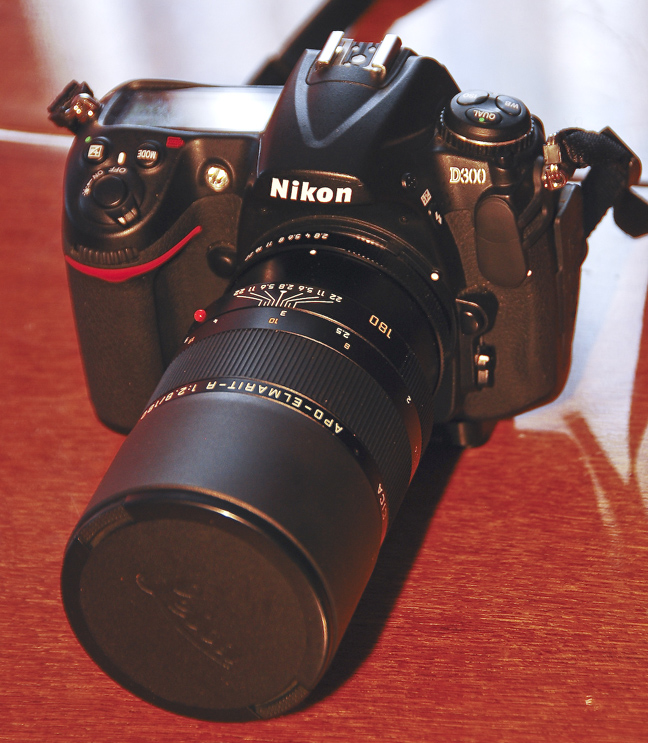
And, finally, we can use this fantastic lens on Nikon and Pentax cameras.
I want to say thanks again to Eric for sharing these pictures with us.
Eric sent us the first samples from this lens.
Back to the Nikon page
Back to the Sigma page
Back to the Sony page