
This is the Leitz Macro Elmarit 60mm ROM version,

First, unscrew the six screws from the mount.

Now, the three black ones.

and the two that secure the ROM strip.

First, we have to remove the ROM strip, the screws are out, but it is still attached to the mount by a couple of plastic pivots, I had to puncture it with a pointed tool to the sides to pull it up.
Here you can see one of the pivots.

When the ROM strip is out, we can rotate the black shroud until it doesn't prevent the mount to be lifted.

Turn the bayonet looking for a position to liberate it .

Bayonet is free, we can screw the ROM strip again.

Look for the small ball, and save it in a secure place to avoid problems.
Now unscrew the bright slopped cam.

Here it is what I removed.
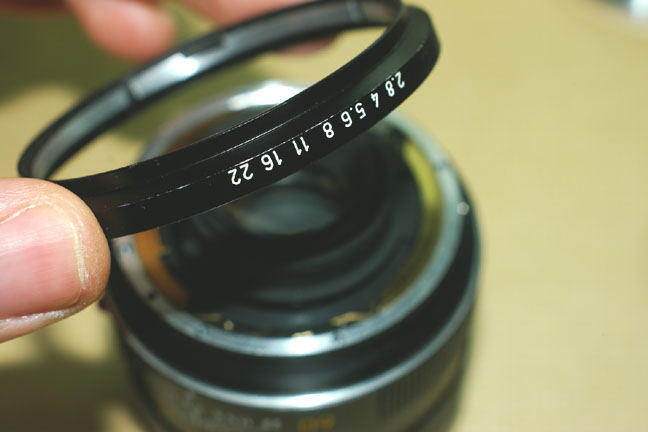
Now remove the diaphragm ring.
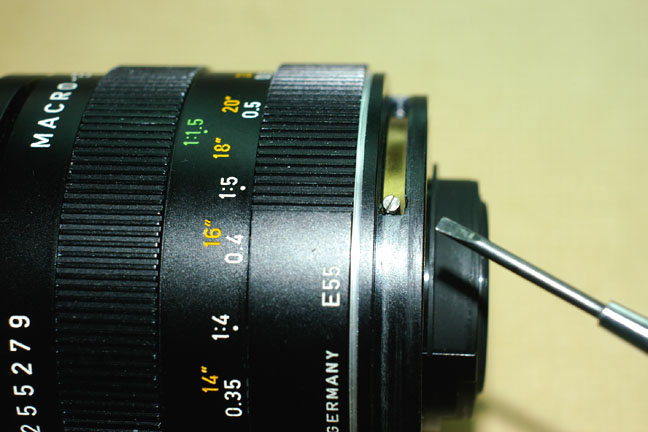
Remove these two screws.
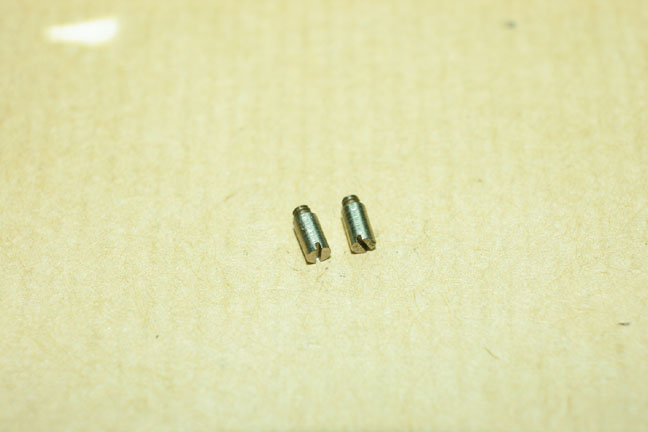
Screws out.

Now we have to remove the internal ring, I needed to turn the focusing ring until the infinity position to have room to work.
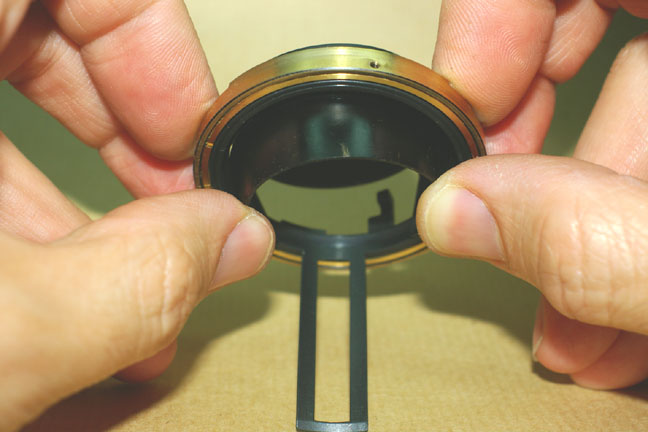
The flexible black cover can be removed this way.
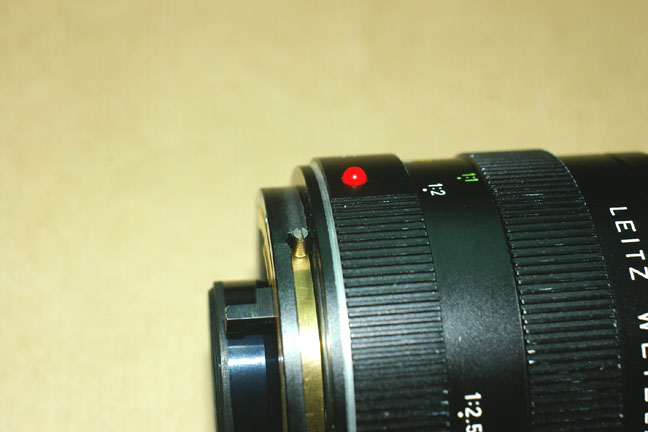
Put the brass internal ring and the two screws in its place again..

And the diaphragm ring too.
Here you can see the black shroud removed.
Put the small ball in place with a little bit of special grease.
The ball in place.

Install the Leitax bayonet, this one has the Dandelion chip for Nikon already glued.
Finally, after so much effort, we have the lens ready for our digital cameras.
Back to the Nikon page
Back to the Sigma page
Back to the Sony page