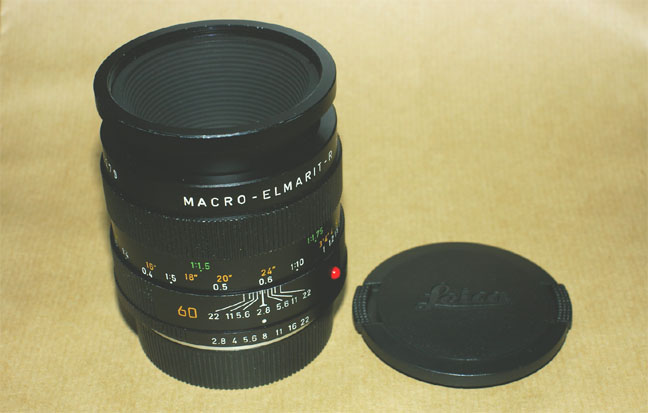
This is the Leitz Macro Elmarit 60mm, until now, the most difficult one.
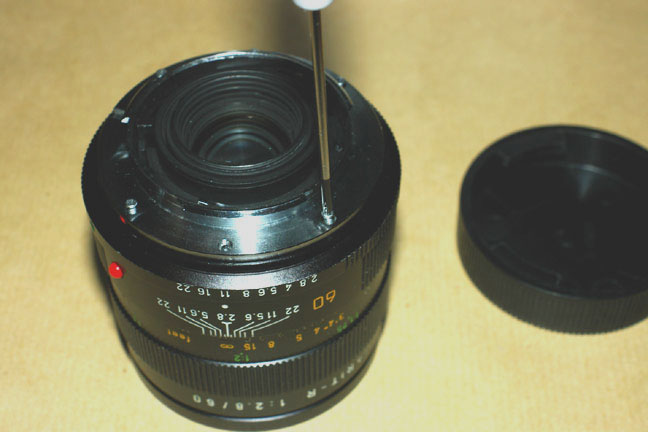
First, unscrew the six screws from the mount.
Now, the three black ones.
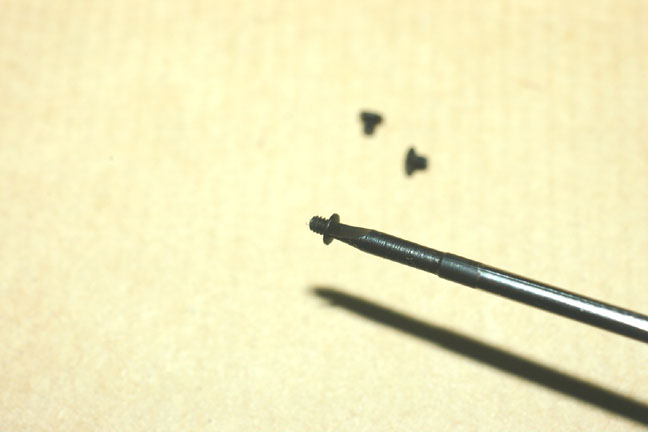
screws out.
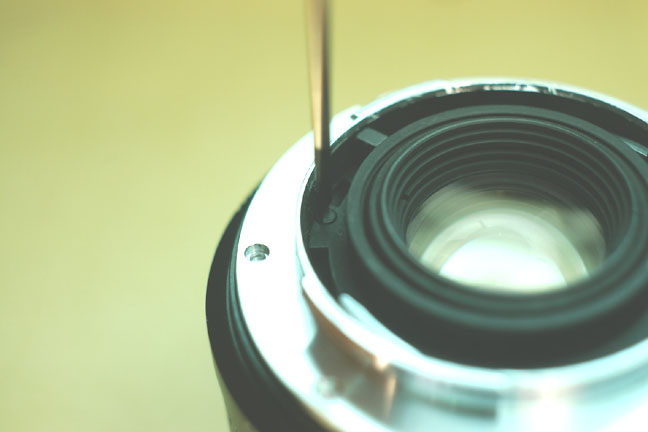
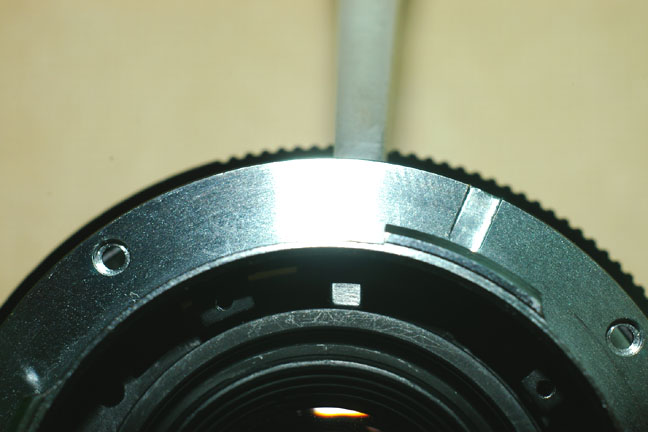
Rotate the black cover until this position.
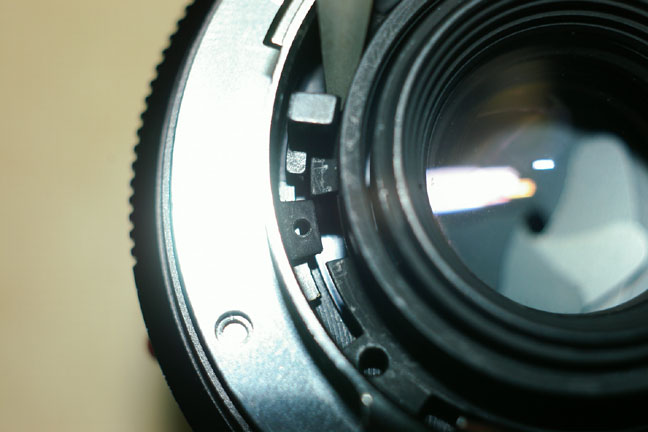
Now we want to lift the bayonet, it is necessary to push the diaphragm lever gently to liberate the mount.
Now we can lift this side of the bayonet.
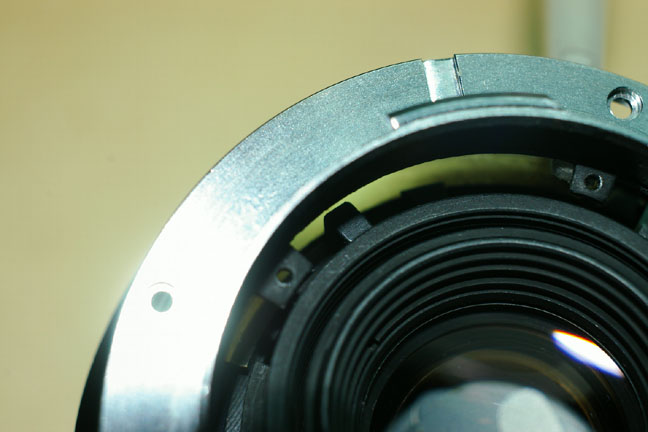
Turn the bayonet to the right to liberate the other side .
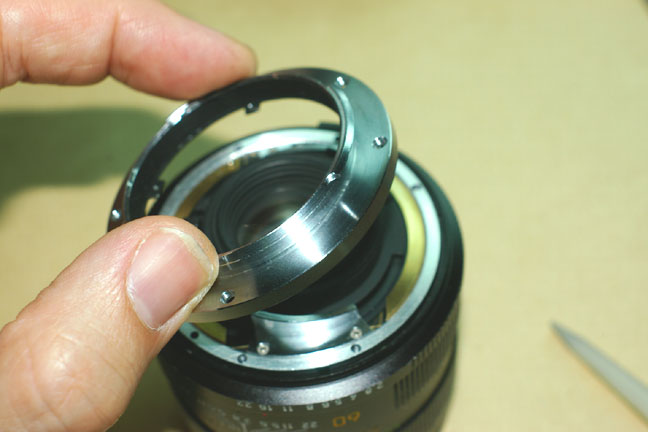
Bayonet is free.
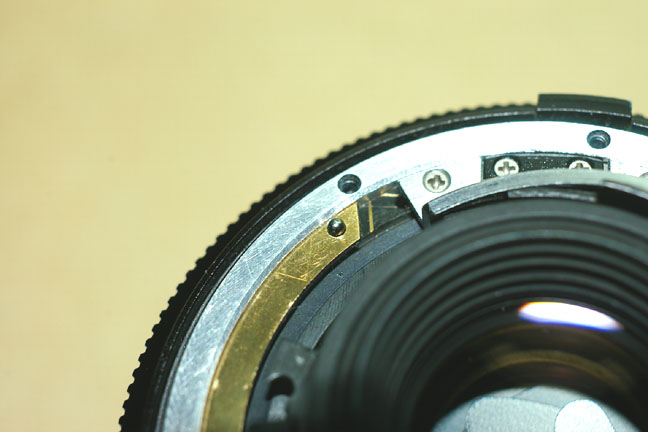
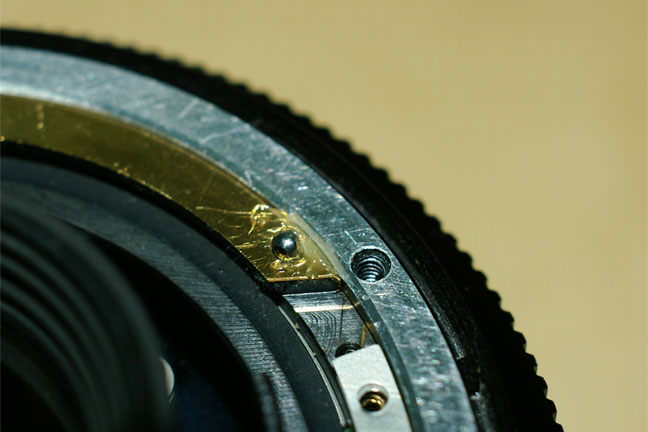
Look for the small ball, this time it is in it's place, I use to save it in secure place to avoid problems.
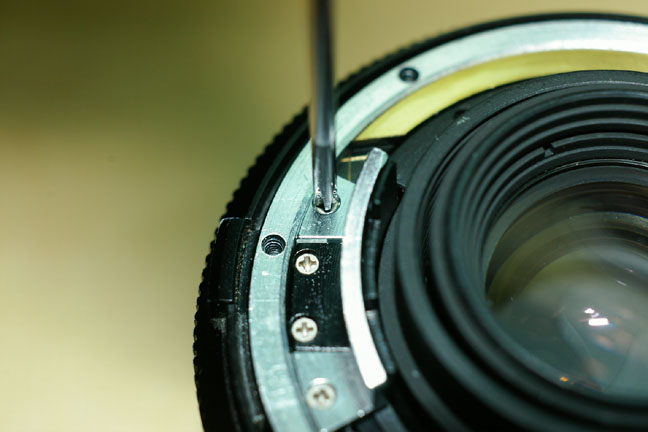
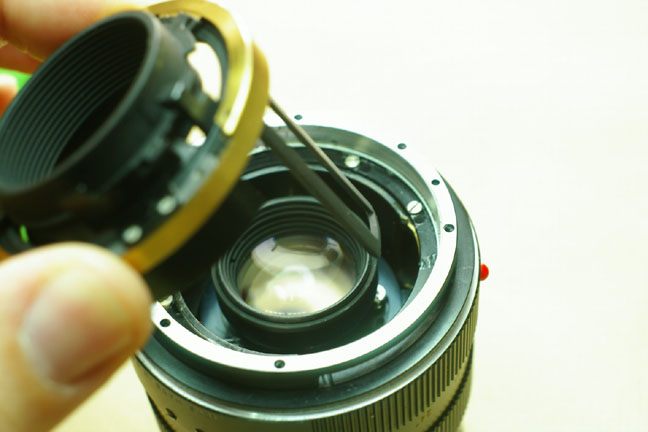
Unscrew the two clear metal cams.
The third cam (the black ladder shaped one) will stay in the lens
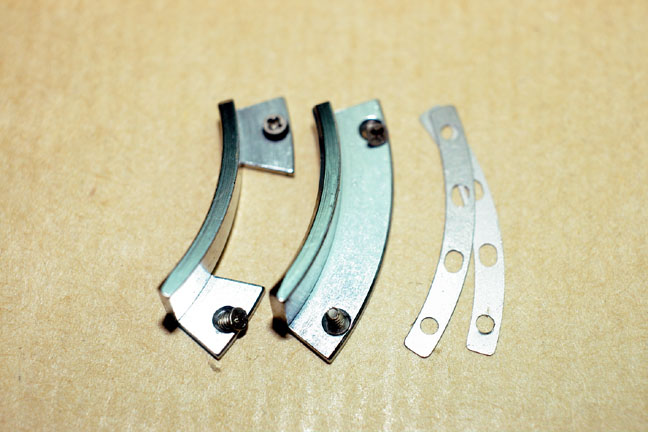
Cams and spacers out.
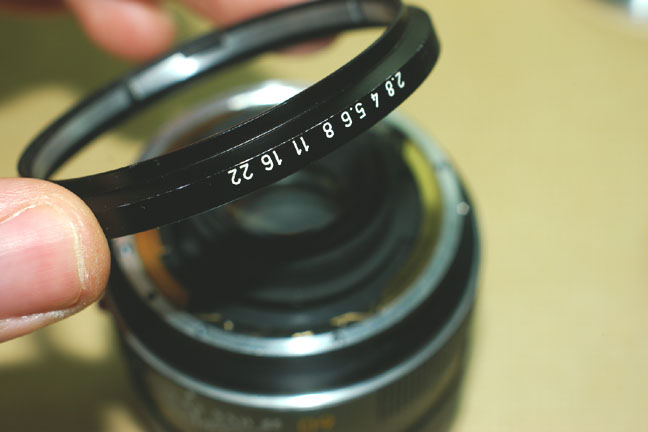
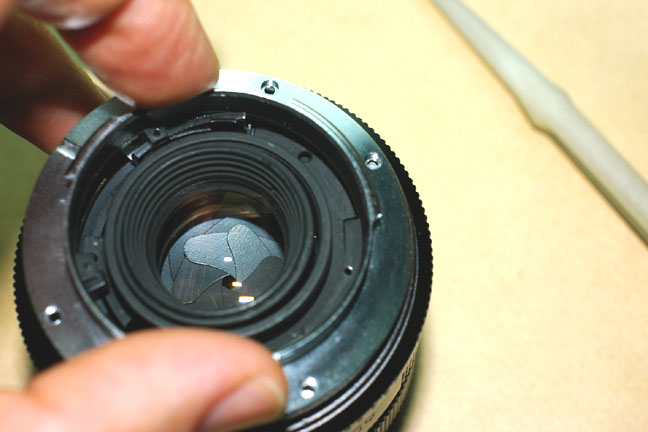
Now remove the diaphragm ring.
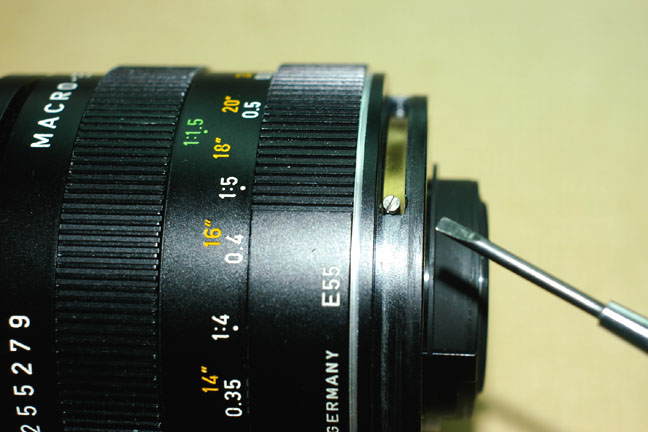
Remove these two screws.
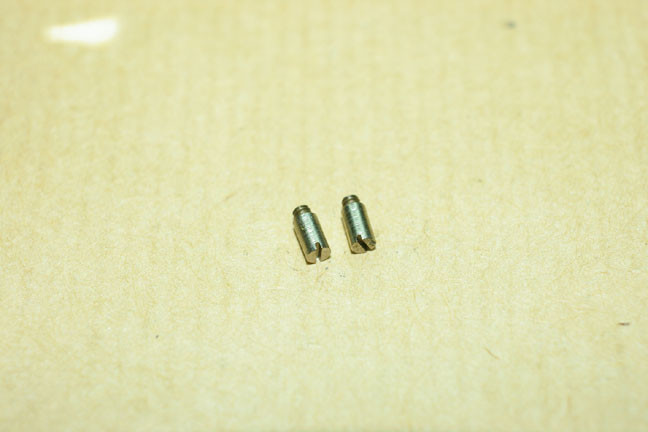
Screws out.
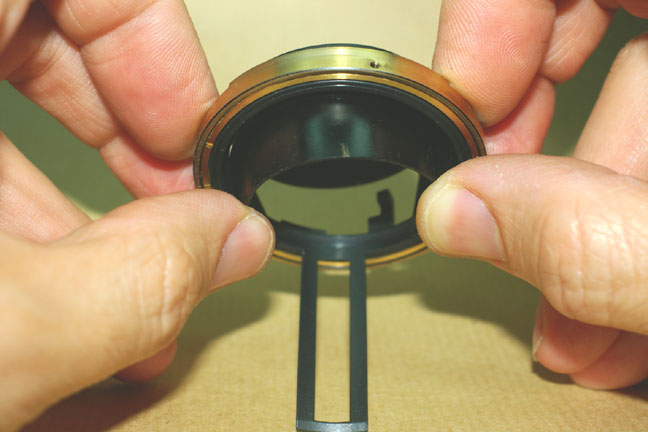
Now we have to remove the internal ring, in my lens I needed to turn the focusing ring until the 14" position.
Now it is possible to remove that ring.
The flexible black cover can be removed this way.
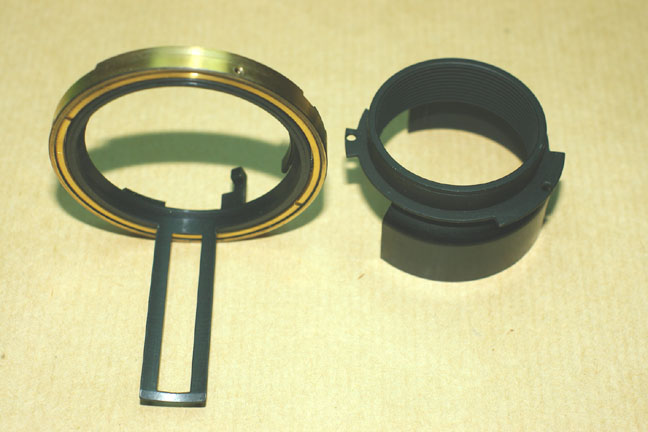
Now they are apart.
Put the brass internal ring and the two screws in its place again..
And the diaphragm ring.
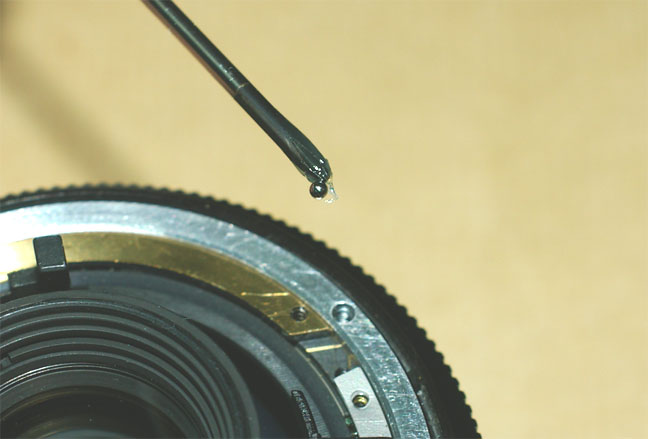
Put the small ball in place with a little bit of special grease.
The ball in place.
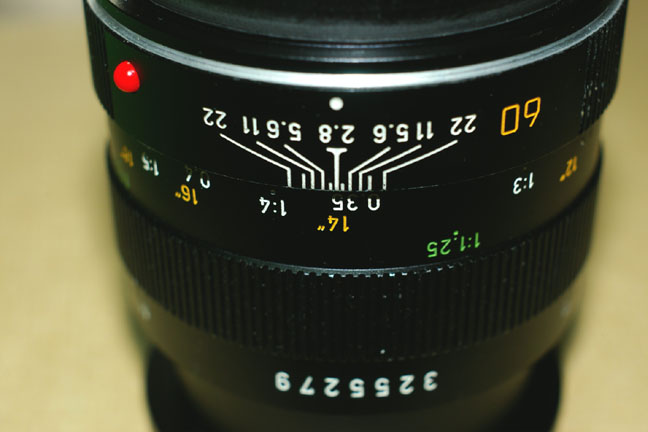
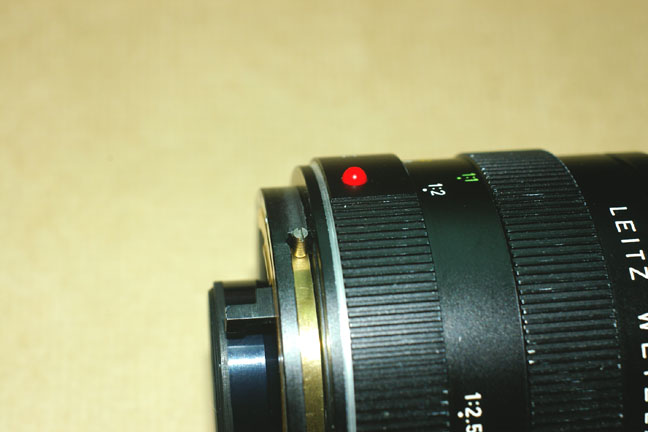
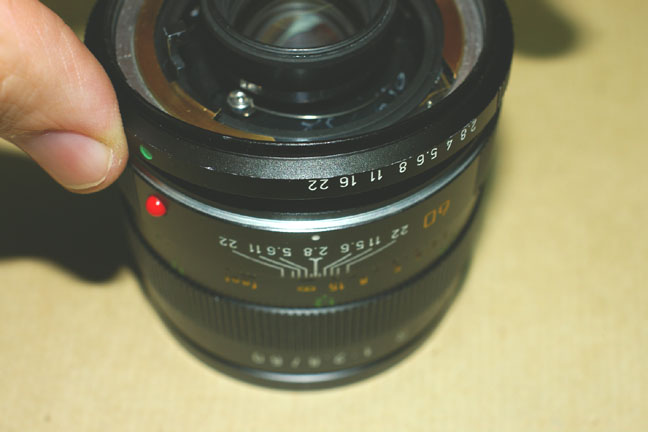
Install the Leitax bayonet, the red dot in front the scale center (Pentax version).
The Leica-Nikon bayonet has the red dot slightly more to the right than the one at the picture.

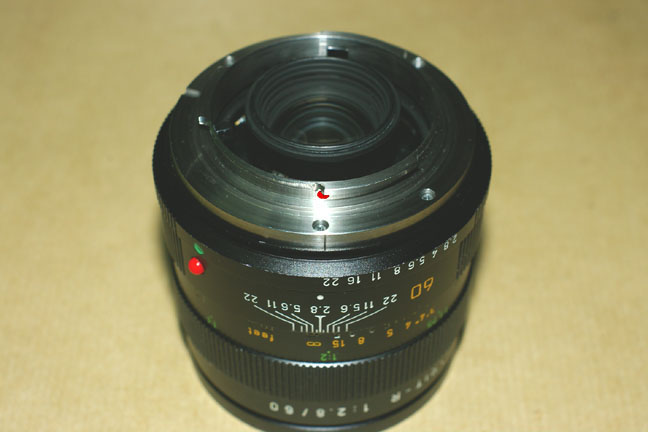
Finally, after so much effort, we have the lens ready for our digital cameras.
Back to the Nikon page
Back to the Sigma page
Back to the Sony page