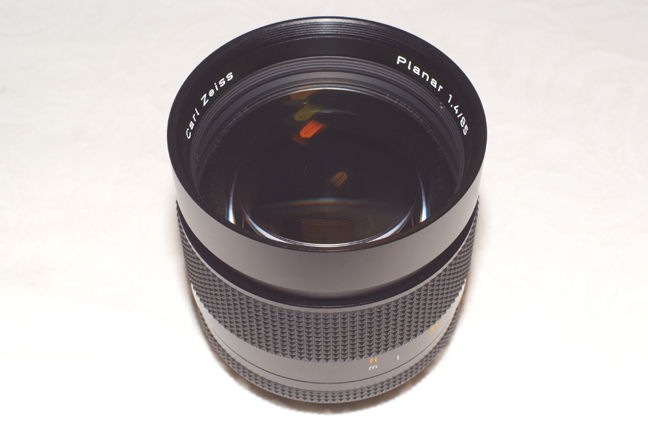
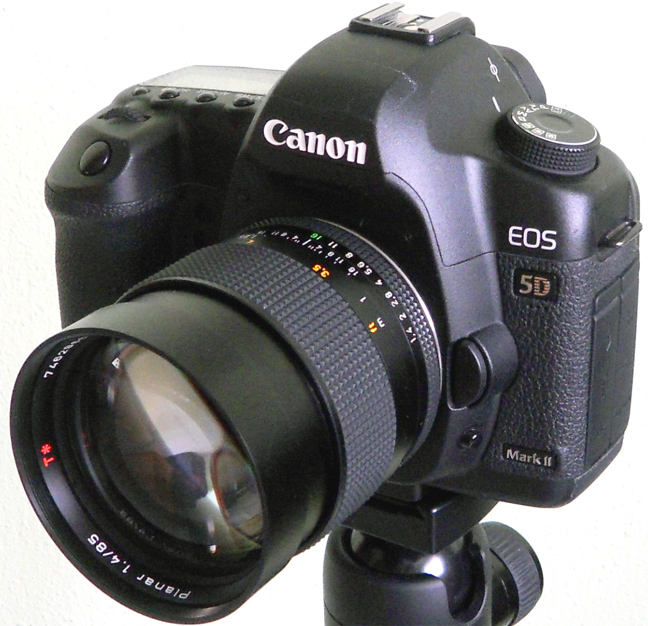
This is the Carl Zeiss Planar 85/1.4 MMJ lens.
One of the best lenses for portrait pictures.
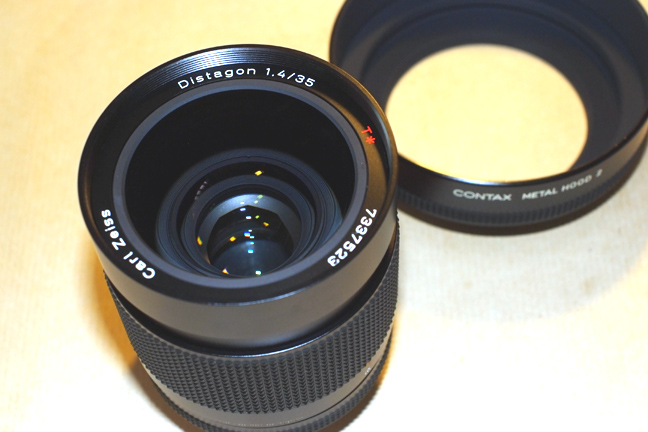
One of the best 35mm ever build.
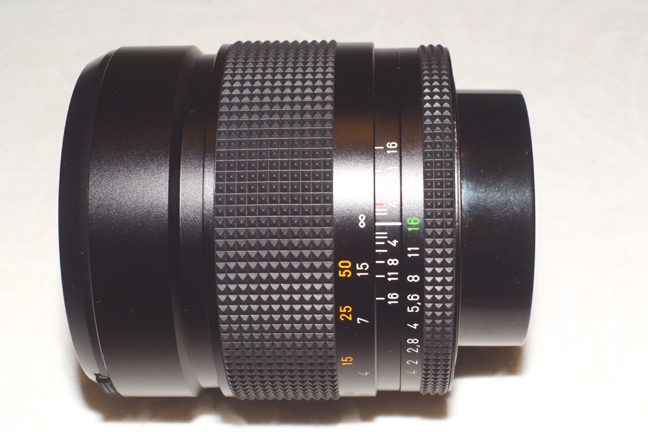
These instructions are valid for the MM versions made in Japan or Germany of the two lenses.
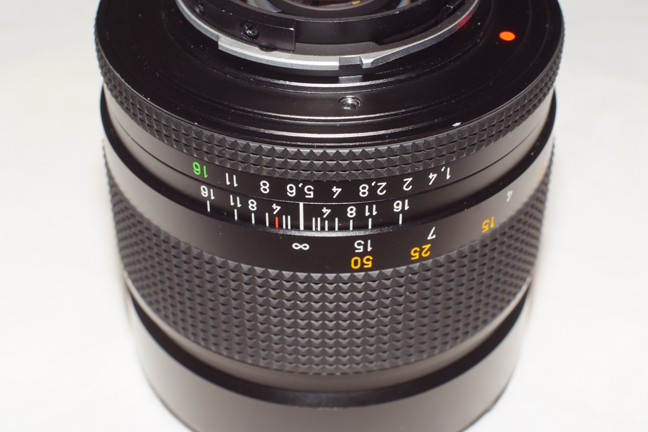
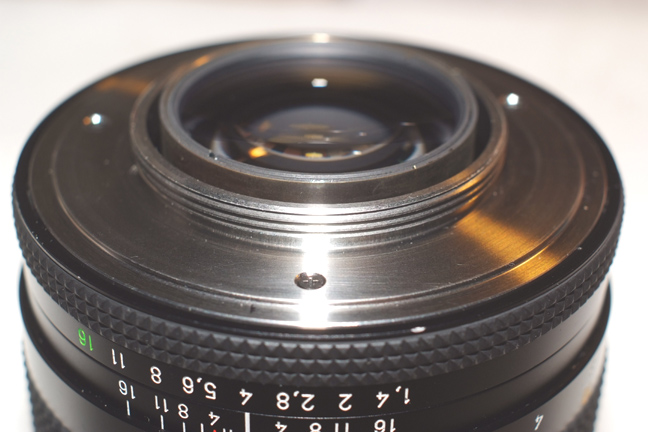
Please make sure the 16 number at the diaphragm ring is green.
And they must have screws at the bayonet base.
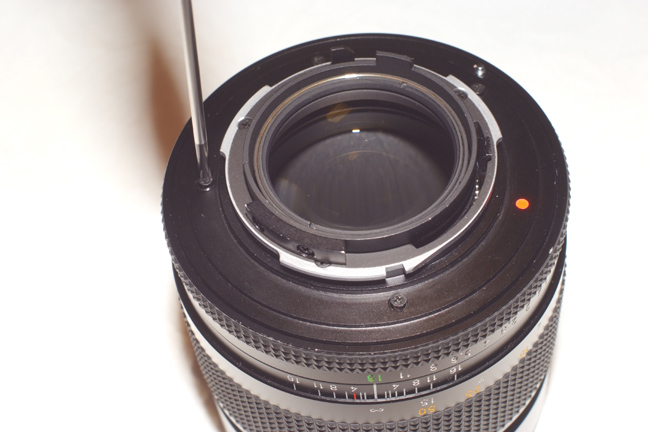
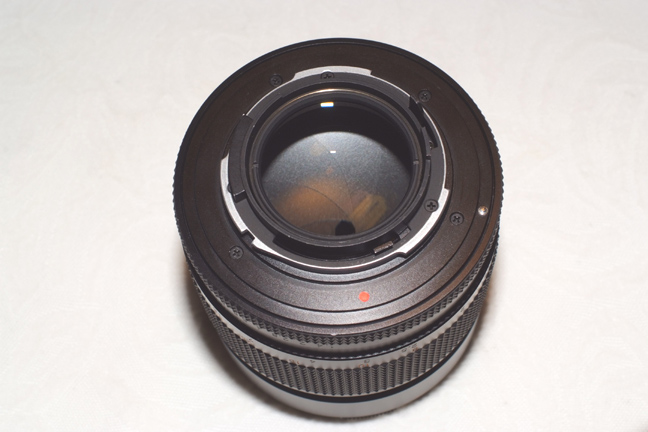
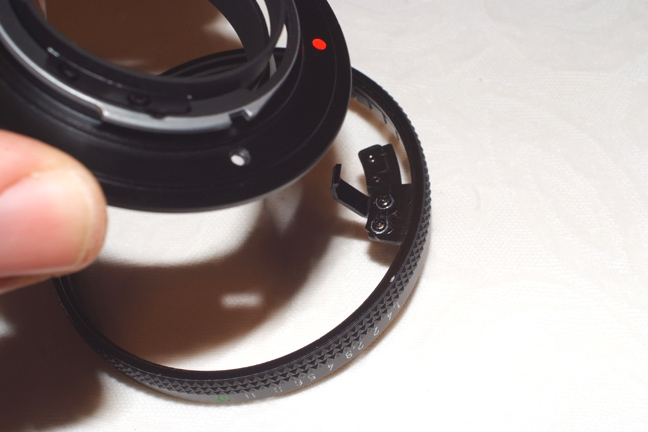
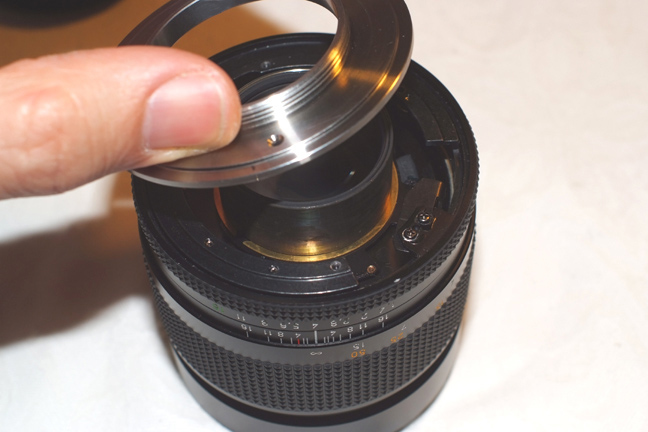
First, we have to unscrew the original mount, only the four screws at the bayonet's base.
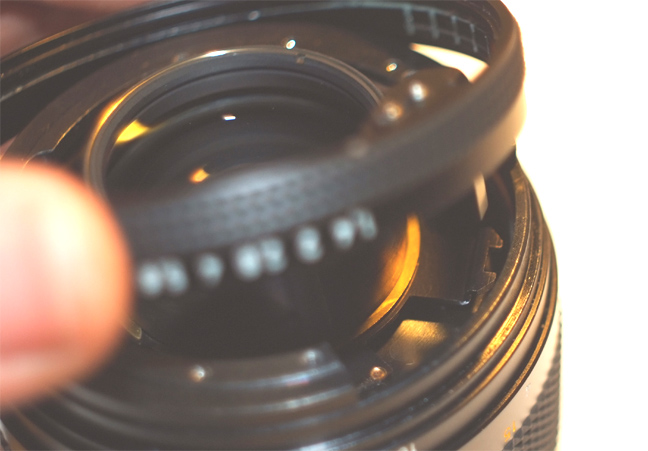
To remove it, first we have to put the aperture ring in the middle position, let's say 5.6.
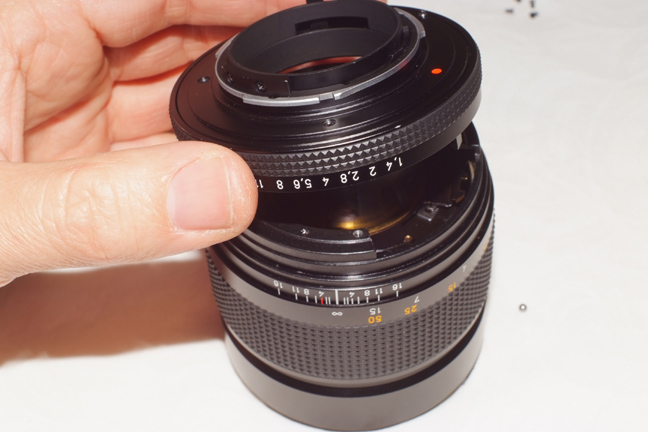
So we can lift the aperture ring and the mount all together.
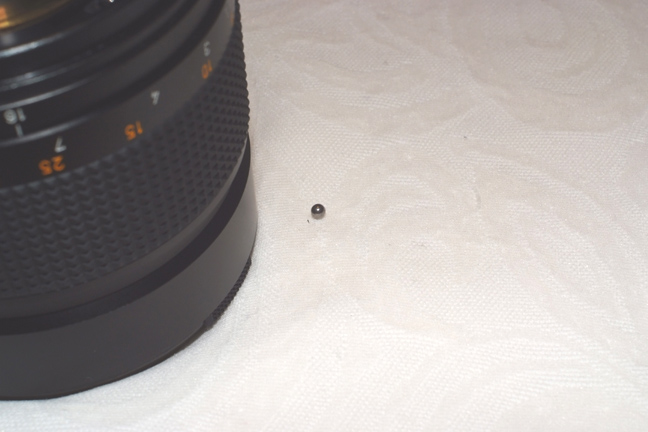
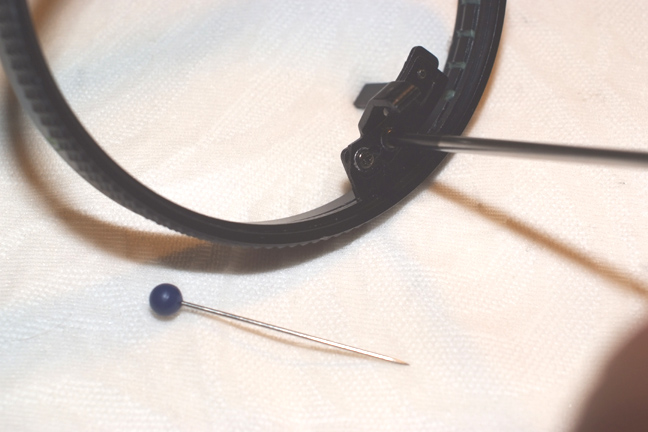
Look, the small bearing ball dropped out.
That's why you have to work on a piece of soft fabric.
Here is where the ball belongs, I'd put some grease on it.
And insert the ball in its place.
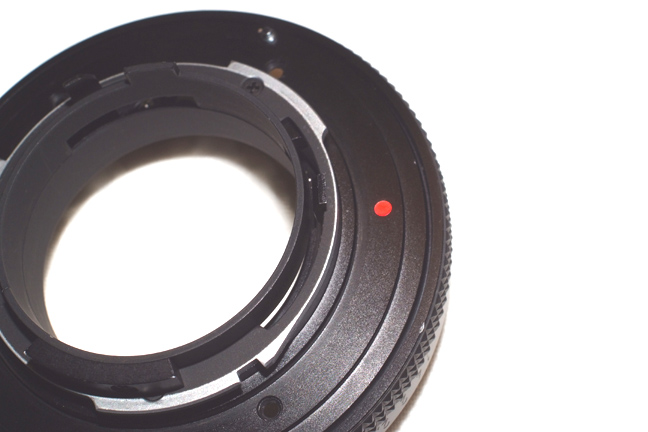
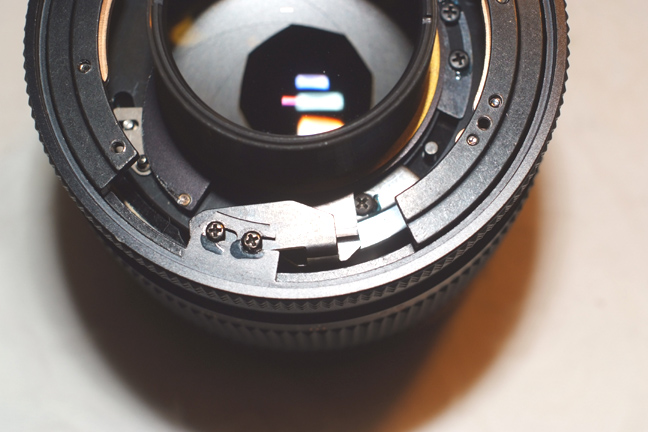
Now look at the aperture lever close to that red dot.
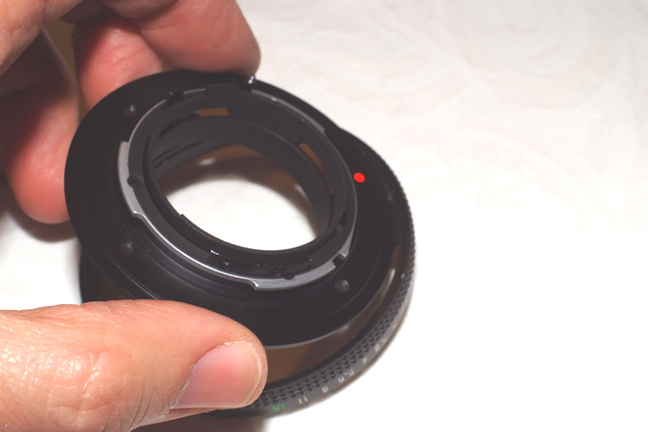
We have to "open" the mount from the aperture ring using this lever as a door's hinge.
They are apart, we have to work on the aperture ring now.
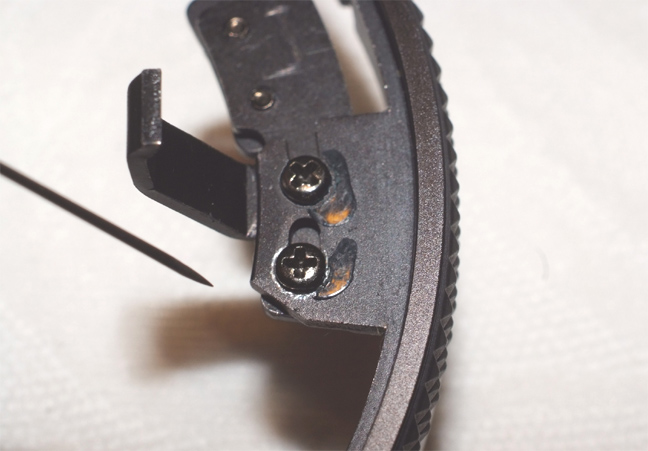
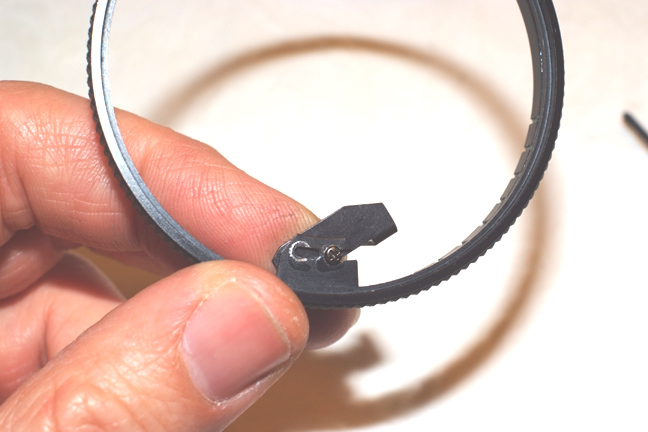
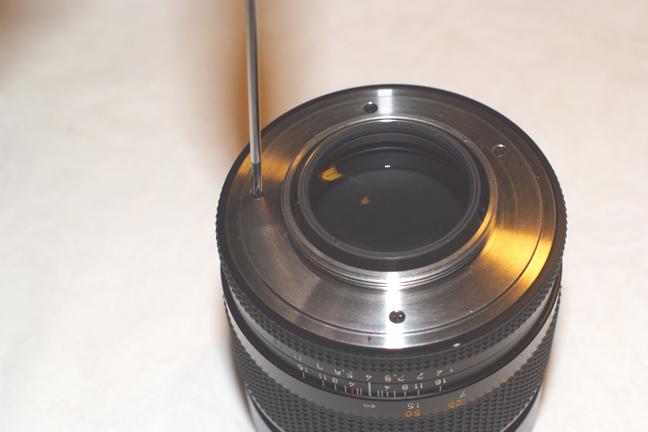
With a needle, patiently scratch the black "paint" around the first screw head.
Once we have the levers position marked, remove these two screws.
The mark is clear.
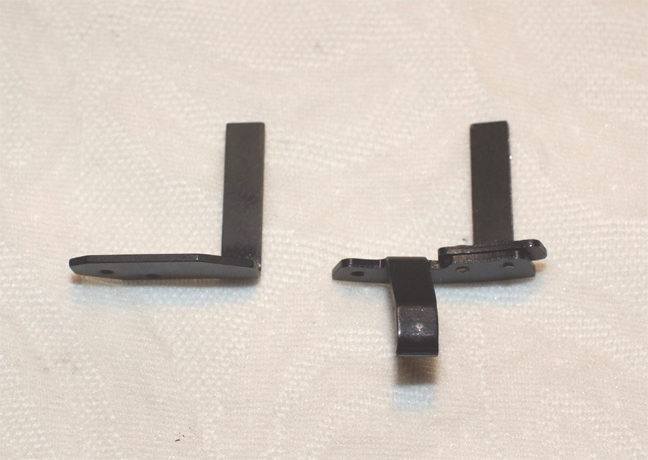
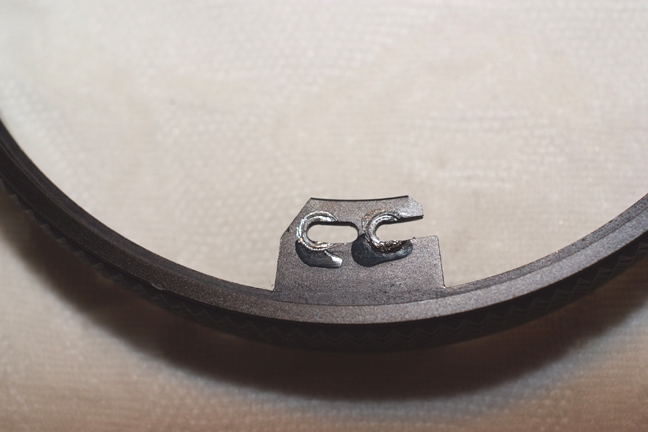
Now, we have to install the new lever (on the left).
The easy way is to screw a bit one of them and pass it inside the second open groove.
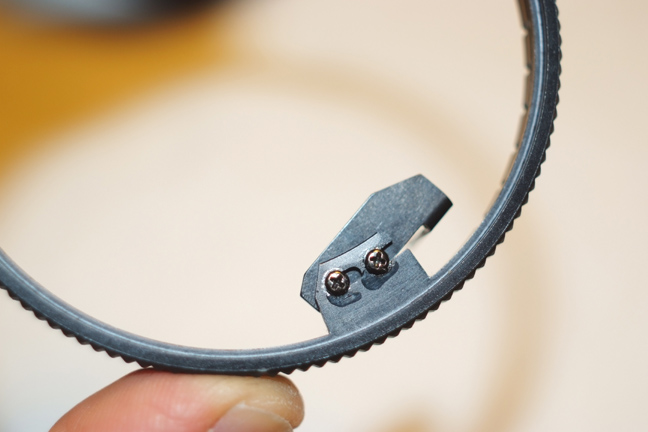
This way the piece stays on place while you put the first screw. Pay attention to the mark around the screw head, this is important to have the iris at the correct position.

Now we can install the aperture ring, please make sure the small bearing ball is in place.
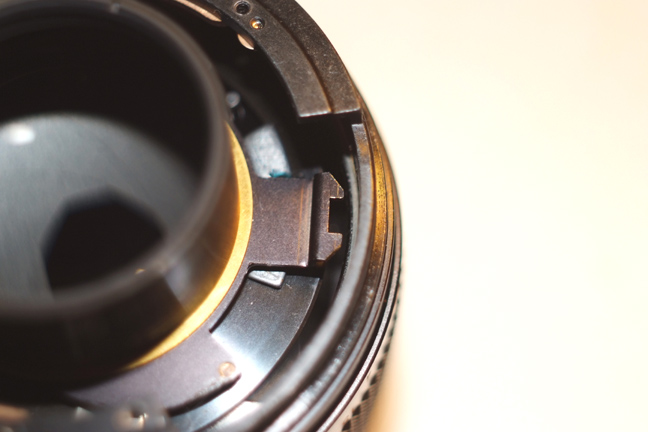
In this U shaped arm is where the new lever must go.
Install the aperture ring making the lever and arm coincide, and don't forget to have the ring in a middle position (5.6, for example)
The ring is in place, you have to push until you notice a "click" , is the bearing ball.
Here you can see why the ring must be in a middle position, if not , it would not enter.
And now, let's install our new mount, looking at the four holes, you can see the right position.
Screw it in cross pattern, a little bit each time.
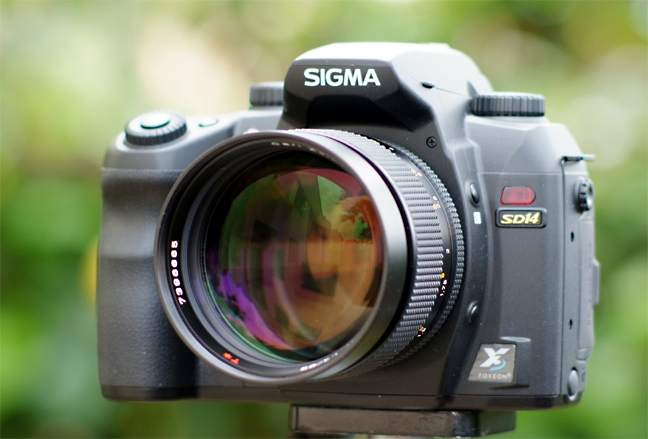
The new M42 mount is ready, now we can use this lens on any camera brand.
Just put a M42 adapter on this mount.
You can use your favorite M42 adapter, it is important to have a good one, so the lens will arrive to a good position on the camera.
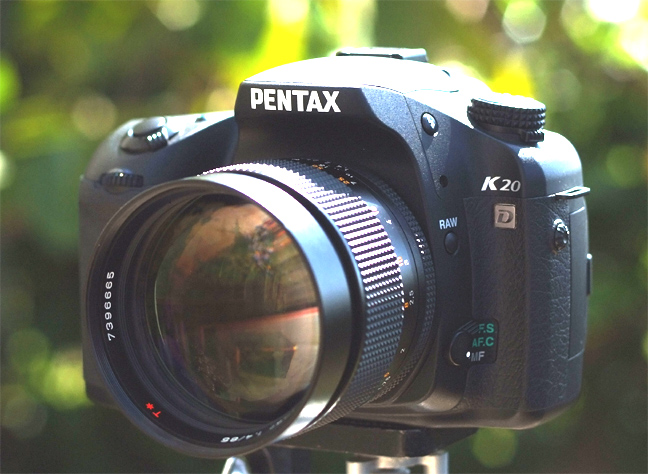
Planar 85/1.4
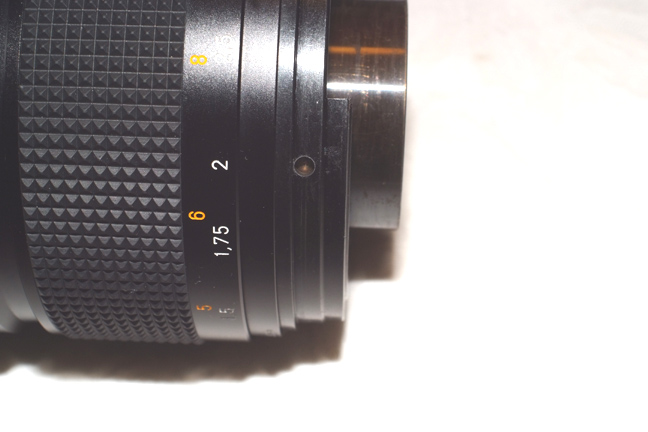
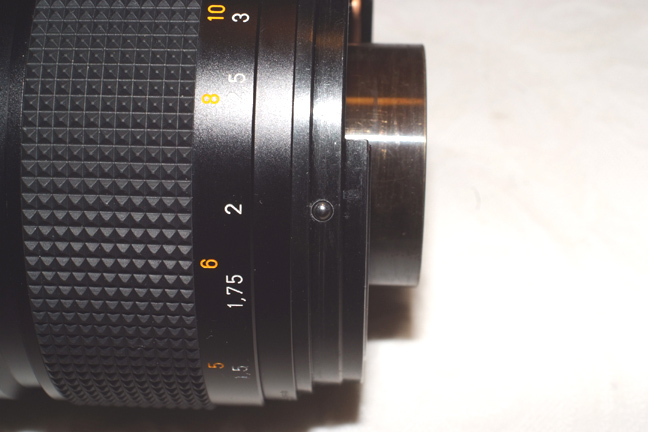
My M42-Pentax bayonet adapter is a good one, the scale center is at twelve o'clock.
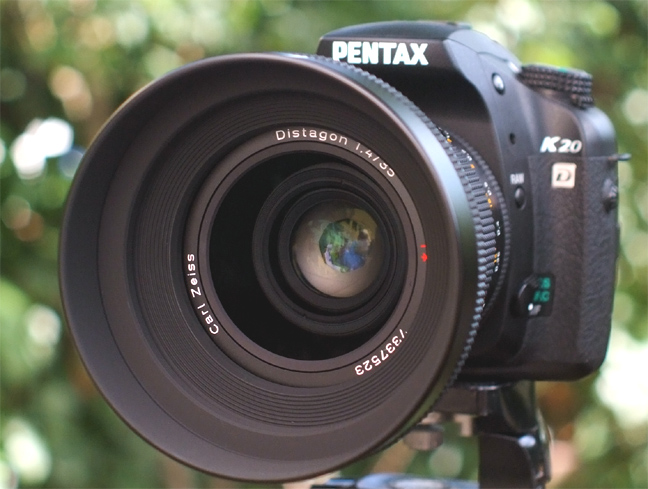
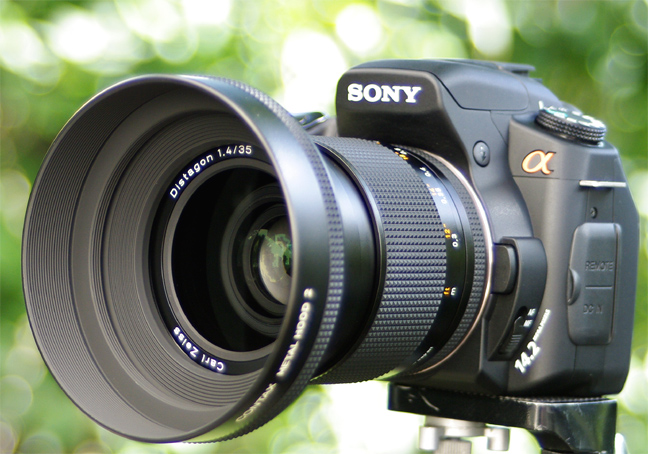
Distagon 35/1.4
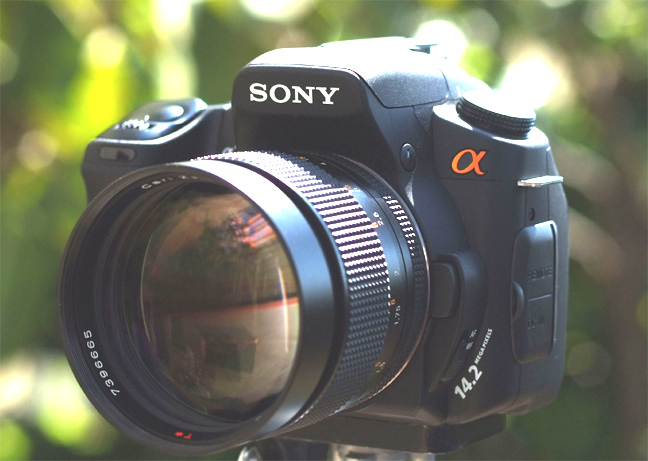
But the M42 to Sony adapter that I have is not so accurate, the scale center is at ten o'clock.

With Nikon you don't have infinity focus because of the bigger registry distance, but you can focus up to about four meters, good enough for portraits.
NEW! I've machined a cheap M42 to Nikon adapter and now I can focus up to eight meters with the Planar
Almost 12 o'clock.