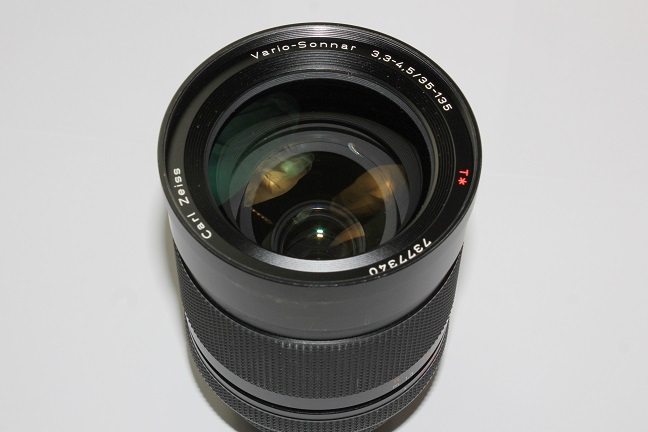
This is the Vario-Sonnar 3,3-4,5/25-135 zoom lens.
Which can be as good as primes just stopping it down a bit.
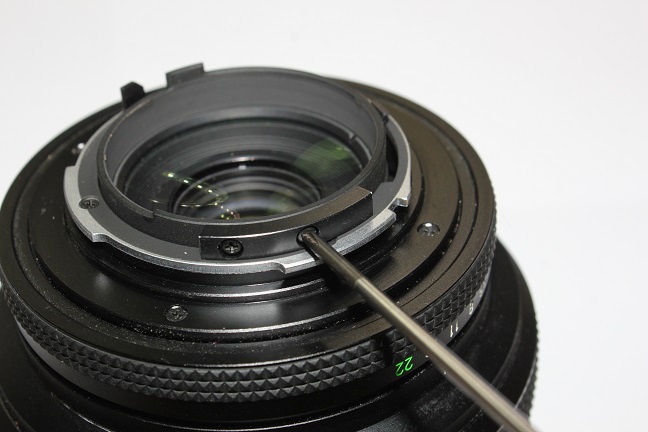
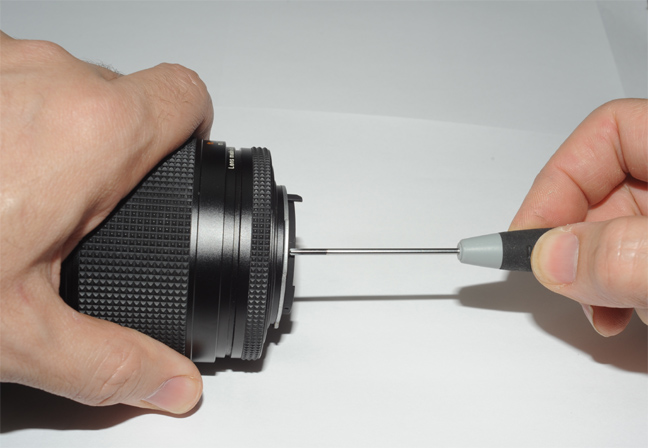
It is attached with two screws. We have to remove it.
Done.
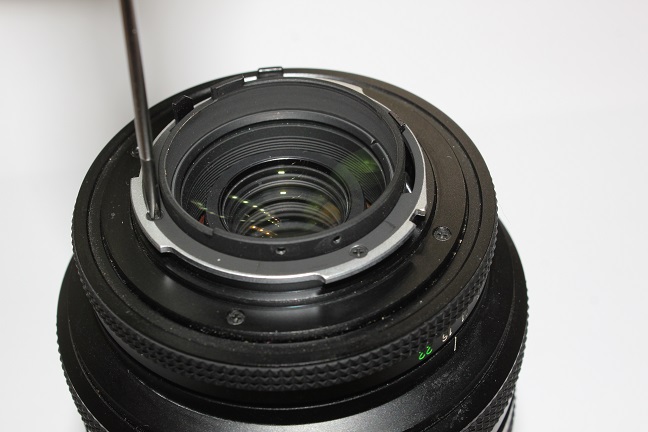
Now we can remove the upper mount ring.
Putting the lens flat on the table I make much more pressure against the screw head.
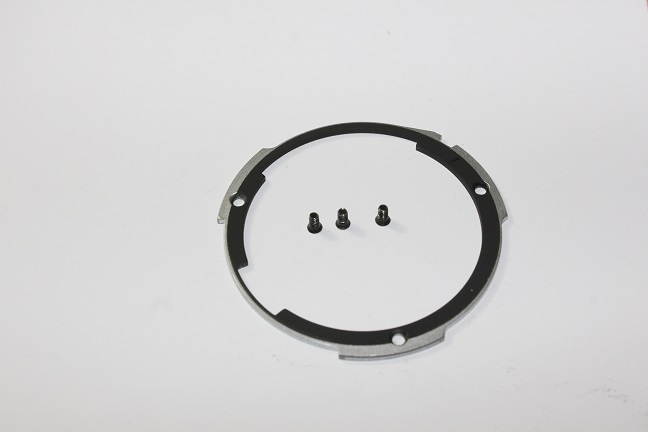
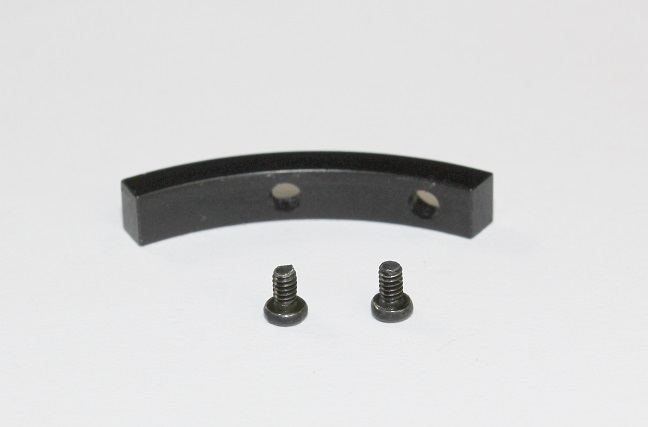
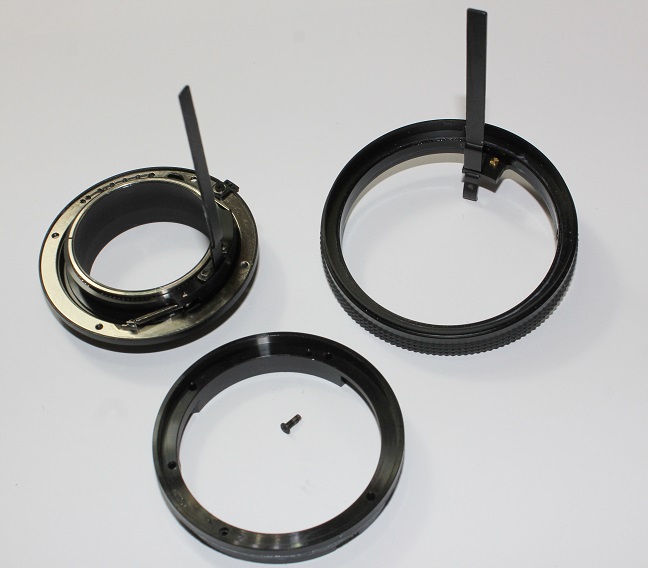
This is what is removed, to rebuild the original Contax mount, we have to avoid to lose any part.
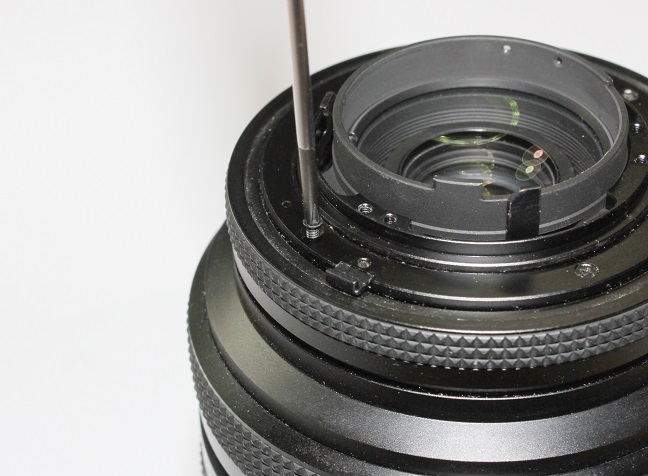
After the upper ring is removed, we can unscrew the four fasteners at the base of the mount.
Normally they are also very strong, apply a big pressure like with the previous ones.

These are longer than other Contax lenses, we'll have to re-use them with the Leitax mount.
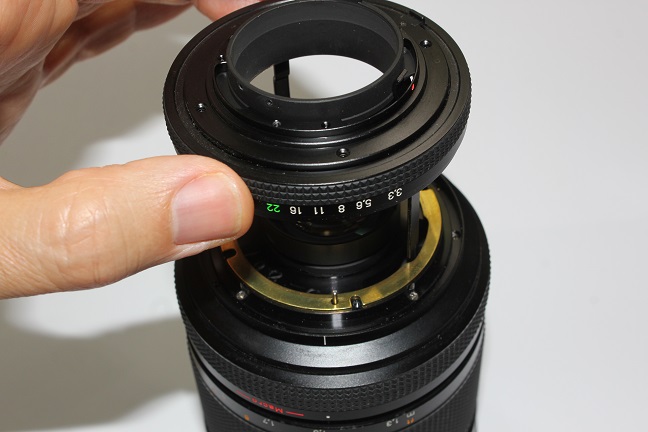
After the four screws are removed we can lift the whole mount assembly.
Caution!
Have the aperture ring in a middle position before lifting it, and lift it vertically without twisting it while lifting it, to avoid moving to the extreme side the internal iris mechanism, which could be difficult to put again in its place.
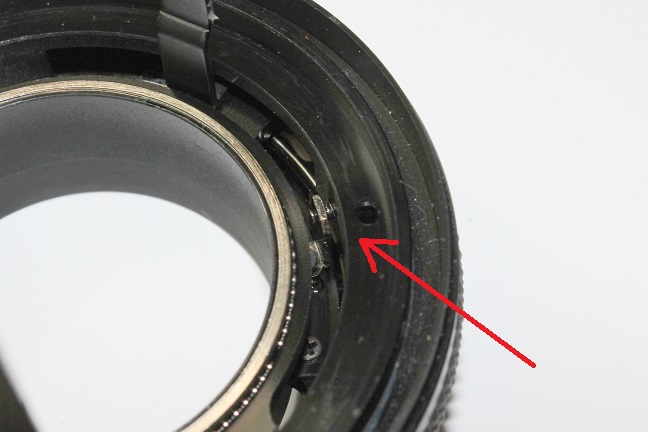

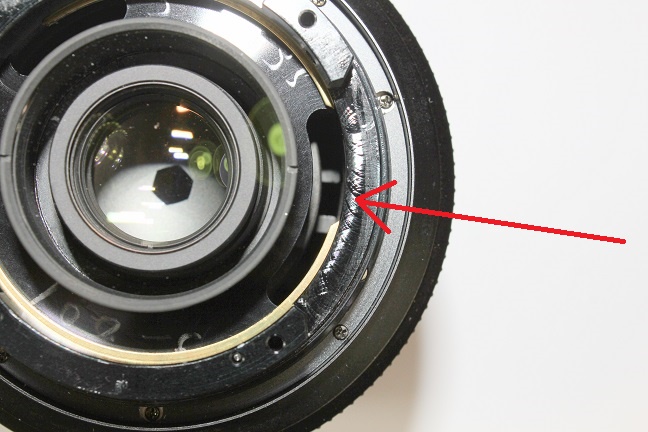
To remove it, we have to separate the rubber band of the aperture ring.
You may have to rotate the aperture ring to align this hole with the screw, so you can access to it.
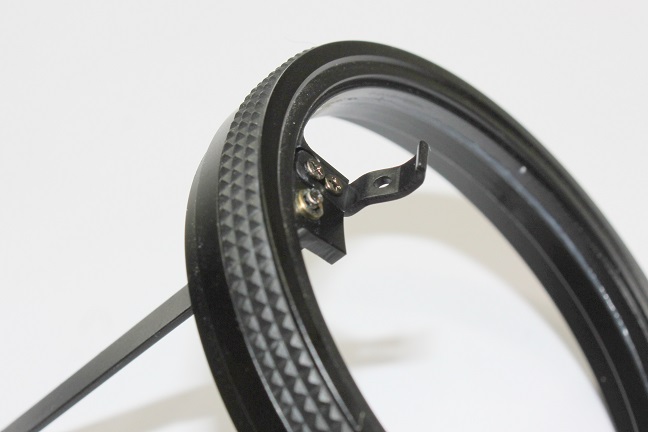
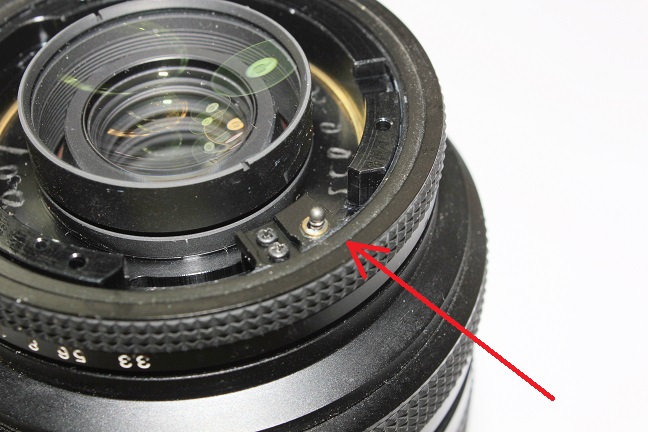
The aperture ring has this curved lever, for Nikon and Sony conversions we have to remove it. For Pentax it is not necessary.
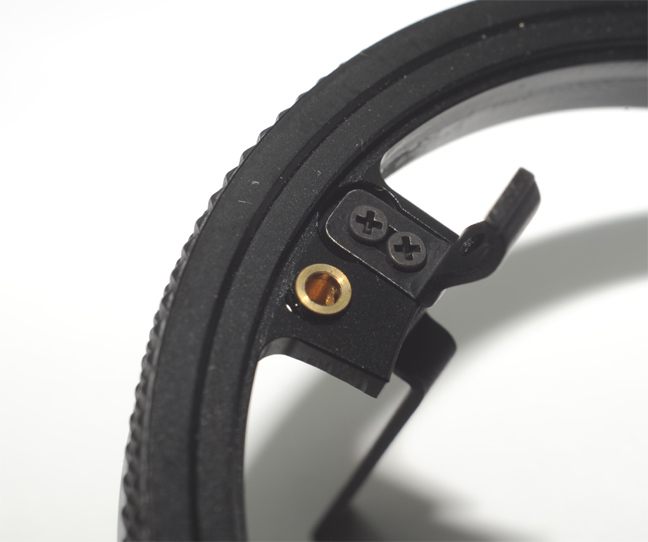
After removing the curved lever, these two screws will protrude too much and will make contact with the black ring under them.
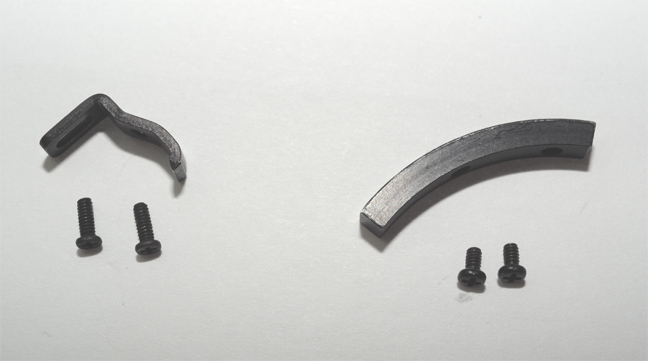
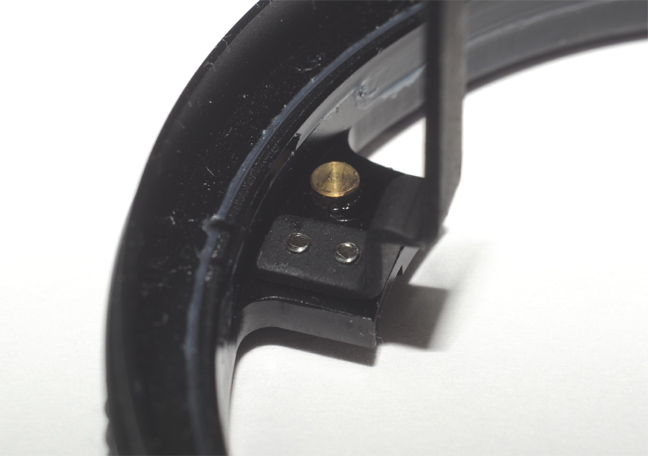

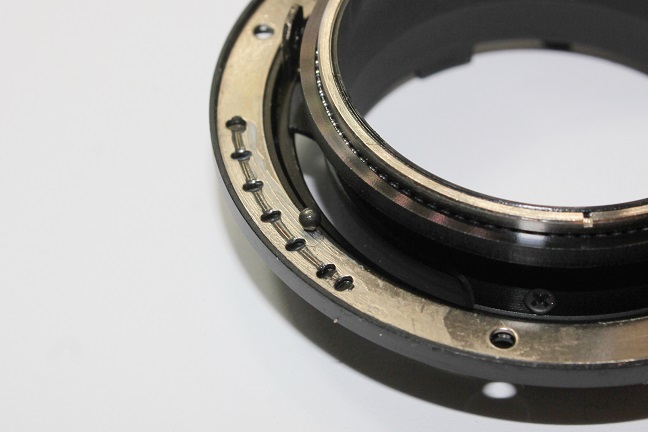
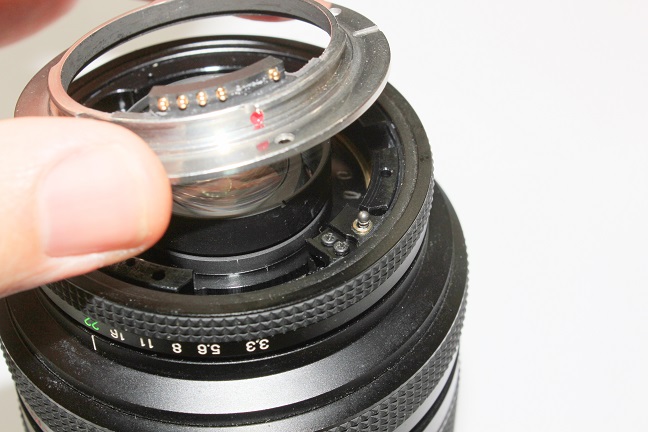
Now we can install again this black ring.
Put the little spring and the small bearing ball in its place with a bit of grease.

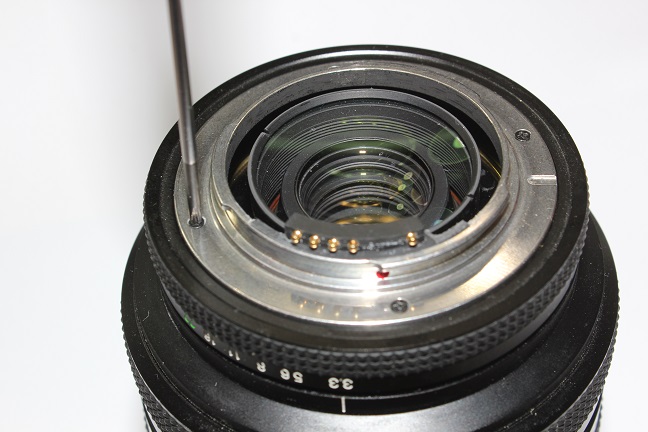
Now install the Leitax bayonet for Contax MM lenses on it.
The Pentax and Sony conversions will need to use the original perforated ring of the Contax mount, you can see this procedure in other Contax lens instructions.
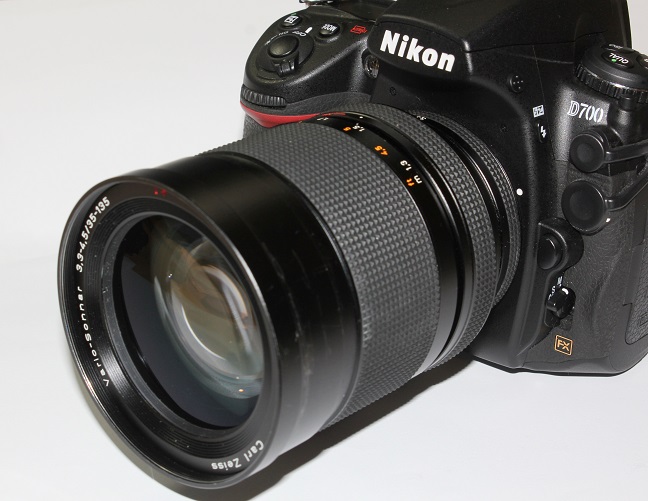
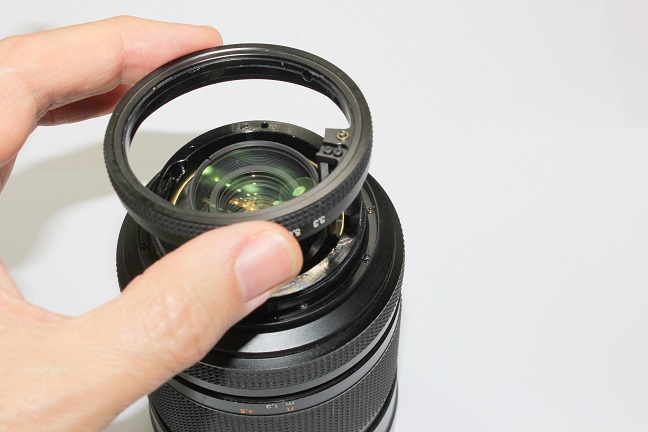
Ready, now we can use this very good lens on Nikon, Pentax and Sony cameras.
Back to Contax for Sony
Back to Contax for Nikon